4
For Customer Services & Spare Parts please call 0161 772 5666
Opening times: Monday-Friday 9am-4pm
Or visit us at www.coolmed.co.uk
Power supply preparation
Before plugging in the appliance for the first time make sure the power cable is free from damage and check
that your voltage is suitable, the appliance has a multi voltage power supply from12v DC or mains voltage 220 -
240v AC.
There are two sockets on the appliance, one 12v DC and another 220-240v DC, you can use one of the two
sockets.
When charging in a car the DC12V should be used. To avoid a flat car battery do not leave the appliance
plugged into the cigarette lighter socket for extended periods while the engine is switched off. The unit must
be disconnected from the vehicle before high speed battery chargers are used.
Operating
Plug in the appliance, the display will be on and the fan in the appliance will begin to run. Ensure that the
refrigeration is set at the correct temperature before use.
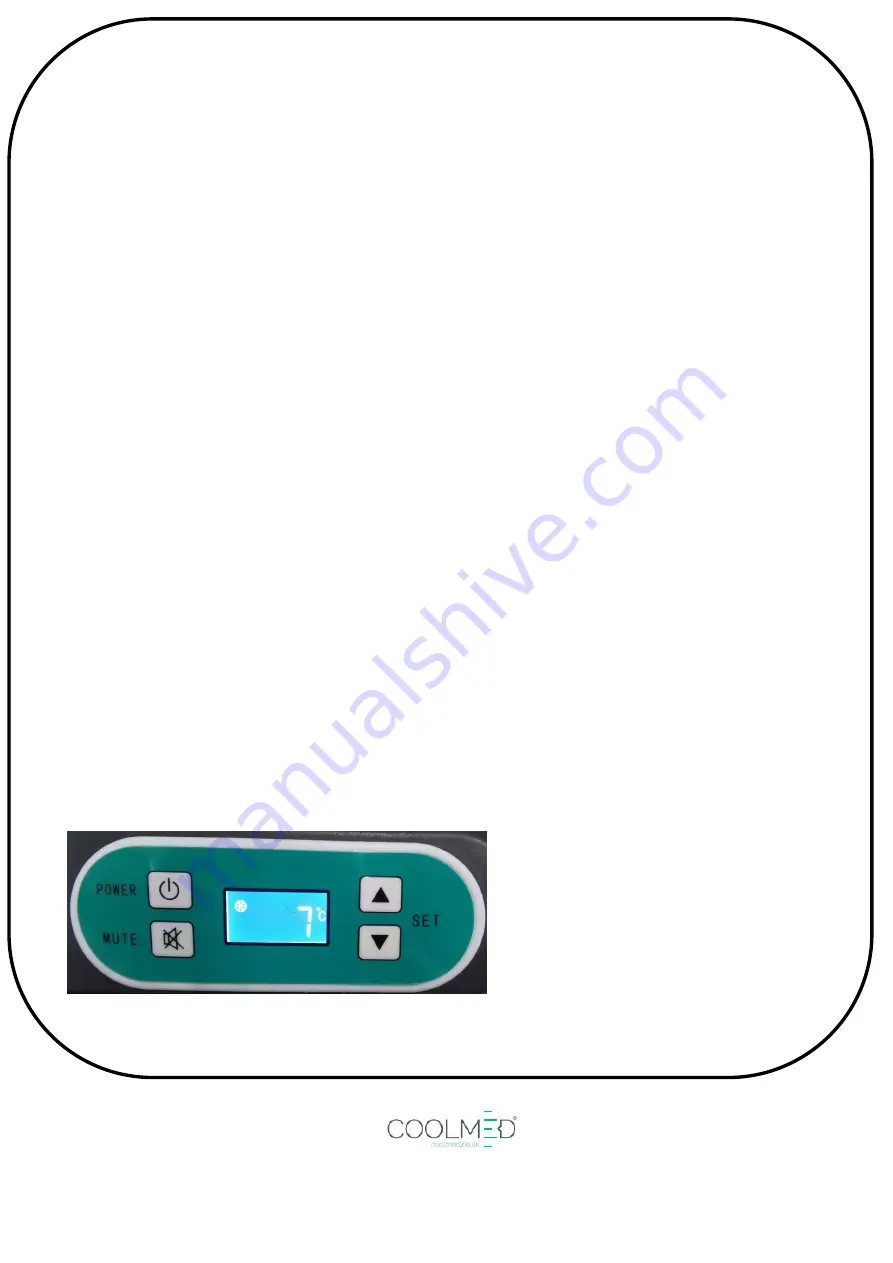
The temperature in the appliance is controlled by the temperature control panel located on the front of the unit.
Press the up or down buttons the current temperature setpoint will blink, select the desired temperature
setpoint by pressing the up or down buttons, the display will then revert to the actual temperature on the
controller display. The system will then work according to new temperature setting, the refrigerator will now run
to achieve the desired set temperature.
If the temperature in the refrigerator is higher than set temperature the refrigerator will begin to reduce the
temperature.
If the temperature in the refrigerator is lower than set temperature the refrigerator will begin to increase the
temperature.
Press the POWER button the appliance will turn off, Press the POWER button again the appliance will turn
back on.
Press the MUTE button to set to mute mode for silent operation, the fan in appliance will run slowly. Note that,
in silent operation the unit may take longer to cool. Press the MUTE button again to set to normal mode
.
Summary of Contents for CMPVC12
Page 7: ...7 ...

