background image

9

Using Your Ice Cube Tray

Recommended thermostat setting for ice making is position “6”.

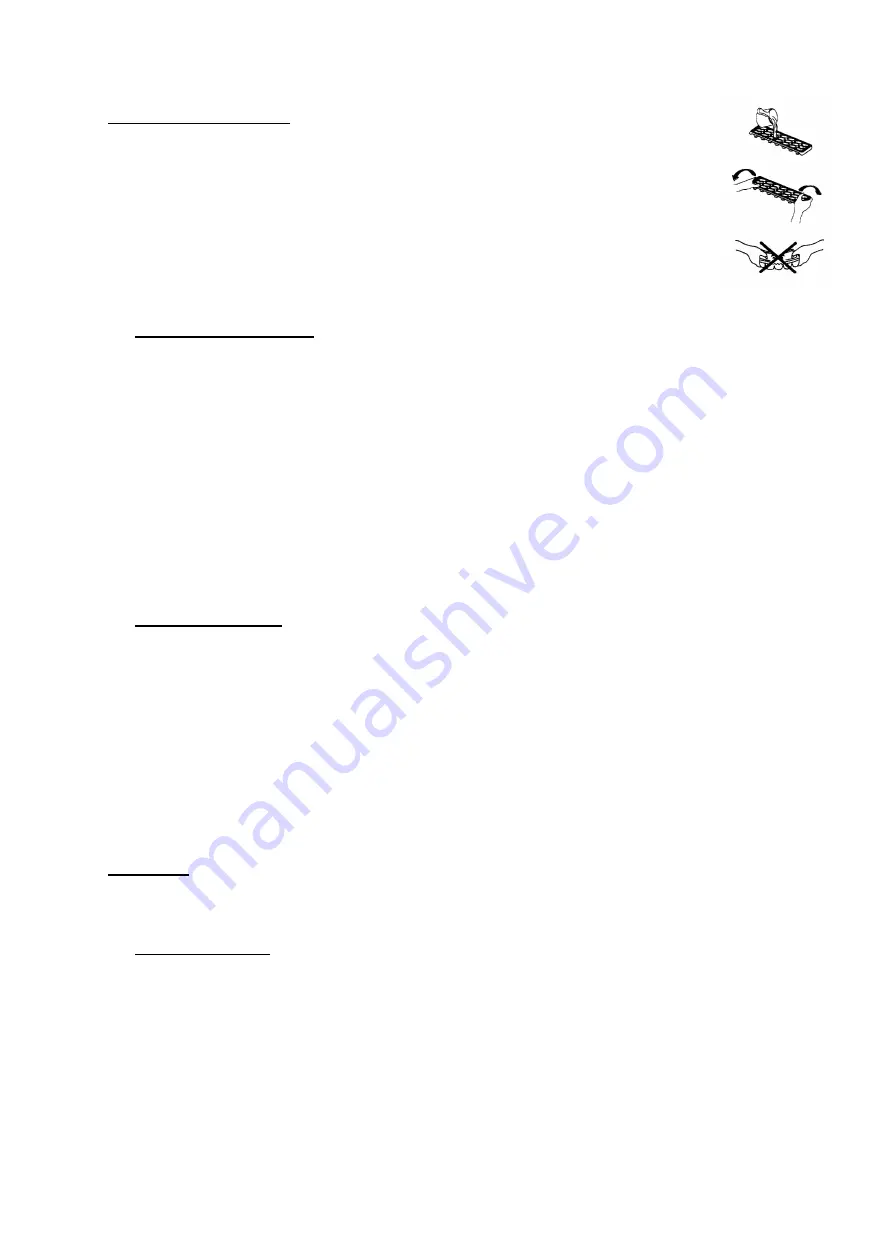
Fill the ice cube tray (two thirds of it) with cold water or with any liquid suitable for

freezing and place the tray on the bottom of the chiller compartment to freeze properly.

Dry the tray, otherwise it may stick to the bottom of the chiller.

The best method to get ice cubes out of the tray is to hold the tray under cold tap

water for a second.

To eject the ice cubes from the tray, place over the ice bucket and twist slightly

The Chiller Compartment

This compartment is designed for production of ice cubes and short-term storage (3-4 days at

most) of some commercially frozen foods.

The temperature in this compartment does not get cold enough to freeze food safely for long

periods of time and works best when the food is already frozen.

By design, this chiller compartment is not a true freezer, and may not keep ice cream frozen, or

freeze items.

A colder setting may be used for these items, but other items in the refrigerator may also be

affected.

The chiller door is susceptible to breaking due to excessive ice build up. This part is not covered

under your warranty. Be sure to defrost when the ice reaches 1/4 inch (6mm) thick.

CARE AND MAINTENANCE

Defrosting Your Unit

Defrost the unit when the frost accumulated on the evaporator is about 5mm (1/5 inch) thick. Set

the thermostat dial to “OFF” position.

Remove frozen or perishable foods from the chiller compartment and place it in a cooler to

protect the food.

During the defrost cycle, the ice melts into the water drip tray.

To remove the water, either remove the water drip tray and/or place a collection container under

the tray. Use a sponge or towel to pick up the melting ice off the unit floor.

Dry the water collection tray and place back under the chiller compartment. Defrosting usually

takes a few hours. After defrosting, return the thermostat dial to the desired position. To defrost

quickly remove all foods from the unit and leave the door open. Never use a knife or other metal

instrument to scrape ice/frost from the evaporator.

CAUTION:

Do not use boiling water because it may damage the plastic parts. In addition, never use a
sharp or metallic instrument to remove frost as it may damage the cooling system and will
void the warranty. We recommend using a plastic scraper.

Cleaning Your Unit

Turn the temperature control to "OFF", unplug the unit, and remove the food, shelf, and tray.

Wash the inside surfaces with a warm water and baking soda solution. The solution should be

about 2 tablespoons of baking soda to a quart of water.

Wash the shelf and tray with a mild detergent solution.

The outside of the unit should be cleaned with mild detergent and warm water.

Wring excess water out of the sponge or cloth before cleaning the area of the controls, or any

electrical parts.

Wash the outside cabinet with warm water and mild liquid detergent. Rinse well and wipe dry with

a clean soft cloth.

Summary of Contents for CMST50

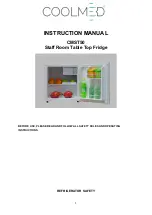
Page 1: ...1 BEFORE USE PLEASE READ AND FOLLOW ALL SAFETY RULES AND OPERATING INSTRUCTIONS REFRIGERATOR SAFETY INSTRUCTION MANUAL CMST50 Staff Room Table Top Fridge ...

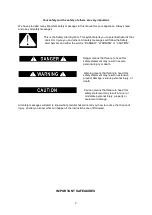
Page 2: ...WARNING or CAUTION Danger means that failure to heed this safety statement may result in severe personal injury or death Warning means that failure to heed this safety statement may result in extensive product damage serious personal injury or death Caution means that failure to heed this safety statement may result in minor or moderate personal injury property or equipment damage All safety messa...

Page 3: ... front of the unit must be completely unobstructed Choose a well ventilated area with temperatures above 60 F 16 C and below 90 F 32 C This unit must be installed in an area protected from the elements such as wind rain water spray or drips The refrigerator should not be located next to ovens grills or other sources of high heat The refrigerator must be installed with all electrical water and drai...

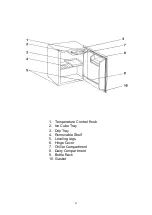
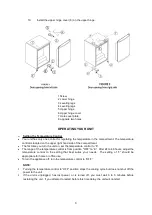
Page 4: ...4 1 Temperature Control Knob 2 Ice Cube Tray 3 Drip Tray 4 Removable Shelf 5 Leveling legs 6 Hinge Cover 7 Chiller Compartment 8 Dairy Compartment 9 Bottle Rack 10 Gasket ...

Page 5: ...G YOUR UNIT ________________________________________________________ 8 SETTING THE TEMPERATURE CONTROL __________________________________________ 8 USING YOUR ICE CUBE TRAY ___________________________________________________ 9 THE CHILLER COMPARTMENT ___________________________________________________ 9 CARE AND MAINTENANCE ______________________________________________________ 9 DEFROSTING YOUR U...

Page 6: ...1 Instruction Manual Before connecting the unit to the power source let it stand upright for approximately 2 hours This will reduce the possibility of a malfunction in the cooling system from handling during transportation Clean the interior surface with lukewarm water using a soft cloth Installing Your Unit This appliance is designed to be free standing only and should not be recessed or built in...

Page 7: ...he unit be careful not to damage the power cord Extension Cord Because of potential safety hazards under certain conditions it is strongly recommended that you do not use an extension cord with this unit However if you must use an extension cord it is absolutely necessary that it be a 3 wire grounding type appliance extension cord having a grounding type plug and outlet and that the electrical rat...

Page 8: ...unit on set the temperature control to 6 The range of the temperature control is from position OFF to 6 After 24 to 48 hours adjust the temperature control to the setting that best suites your needs The setting of 3 should be appropriate for home or office use To turn the appliance off turn the temperature control to OFF NOTE Turning the temperature control to OFF position stops the cooling cycle ...

Page 9: ...tat dial to OFF position Remove frozen or perishable foods from the chiller compartment and place it in a cooler to protect the food During the defrost cycle the ice melts into the water drip tray To remove the water either remove the water drip tray and or place a collection container under the tray Use a sponge or towel to pick up the melting ice off the unit floor Dry the water collection tray ...

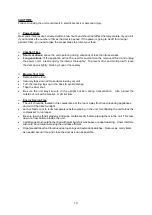
Page 10: ... down all loose items inside your unit Turn the leveling legs up to the base to avoid damage Tape the door shut Be sure the unit stays secure in the upright position during transportation Also protect the outside of unit with a blanket or similar item Energy Saving Tips The unit should be located in the coolest area of the room away from heat producing appliances and out of the direct sunlight Let...

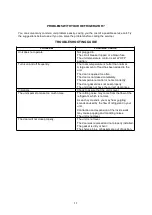
Page 11: ...s opened too often The door is not closed completely The temperature control is not set correctly The door gasket does not seal properly The unit does not have the correct clearances Vibrations Check to assure that the unit is level The unit seems to make too much noise The rattling noise may come from the flow of the refrigerant which is normal As each cycle ends you may hear gurgling sounds caus...

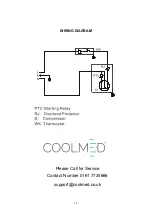
Page 12: ...12 WIRING DIAGRAM Please Call for Service Contact Number 0161 7725666 support coolmed co uk ...

Reviews: