Apricus Installation Manual
34
Installation Guidelines
This section contains guidelines for the
unpacking, inspection, assembly and
installation of the Apricus Solar Collectors.
Several of the more common types of
Installation are covered in detail. For other
installations or where further clarification is
required please contact CoolSky.
Tube Unpack & Inspect
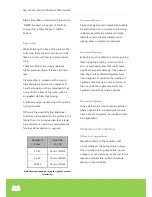
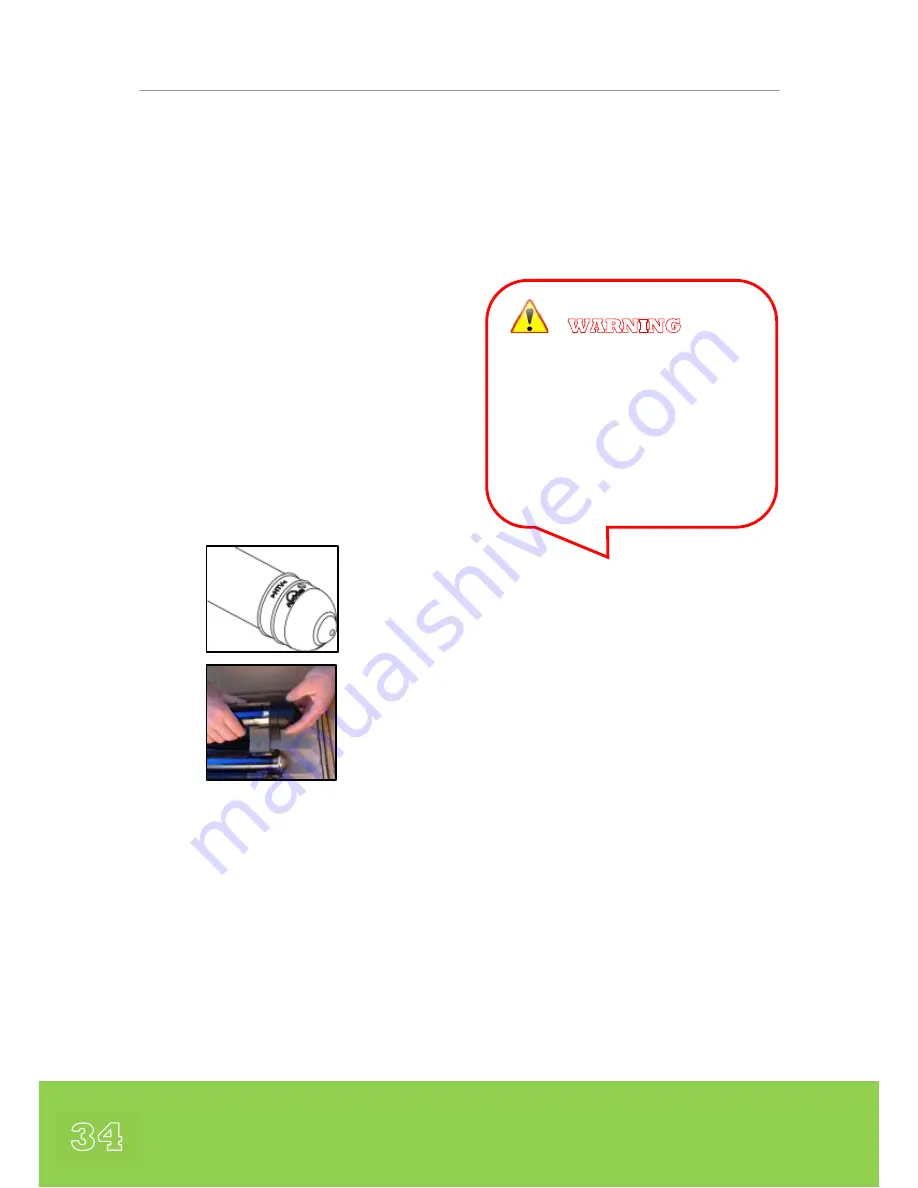
Check to make sure the evacuated tubes are
all intact and the ‘getter’ at the bottom of
each tube is still silver coloured by removing
the rubber caps. The rubber cap should be
immediately replaced after inspection to
protect the bottom tip of the glass tube.
If a tube has a white or clear bottom, it is
damaged and should be replaced. Any
damage or breakages should be reported
immediately upon delivery to CoolSky.
✖
Damage to collectors and other
components incurred during transport is not
eligible for warranty claims.
Shield Tubes from Sunlight
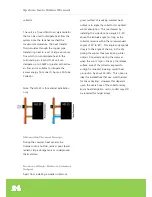
Do not expose the tubes to sunlight until
ready to install, otherwise the heat pipe tip
will become very hot and can cause serious
skin burns. The outer glass surface should
not become hot.
Frame/Manifold Unpack & Inspect
Unpack the standard frame that is provided
together with the manifold. Apricus solar
collectors are come with a standard frame,
which is suitable for flush mounting on roofs
that have a suitable pitch.
For installation on low-pitched roofs, flat
roofs or for wall mounts, an additional,
adjustable frame kit is available. This
additional adjustable frame will be packed
separately from the manifold and standard
frame kit.
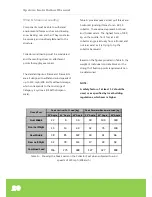
Depending on the roofing material, the
standard frame may be attached to the roof
with flashed bracketing solutions (corrugated
steel, asphalt), roof attachment straps (tiled,
slated), stand-off bracket (tiled, slated) or
round feet (asphalt, concrete).
WARNING
:
Wear safety glasses and leather
gloves at all times when handling
evacuated tubes and heat pipes.
Never touch the inside of evacuated
tubes or the heat pipe tip after
exposure to sunlight.


