Page 7
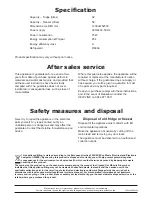
Fuse and mains plug replacement
This product is supplied with a fitted plug which
contains a 13A fuse. If you are simply replacing the
fuse, you must use a 13A fuse which has been
approved by ASTA to BS1362.
If the plug does not fit the socket or becomes
damaged, a new plug must be fitted. Replace the
original plug with the correct plug for your socket. If
this is a 3-pin (square pin) 13A (BS1363) plug, you
must make sure that it is fitted with an ASTA
approved 13A fuse.
If another type of plug is used, it must be protected
by a 15A fuse, either in the plug or at the
distribution board.
1. Cut off the existing fitted plug.
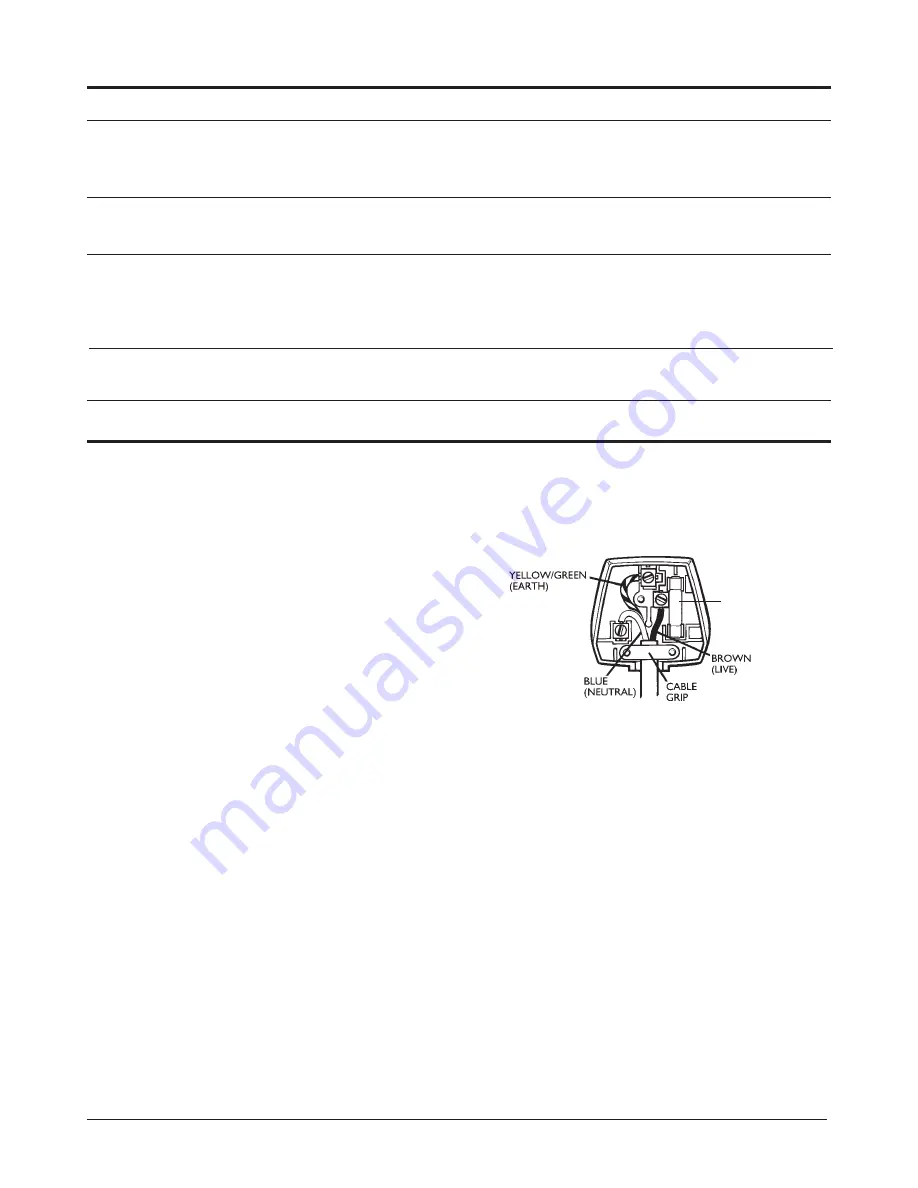
2. The wires in the mains lead supplied with this
appliance are coloured in accordance with the
following code (Figure 11):
GREEN/YELLOW = EARTH (E)
BLUE = NEUTRAL (N) BROWN = LIVE (L)
This product must be earthed
As the colours of the wires in the mains lead may
not correspond with the colour markings identifying
the terminals in your new plug, proceed as follows.
The wire which is coloured GREEN or
YELLOW/GREEN must be connected to the
terminal which is marked with the letter E or
E
symbol or coloured GREEN or YELLOW/GREEN.
The wire which is coloured BLUE must be
connected to the terminal in the plug which is
marked with the letter N or coloured BLACK or
BLUE.
The wire which is coloured BROWN must be
connected to the terminal which is marked with the
letter L or coloured RED or BROWN.
3. Ensure that the connections are tight and that no
loose strands are left out of the terminals.
IF IN ANY DOUBT CONSULT A QUALIFIED
ELECTRICIAN.
If the mains lead becomes damaged consult a
qualified electrician.
FIGURE 13
FUSE
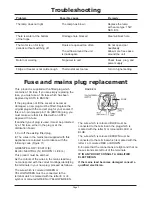
Problem
Possible cause
Remedy
The lamp does not light
The lamp has blown
Replace the lamp
with same type: 15W,
SES, E14
There is water at the bottom
Drainage hole blocked
Clean/unblock hole
of the fridge
The motor is on for long
Doors are opened too often
Do not open door
periods without switching off
needlessly
The airflow around the unit
Allow more free space
is inadequate
around the unit
Motor not working
No power to unit
Check fuses, plug, and
power supply
Fridge or freezer is not cold enough
Thermostat set too low
Turn to higher setting
Troubleshooting

