Call for customer service and/or missing or damaged parts (800-334-6871)
4
AIMING THE FIXTURE
WARNING: Risk of burn. Disconnect power and allow fixture to cool
before changing bulb or handling fixture.
Note:
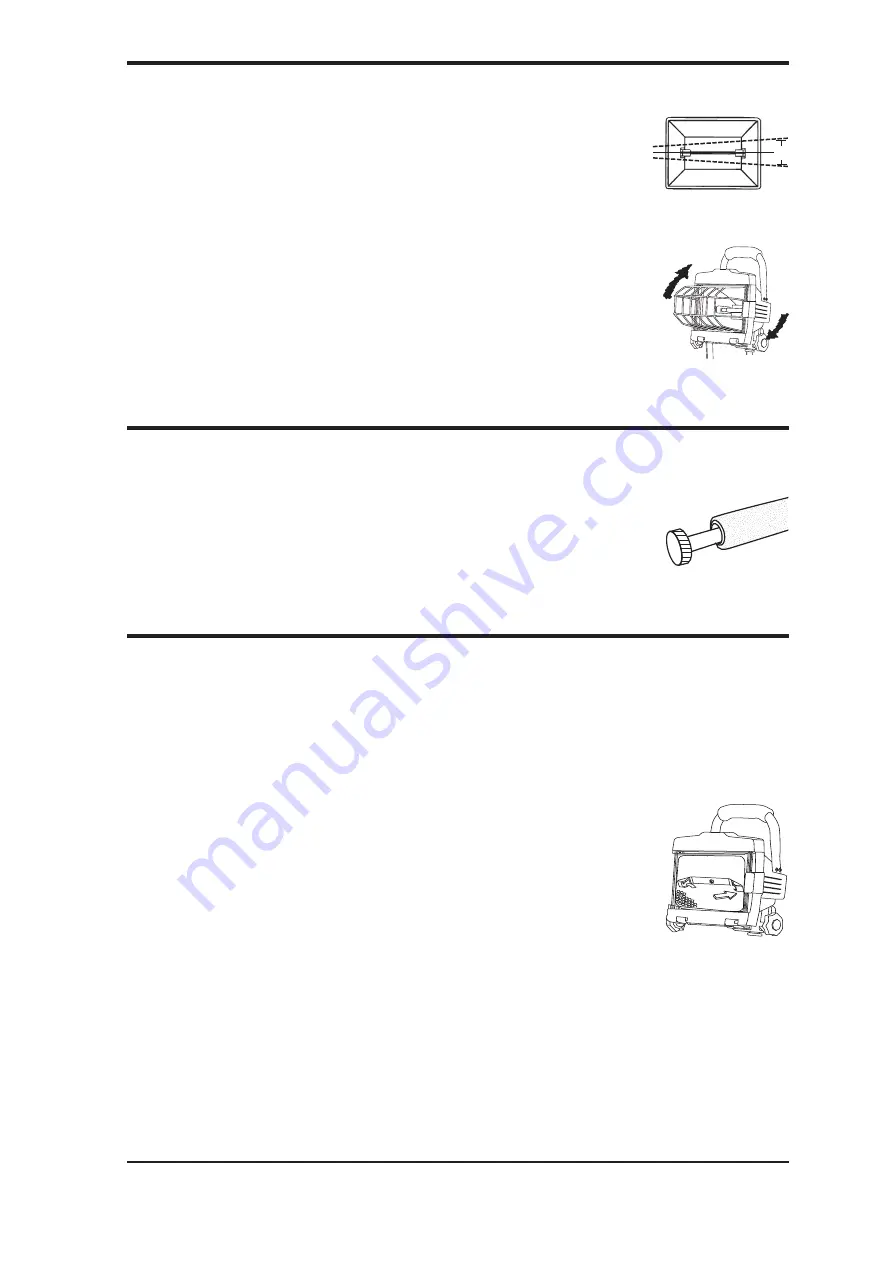
For maximum bulb life, position light so that the quartz
halogen bulb remains within 4 degree of horizontal (Fig. 2).
Make sure the light fixture is in the OFF position and cool.
Loosen the knob located on the side of the light fixture housing.
Using the top handle, tilt to desired position then retighten knobs
(Fig. 3). There is a stop that restricts the downward and inward
movement of the fixture for safety reasons.
To prevent overheating and risk of burns or fire, do not aim the
fixture down at an angle of more than 10 degrees from horizontal.
• Plug light into a GFCI protected 120 Volt receptacle.
• To turn light ON or OFF, push red switch on the back of the fixture.
BONUS BULB INCLUDED
Note:
Always handle halogen bulbs with gloves or with a clean soft cloth. Oil from
your skin can cause premature failure of the bulb.
This fixture includes a spare bulb, which insures that you can
always finish your job or project without interruption due to bulb
failure. The spare bulb and holder are located at the end of the
portable base. Simply pull the black knob on the end of the base
out, in order to access the spare bulb (Fig. 4).
REPLACING THE BULB
WARNING: Risk of burn. Disconnect power and allow fixture to cool
before changing bulb or handling fixture.
Note:
Always handle halogen bulbs with gloves or with a clean soft cloth. Oil from
your skin can cause premature failure of the bulb.
Note:
Replace with only a 120 or 130 Volt, 500 watt (or lower wattage) T2.5 R7s
base halogen bulb 4.6˝ long (Cooper Lighting, LLC model BP500Q).
1.
Make sure fixture is turned OFF, unplugged and cool.
2.
Turn screw on back of housing tab counterclockwise until
screw is loose on door frame.
3.
The door frame and lens assembly will swing down allowing
access to the bulb.
4.
Using gloves or soft cloth, press the old bulb to one side
of the spring loaded socket as indicated on the metal reflector.
Remove opposite end of bulb from the other side of the socket.
Remove the new bulb from its package making sure not to touch bulb with bare
hands. Reverse this procedure to install a new replacement bulb (Fig. 5).
5.
Replace the door frame and lens assembly and secure it using a Phillips
screwdriver.
Fig. 3
Fig. 5
4°
Fig. 2
Fig. 4
All manuals and user guides at all-guides.com


