The Wallmount 5-Scene Controller (RFWDC) is an ASPIRE RF™ controller that provides the User the ability
to launch preset scenes with the touch of a single button. It includes five buttons that can activate five
individual scenes, as well as a 6th button that serves as an “ALL OFF” feature.
A Cooper Wiring Devices’ ASPIRE RF Tabletop Controller (RFTDCSG) or Handheld Controller (RFHDCSG) is
required to create and transfer scenes into the RFWDC.
The RFWDC can be placed at entranceways, or in a convenient location where control of multiple
scenes is desired. Scenes are groups of preconfigured settings for individual devices (switches, recepta-
cles, dimmers, etc. ).
NOTE:
Refer to the RF User Manual (included with the RFTDCSG or RFHDCSG) for detailed network instruc-
tions.
INSTALLATION:
Refer to instructions provided on the inside of the package.
CAUTION:
Power should be turned off, and verified to be off, while wiring any
electrical device.
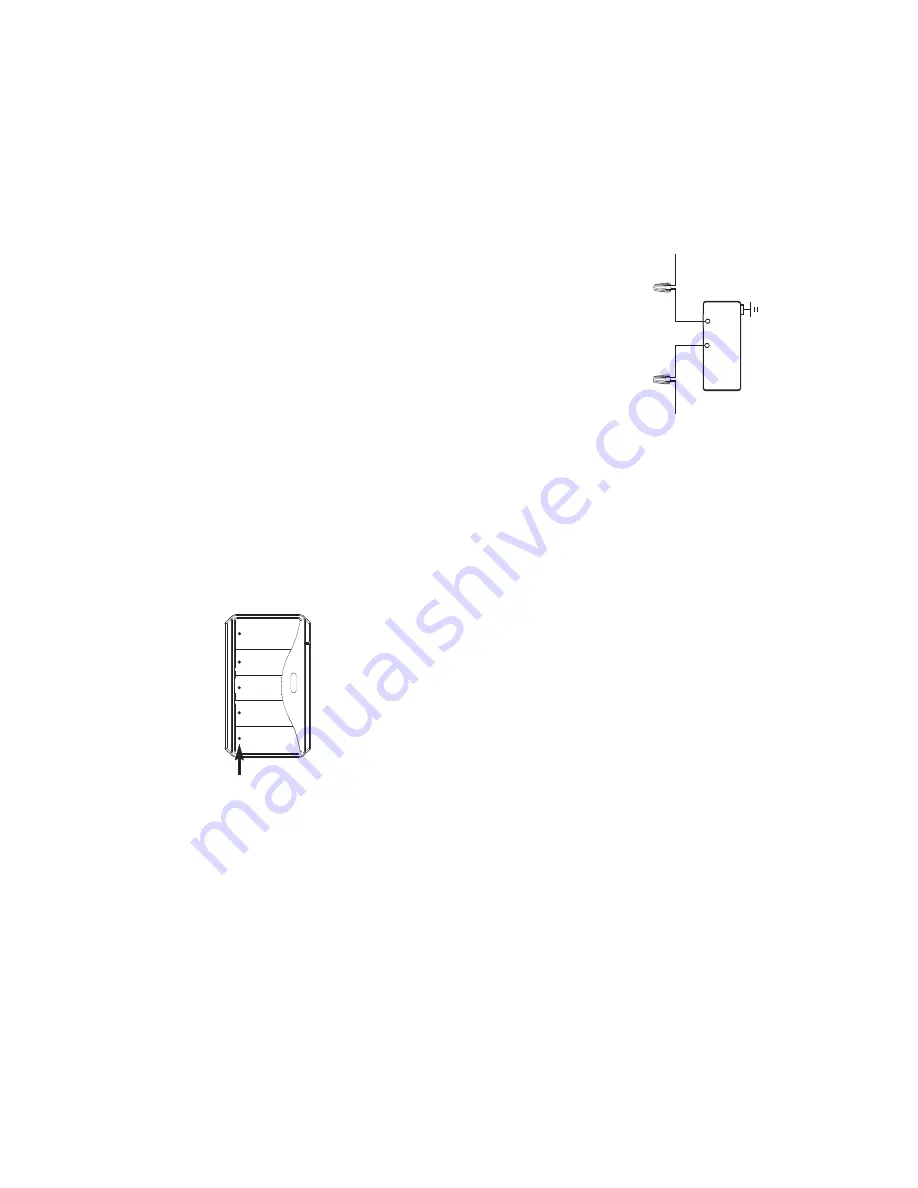
The RFWDC requires 120V/AC connected to the Black and White wires, and
grounding the green ground wire.
Connect the RFWDC per the diagram including connection of the green
ground wire.
INITIAL INSTALLATION:
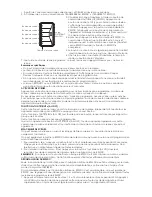
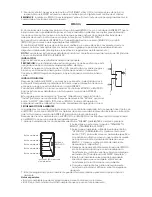
After installation of the RFWDC, and power is applied, all 5 button LED’s will
blink. This will indicate that the device has power, but is not yet installed in the
ASPIRE RF network.
To install the RFWDC in the network, the RFTDCSG or RFHDCSG Controller will be
used. Follow the detailed instructions in the ASPIRE RF User Guide - Section II.
This involves selecting the “Devices” menu, and then the “Install” feature on the
Controller. After selecting “Install” press the “ALL OFF” button on the RFWDC.
The LEDs will stop blinking when the device has been successfully added to the network.
PROGRAMMING SCENES:
Scenes are created with the use of a separate controller. This may be done with either the RFTDCSG or
RFHDCSG. The details of how to create scenes are included in Section II of the ASPIRE RF User Guide
(included with the Controllers).
After the scenes are created with either RFTDCSG or RFHDCSG they are transferred to the selected but-
ton on the RFWDC one-by-one, using the following steps:
1. Using either controller select “SCENES” from the main menu.
2. Select from this menu item “TRANSFER TO RFWDC”.
3. Select the scene to be transferred using the
control button. Press the center (“OK”) button to select the
specific scene. The screen will display a prompt that tells
the user to press the desired scene button on the RFWDC.
(“Press and hold the desired scene button on the device.”)
4. After pressing the selected RFWDC button the controller will
display that the transfer is in process, and will indicate when
it has been completed successfully (“Transfer to RFWDC is
complete”).
5 The scene button selected will flash while waiting for the
transfer scene information process to be completed.
6. When the scene has been properly transferred the LED
indicator for the chosen button will turn off.
7. The programmed scene button can now be tested by
pressing it to activate the scene.
Special Notes:
• The same scene can be programmed into multiple buttons if desired.
• The last scene launched will be indicated by the LED on the button.
• A failure to transfer the selected scene will be indicated on the Cooper Wiring Devices’ controller
screen. If this occurs repeat the programming steps.
• The pressing of any additional buttons while the scene information is being down loaded will cause
the scene to be dropped. You will need to redo the programming sequence.
• While RFTDCSG or RFHDCSG is in the Send mode, if a scene button is not selected within 5 seconds
either RFTDCSG or RFHDCSG will revert back to the Main Menu.
LAUNCHING SCENES:
The pressing of a programmed scene button will activate the pre-programmed scene. The scene LED will
illuminate and provide an indication of which scene button was pressed last.
If you press a non-programmed scene button you will not launch any scene. As an indication that the
scene button has not yet been programmed the selected button’s LED will come on for one second,
and then go off. This will cause the Scene Controller LED to automatically revert back to the last
launched scene.
“ALL OFF” FEATURE
:
This is a convenient feature when leaving the home, or an area, that allows for all devices controlled by
Hot
Neutral
(Gr
ound)
Gr
een
White
Black
Scene Button 1
Scene Button 2
Scene Button 3
Scene Button 4
Scene Button 5
ALL/OFF
Button
Scene Status LED


