background image

13 | 

P a g e


Playback 

Enter playback mode, as instructed earlier 

Press the MENU button to enter the settings menu. 

Use the 

▼ or ▲ buttons to select and highlight the function you would like to adjust. Press 

the MENU button to enter the subsequent menus and to exit the menu interface.  

Press 

the “OK” button to enter or confirm the following settings: 

Delete:

 Deletes the current files, or all the files on the display as per the on-screen 

instructions. 

Protect:

 Protects a file from being erased accidentally. To delete a protected file, it must 

first be unlocked. 


To upload picture/video files to your PC 

1.  Connect your USB cable to the mini USB port on the side of your dash cam. 
2.  Connect the full-size USB end of the cable to a USB port on your computer. 
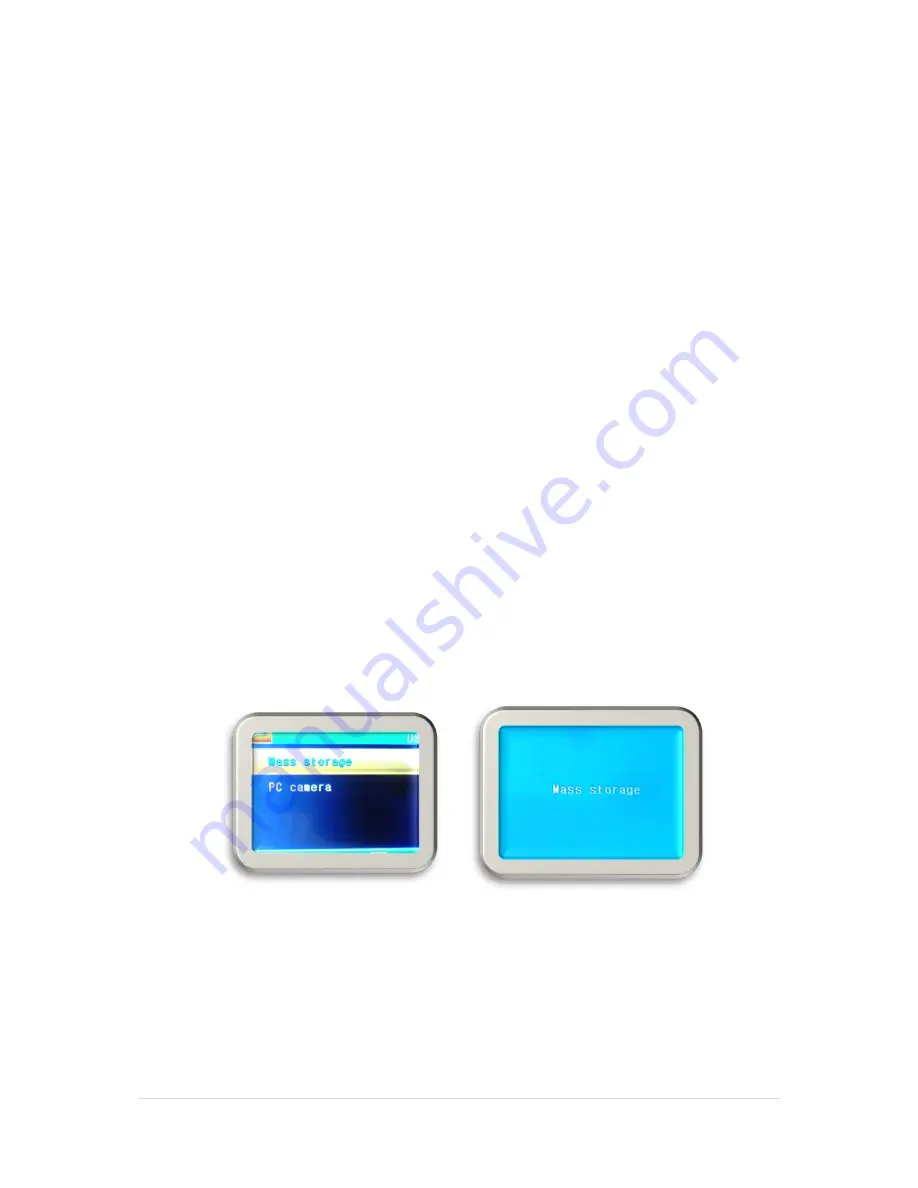
3.  Wait a few moments, there will be two options: 

  Mass Storage 

  PC Camera 

On the screen of the camera 

press the ▼ or ▲ buttons to select the “Mass Storage”, 

then you can view, watch, upload or save files to your computer device. 


Compatible computer operating systems are Windows XP, Windows Vista, Windows 7, 
Windows 8 and Windows 10. 


Summary of Contents for CPDVR2

Page 1: ...before using your new dash cam The words we use will become more familiar to you as you go through the manual and you set up and operate your camera Please also pay attention to road safety at all tim...

Page 2: ...s about Memory Cards 9 Settings Menu 10 Video 10 Video Settings 11 Resolution 11 Date Time Stamp 11 Motion Detection 11 Loop Recording 11 Record Audio 11 System Settings 12 Format 12 Language 12 Auto...

Page 3: ...nge 15 Storage media 15 File format 15 Power Source 15 I O Port 15 Screen 15 Microphone 15 Speaker 15 Accessories 16 Computer System requirement 16 About Co Pilot 17 Address 17 Phone 17 e Mail 17 FCC...

Page 4: ...or can be ordered from the internet When the card is full the camera automatically loops and overwrites the earliest video files that have been saved to the SD card In this way your dash cam can reco...

Page 5: ...5 P a g e...

Page 6: ...6 P a g e...

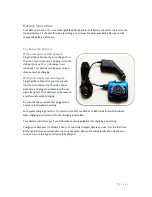
Page 7: ...end of your car adapter into the mini USB port on the side of your dash cam and plug the adapter into the car cigarette lighter Your dash cam will power on and illuminate when charging Be sure to kee...

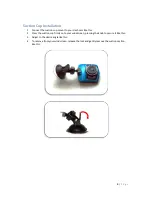
Page 8: ...ount to your dash cam like this 2 Press the suction cup firmly onto your windscreen pressing the knob to secure it like this 3 Adjust to the desire angle like this 4 To remove from your windscreen rel...

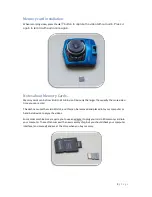
Page 9: ...y the larger the capacity the more video time you can record The dash cam uses the micro SD slot and this can be removed and placed into your computer or hand held device to enjoy the videos Some olde...

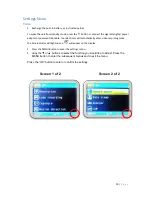
Page 10: ...le Your dash cam will automatically enter video recording mode the blue indicator will light up and will appear on the display 2 Press the MENU Button to enter the settings menu 3 Using the or buttons...

Page 11: ...3 5 or 10 or OFF Select 1 2 3 5 or 10 to record video clips for the duration selected these are in one two three five or ten minute clips Your dash cam will continually create new video clips as it re...

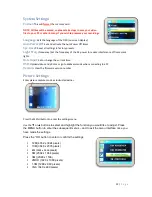
Page 12: ...Set or change the current time USB Upload videos and photos or go to Webcam mode when connecting to a PC Version View the firmware version number Picture Settings Enter picture capture mode as instruc...

Page 13: ...tructions Protect Protects a file from being erased accidentally To delete a protected file it must first be unlocked To upload picture video files to your PC 1 Connect your USB cable to the mini USB...

Page 14: ...een Mass Storage PC Camera Use the or buttons to select the PC Camera option 4 Double click on the icon on your computer desktop to open and enter webcam mode There may be other alternative applicatio...

Page 15: ...1944 pixels 3M 2048 x 1536 2MHD 1920 x 1080 pixels 1 3M 1280 x 960 pixels VGA 640 x 480 pixels Lens F 3 2mm F 2 0 Focus Range 1 2m 4 feet infinity Storage media Micro SD card up to 32 GB class 4 not i...

Page 16: ...1 x Suction Cup Note Specifications and accessories are subject to change without notice Computer System requirement Operating System Microsoft Windows XP Vista 7 8 10 CPU Intel Pentium III or greater...

Page 17: ...high quality products with value for money Our focus is on the safety and comfort of drivers and passengers and provide a full range of products to keep you safe and fully operational on the road Add...

Page 18: ...r relocate the receiving antenna Increase the separation between the equipment and receiver Connect the equipment to an outlet on separate circuit than the one connected to the receiver Consult the de...

Page 19: ...sferring to a personal computer Do not touch or press the display or lens Security of your vehicle Before leaving your vehicle always remember to conceal this device in order to reduce the possibility...

Reviews: