Assembly
Step 1—Main box
●
Make sure that the arrow indicators for the positioning of the box are
respected.
●
Open the front of the box with the retractable blade knife.
●
Open the box, then cut the straps using the retractable blade knife.
●
Remove the protective cardboard corners as well as the pieces of
corrugated cardboard located at the top, bottom, left and right of the
box.
●
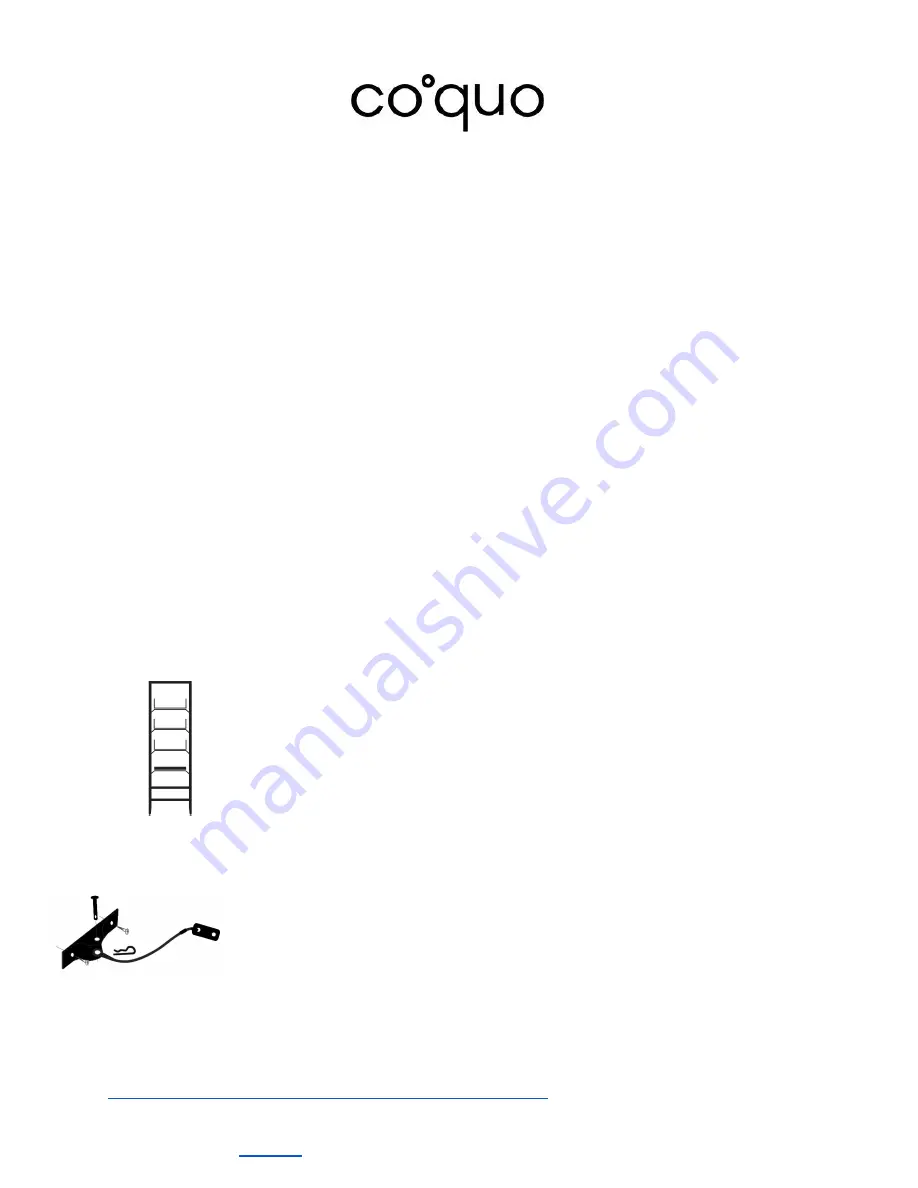
Remove the shelving unit from the packaging while being careful not to
scratch your floor.
Step 2—Accessory boxes
●
Take out the 2 medium boxes inside the large box.
●
Open the boxes with the retractable blade knife.
●
Remove the pieces of corrugated cardboard from the sides of the
boxes.
●
Take the metal shelves and the removable metal tray out of the boxes
and place them on a flat and clean surface.
●
Open the small box inside one of the two medium boxes with the
retractable blade knife.
●
Take the accessories out of the box (metal feet and safety clip A).
Step 3—Feet and adjustments
●
Place the shelving unit on its side on a protected surface.
●
In order to ensure the stability of the module, the 4 metal feet should be
inserted and screwed in until the thread is no longer visible.
●
For ease of installation, adjust the metal feet so they are roughly 1
″
from
the wooden leg.
●
Place the shelving unit on its feet in the upright position.
●
Using a level, adjust the height of the the shelving unit by adjusting the
metal feet until the cabinet is perfectly level.
Step 4—Safety clip A: anti-tip kit for modules along a wall
●
Once the shelving unit is in place, trace a line on the wall which
corresponds to the threaded slot on the rear crosspiece.
●
Remove the shelving unit from its position.
●
Remove the contents of the package containing the safety clip A and its
related accessories (anti-tip kit).
●
Position the wall plate of the safety clip A (horizontally or vertically) on
the wall opposite the traced line and, using a pencil, make a mark on the
wall where the two screws will be placed.
Watch our installation videos on YouTube for more details:
https://www.youtube.com/channel/UCiz7cfWISKgjyNpUi03Eufw
.
At coquo, your safety is our priority. It is very important to always follow the installation instructions and
to conform to the safety notice that is included in the package. These documents are also available free
of charge online at
5


