3.
INSTALLATION (continued)
3.1
POSITIONING
When selecting a position for your unit, you should make sure the floor is flat and solid so as to support the load and
that the room is well ventilated. Avoid locating your unit near a heat source, e.g. stove, boiler or radiator. Also avoid
direct sunlight as it may increase the electrical consumption. Extreme cold ambient temperatures may also cause the
unit to not perform properly. This unit is not designed for use in a garage or outdoors. Do not cover or built in the unit.
When installing the unit, leave 2 inches of clearance (2”) on both sides and at the rear and 12” inch at the top. This will
allow the cool air to circulate around the refrigerator and improve its efficiency.
3.2
DOOR SPACE REQUIREMENTS
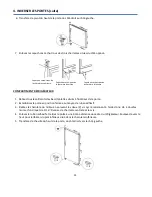
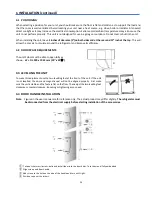
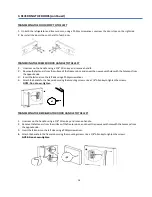
The unit's door must be able to open fully as
shown. W × D ≥ 990 x 1025 mm (39’’ x 40
½
’’)
D
W
3.3
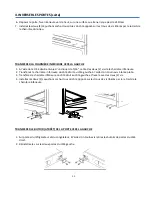
LEVELLING THE UNIT
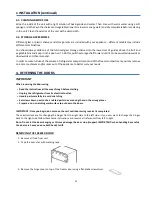
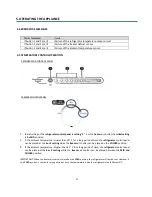
To make this adjustment use the two levelling feet at the front of the unit. If the unit
is not levelled, the door and magnetic seal will not be aligned properly. First make
sure the unit is stable and the feet are flat on the floor. Then adjust the two levelling feet
clockwise or counterclockwise, loosening or tightening as you need.
3.4
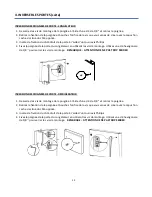
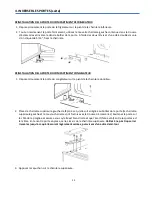
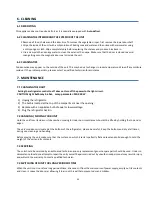
DOOR HANDLE INSTALLATION
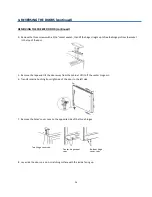
Note: Figures in the user manual are for reference only. The actual product may differ slightly. The refrigerator must
be disconnected from the electrical supply before starting installation of the accessories.
①
Take out the two crisscross-bolts and install them into the door holes. Turn them until fully embedded.
② Align screws and door handle.
③ Add screws to the hole on the side of the handle and turn until tight.
④ Position cap over the screws
.
24

