background image

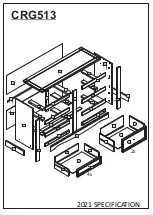
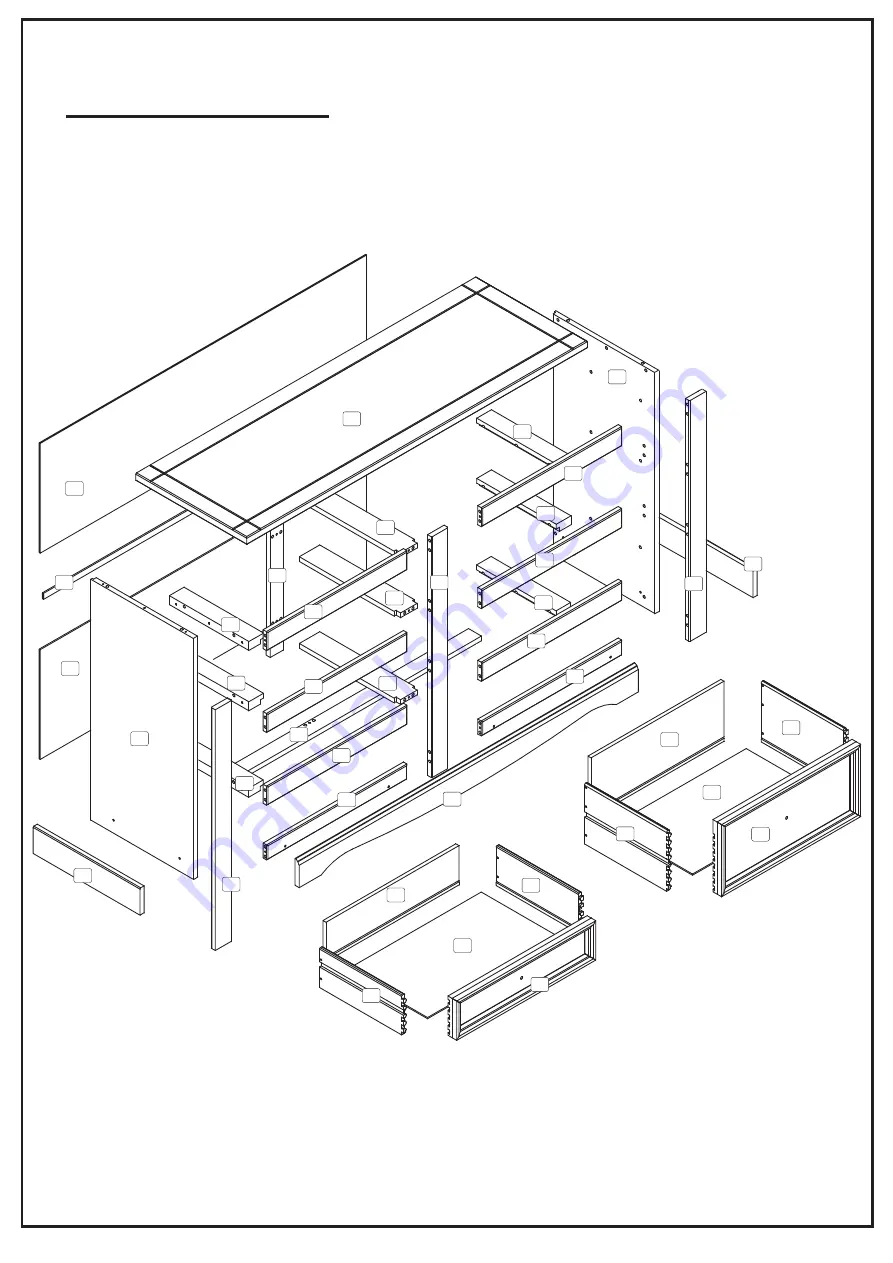
CRG513

2021 SPECIFICATION 

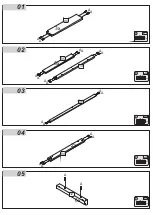
01

02

03

04

04

05

05

05

05

05

05

06

07

13

13

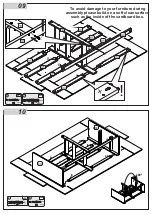
09

10

10

11

12

12

12

12

12

12

08

08

08

14

2x

4x

15

16

17

19

23

20

21

22

23

18

25

24

Summary of Contents for CRG513

Page 1: ...CRG513 2021 SPECIFICATION 01 02 03 04 04 05 05 05 05 05 05 06 07 13 13 09 10 10 11 12 12 12 12 12 12 08 08 08 14 2x 4x 15 16 17 19 23 20 21 22 23 18 25 24 ...

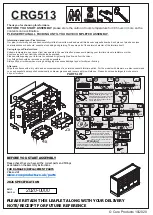
Page 2: ...r choosing this furniture BEFORE YOU START ASSEMBLY please store the carton at room temperature for 48 hours or more so the contents can acclimatise PLEASE RETAIN ALL PACKING UNTIL YOU HAVE COMPLETED ASSEMBLY Information about your Pine furniture Our pine furniture ranges have been carefully crafted from solid wood and wood fibre based composite boards Each piece of pine has unique characteristics...

Page 3: ...A A 3x AA 08 Ø8 Ø8 Ø8 Ø8 Ø8 25mm 25mm 25mm 25mm 25mm A A A A A x12 x28 x04 x08 x12 6x 14 05 A A A A A A A A A A A A 06 6x 12 A A 01 02 03 04 05 04 2x A A A A ...

Page 4: ... A A A A A A G G G G G G G G G G G G A Ø8 25mm A x10 G x12 G 28mm 25mm Ø4 5 Ø4 5 C M x12 x06 P3 P3 GOLD GOLD 02 18 25 03 12 12 12 12 C C C M M M M M M C C C C C C C C C 28mm Ø4 5 C x06 P3 GOLD 07 07 14 08 08 08 C C C C C C ...

Page 5: ... 04 05 05 05 14 B B B B B C B B B 06 09 10 To avoid damage to your furniture during assembly please build on a soft clean surface such as the inside of the cardboard box B B B B B C B 180º 02 03 B B B C C 28mm Ø4 5 C x02 B x08 Ø3 5 25mm P3 P3 GOLD SILVER 14 06 C ...

Page 6: ...11 12 13 90º 25mm Ø4 5 M x04 P3 GOLD 09 M M M M 12 12 C C C C C C 28mm Ø4 5 C x07 P3 90º GOLD M 01 M M M M M M M 13 13 25mm Ø4 5 M x10 P3 GOLD 13 09 ...

Page 7: ... joints Tap gently up and down the drawer side until fully inserted into drawer front H F J 21 24 22 J J 4x 20 23 D Use a small drop of glue F F x04 x04 D D x01 x01 20g 20g H H x04 x04 3 16 x 3 8 3 16 x 3 8 19 15 16 17 23 D Use a small drop of glue J J J J F H 2x 30mm 30mm Ø3 5 Ø3 5 J J x12 H H x02 3 16 x 3 8 3 16 x 3 8 P3 P3 GOLD F F x02 D D x01 x01 20g 20g 14 15 16 4 4 3 3 2 2 1 1 K K K K L L L ...

Page 8: ...se 17 18 WARNING CHECK FOR HIDDEN PIPES AND CABLES BEFORE DRILLING IMPORTANT IF YOUR WALLS ARE NOT SOLID LIKE BRICK OR STONE YOU WILL REQUIRE SPECIALIST FITTINGS NOT SUPPLIED Place fixing strip against the wall and mark position for drilling hole Drill hole in your wall to a depth of 30mm using a 6mm drill bit If the surface of your wall is soft and crumbly we would advise you to use a 5mm drill b...

Reviews: