background image

17

16mm

Ø3,0

J

x08

P1

P

x08

2x

J

P

P

P

P

P

J

J

J

J

18

P1

C

G

G

C

C

C

G

x04

BLACK

15

C

C

C

C

18

A

4x

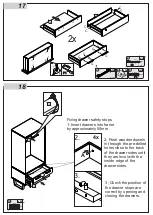
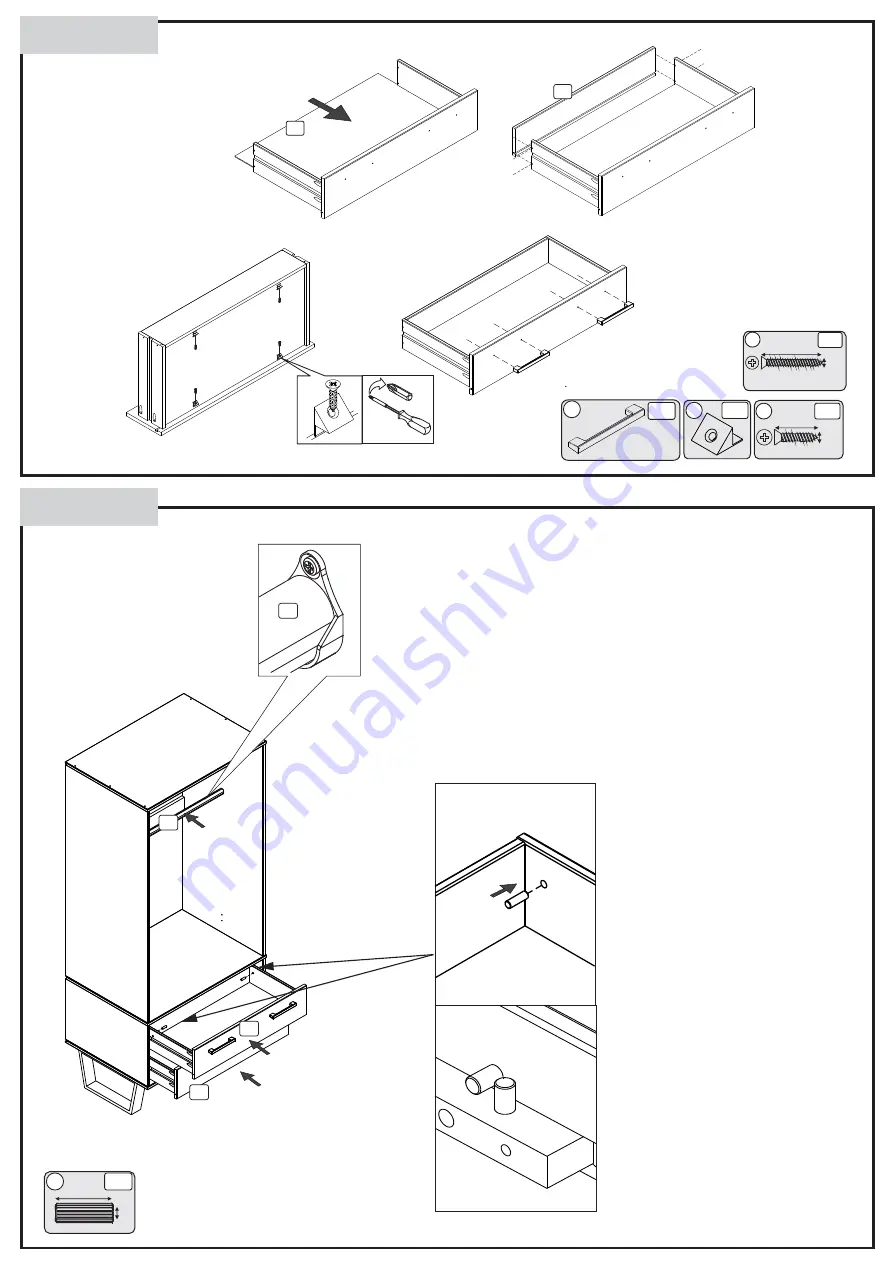
Fixing drawer safety stops

2.

3.

1; Insert drawers into frame
by approximately 50mm.

2; Push wooden dowels
in through the pre-drilled
holes close to the back 
of the drawer sides until 
they are level with the 
inside edge of the 
drawer sides.

3; Check the position of
the drawer stops are
correct by opening and
closing the drawers.

A

A

A

A

Ø8

25mm

A

x04

13

13

14

14

P3

30mm

Ø3,5

C

x16

GOLD

P3

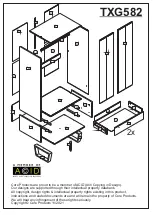
Summary of Contents for TXG582

Page 1: ...ying in Design Our designs are supported through their intellectual property databank All copyright design rights intellectual property rights existing in this product instructions and related documen...

Page 2: ......

Page 3: ...ht sunlight as it can affect the colour Any fluid spills should be removed as quickly as possible Always lift your furniture when moving as dragging may cause damage to your furniture or flooring Afte...

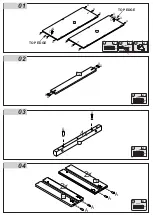
Page 4: ...01 02 03 04 02 02 A A A A A A N N N N O O A A A A A A TOP EDGE TOP EDGE 8 8 8 8 25mm 25mm 25mm 25mm A A A A x12 x04 x08 x08 N x04 GOLD 3 5 14mm P3 O x02 12 A A A A A A 04 4x 2x 2x 11 10 A A A A...

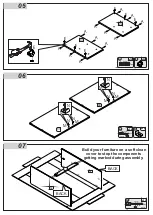
Page 5: ...A E E E E E E E 8 25mm A x12 E x06 01 09 N N M M M M N N N N M M N x04 GOLD 3 5 14mm P3 M x04 12 02 02 B B Build your furniture on a soft clean cover to stop the components getting marked during assem...

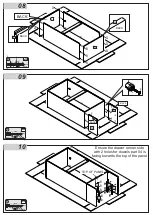
Page 6: ...D F F F F B B B B B B B B B B B B 25mm 4 5 F x06 P3 GOLD 28mm 4 5 B x12 P3 GOLD F 01 09 D x12 40mm 4 0 GOLD P3 BACK BACK BACK BACK BACK Ensure the drawer runner side with 2 holes for dowels part 04 i...

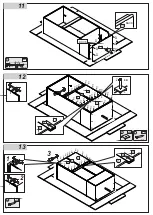
Page 7: ...8X Z x38 8 x 8 D x07 40mm 4 0 GOLD P3 L x08 16 Z Z Z Z Z Z Z Z Z Z Z ZZZ Z Z Z Z Z Z Z Z Z Z Z Z Z Z Z Z Z Z Z Z Z Z Z ZZ Z Z 07 17 10 08 07 08 07 07 05 3 Z x22 8 x 8 07 07 x22 1 2 08 07 07 Z Z Z Z Z...

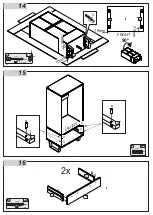
Page 8: ...14 15 16 35mm 4 5 H x12 P3 GOLD H H H H H H H H H H 75mm 75mm 10mm 10mm H 06 06 06 06 90 FRONT 11 10 14 B B B B A A 04 04 A A A A 8 25mm A x04 2x 28mm 4 5 B x08 P3 GOLD FRONT...

Page 9: ...rawers into frame by approximately 50mm 2 Push wooden dowels in through the pre drilled holes close to the back of the drawer sides until they are level with the inside edge of the drawer sides 3 Chec...

Page 10: ...his occurring especially in environments with children or uneven floors we recommend that this item of furniture is attached to your wall using appropriate fixings supplied 1 2 3 1 2 3 ADJUSTING HINGE...

Page 11: ...pth of 30mm using a 6mm drill bit If the surface of your wall is soft and crumbly we would advise you to use a 5mm drill bit for a tighter fit Insert plug into hole with end flush to the wall surface...

Reviews: