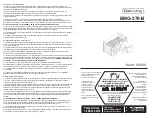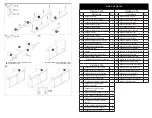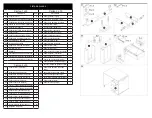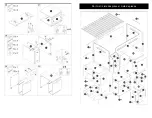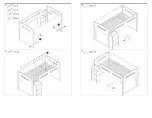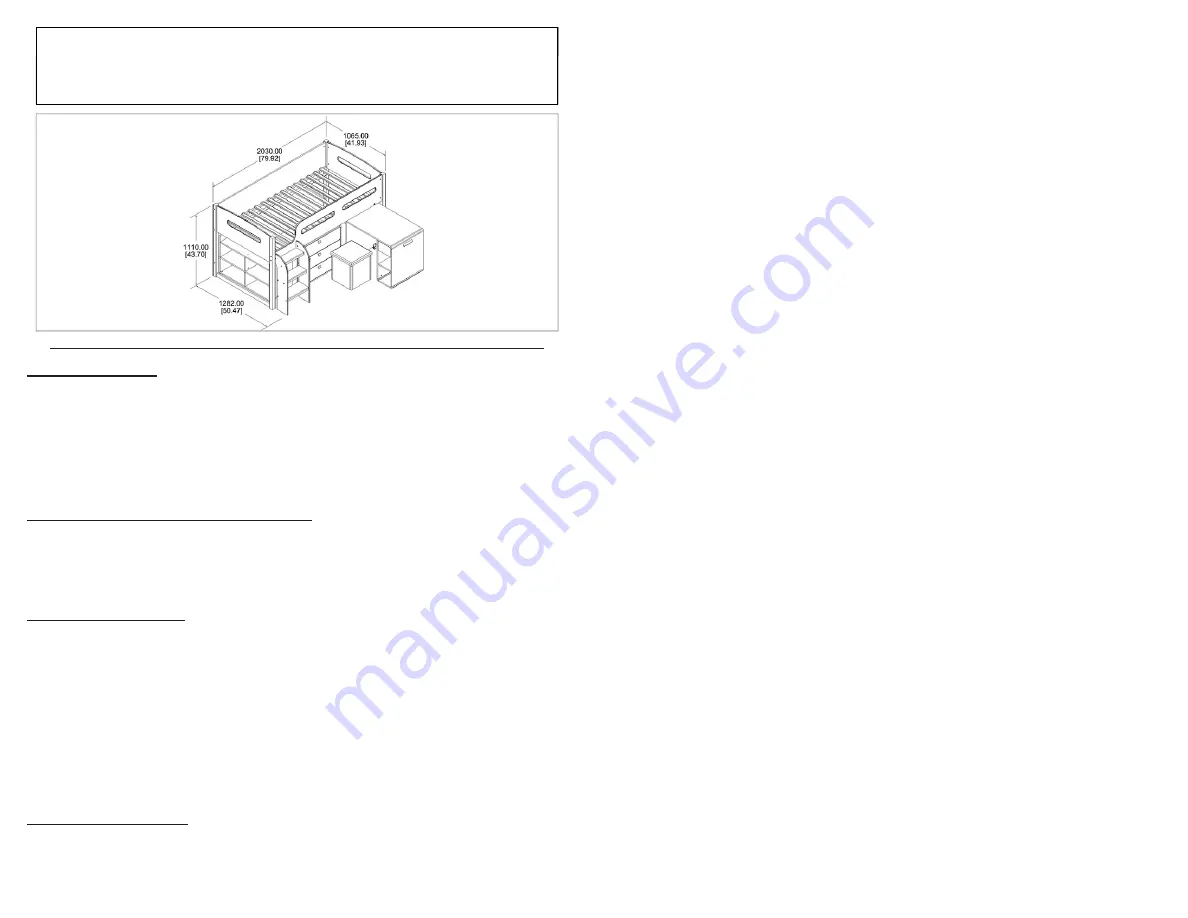
Thank you for purchasing this product. Before starting assembly we suggest you spend a short time reading through this assembly instruction manual,
then follow the simple step by step guide.
Two people are needed to assemble this product.
Merci d'avoir acheté ce produit. Avant de commencer l'assemblage, que nous vous suggérons de que vous passez un peu de temps en lisant ce manuel
d'instructions de l'Assemblée, puis suivre le guide étape-par-étape simple.
Deux personnes sont nécessaires pour monter ce produit.
Gracias por adquirir este producto. Antes de comenzar la Asamblea que le sugerimos que pasas poco tiempo leyendo este manual de instrucciones de
montaje, luego seguir a la guía paso a paso simple.
Se necesitan dos personas para montar este producto.
IMPORTANT- READ CAREFULLY- RETAIN FOR FUTURE REFERENCE
TOP TIPS YOU START!
1. Please check that all parts & hardware are present before you start the assembly of your furniture.
2. For ease and speed of assembly, we recommend that before you commence each step of the assembly, please identify
all the parts required for that step.
3. We recommend that where possible, all items are assembled near to the area in which they will be placed in use, to avoid
moving the product unnecessarily once assembled.
4. For the protection of your furniture, particularly items of high gloss fi nish , we recommend that the product is placed on a
protected surface during assembly to prevent any damage.
6. During assembly please take care not to over-tighten any fi ttings, as this may damage the product.
CARE AND MAINTENANCE OF YOUR FURNITURE
• Please periodically check all fi ttings and re-tighten as necessary.
• To clean your item, please use a damp cloth and wipe clean.
• Never allow any kind of liquid to remain on your furniture. Absorption can cause wood to warp or fi nishes to de-laminate.
• Please do not place hot items (e.g hot drinks) directly on the wood surface.
• Please do not drag or pull your furniture.
IMPORTANT INFORMATION
1. Thickness of mattress should not exceed 150mm.
2. Children should be discouraged from playing on top of this bunk bed.
3. The bunk bed should be checked periodically by the owner to ensure that the guardrail, ladder, and other components
are maintained in the correct position and state of repair and that all connectors are tight.
4. A bunk bed is not to be placed near a ceiling fan unless the distance between the closest points on the ceiling fan bunk
bed is at lest 2 metres.
5. Use guardrails on both sides of upper bunk.
6. Prohibit horseplay on or under bed(s).
7. Prohibit more than one person on upper bunk.
8. Use Ladder for entering and leaving upper bunk.
9. If the bunk bed will be placed next to the wall, the guardrail that runs the full length of the bed should be placed against
the wall to prevent entrapment between the bed and the wall.
STRANGULATION HAZARD:
10. Never attach or hang items to any part of the bunk bed that are not designed for use with the bed for example, but not
limited to hook, belt and jump ropes.
Summary of Contents for BMG-270-B
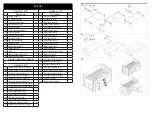
Page 9: ...Part List Liste des pi ces Lista de piezas...
Page 14: ......

