IDC Pro 255 Service Manual
© 2016, Cornelius Inc.
- 29 -
Publication Number: 621058649SER
4
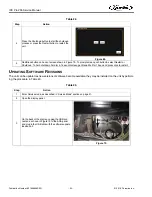
Select the Brix setup screen as shown in
Figure 56.
Figure 56.
5
All instructions and volumes below are based
on the pour rate of 3oz/sec
Figure 57.
6
Place a graduated cylinder under the valve.
7
Select the CW1 button and press Pour to dispense 10 oz (295.7 ml).
8
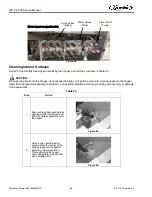
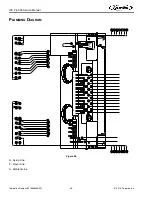
If the flow rate is not correct, adjust the proper valve to the desired flow. Refer to Figure 58 for valve locations.
9
Turn the flow adjustment valve a 1/4 of a turn at a time and recheck the flow. To increase the flow, turn the knob
clockwise.
10
Test the valve and adjust until a consistent ratio is delivered two consecutive times.
11
Select PW1 and press Pour to dispense 10 oz (295.7 ml.).
12
Perform Steps 8 through 10 for the PW1 valve.
13
Select CW3 and Pour to dispense 10 oz (295.7 ml.).
14
Perform Steps 8 through 10 for the CW3 valve.
15
Select PW3 and press Pour to dispense 10 oz (295.7 ml.).
16
Perform Steps 8 through 10 for the PW3 valve.
17
Place a graduated cylinder or brix cup under the valve.
18
Select S1 and press Pour to dispense 2.0 oz (60 ml.).
19
If the rate is not correct, perform Steps 8 through 10 for the S1 valve.
20
Repeat Steps 18 and 19 for S2 through S7 and A1 through A3.
21
Repeat Steps 18 through 19 for S8 through S14 and A4 through A6.
22
When the flow rate process is complete, select the Back button to return to the Unit Setup screen.
23
Press the Back button on the Unit Setup screen to return to the Service UI screen.
24
Press the Log Out button to return to normal operation.
25
Flavor shots Brix (once HY flavor shots for scale) 30:1
Table 19.
Step
Action
BRIX SETUP


