Quick Installation Sheet | CMA-481-AEN | Page 10
Corning Optical Communications
10. POWER UP
WARNING!
Before connecting or disconnecting ground or power wires
to the chassis, ensure that power is disconnected from the DC circuit.
To disconnect power, locate the circuit breaker on the panel board
that services the DC circuit, and switch the circuit breaker to the OFF
position. Verify zero voltage at the power terminals on the chassis
before proceeding.
DC power specifications
• Power source rating: 34-48 V DC
• Max. Consumption: SISO = 90 W; MIMO = 150 W
• Compatible wire size for plug: 30~12 AWG
• No. of required pairs: Minimum of three pairs (up to four)
• Max. current consumption for connector:
for 20 AWG = 4.5 A; (max. 5A)
Step 1:
Make sure power switch is OFF!
Step 2:
Open cabinet door, if not already open, to access
power supply unit (PSU).
Step 3:
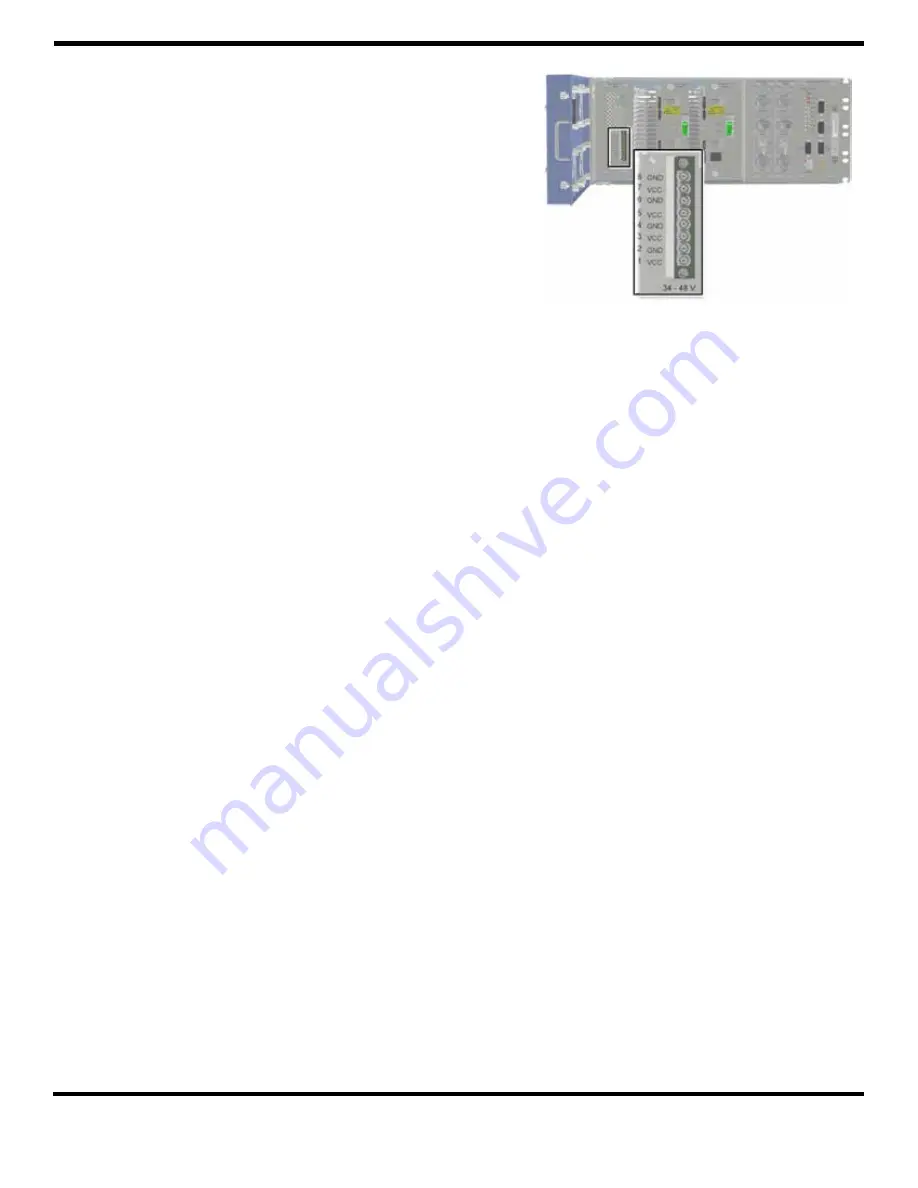
Connect the DC wires leading from the power
source to the Dinkle 2ESDFM terminal block plug
according to indicated pin out on the PSU DC
terminal block:
• Identify the positive and negative terminals
on power source feed positions. The wiring
sequence is positive to positive and negative to
negative.
• Open the terminal block screw and insert
appropriate feed into the terminal block plug
• Torque the terminal block captive screw (above
the installed wire lead), using a ratcheting
torque screwdriver. Recommended torque is
0.49N•m.
• Repeat above steps for all feeds
• Insert the plug into HX 2.5 GHz TDD PSU DC
terminal block.
Figure 16. HX 2.5 GHz TDD PSU DC Connector


