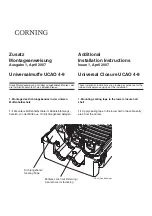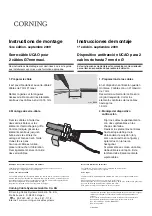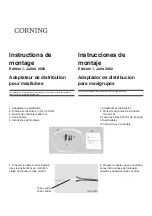
Corning Cable Systems GmbH & Co. KG
© Corning Cable Systems GmbH & Co. KG,
Profilstrasse 4, D-58093 Hagen
++ 49-2331-357-0 Fax: 357-1118
Internet: www.corning.com/cablesystems/de
Internet: www.corning.com/cablesystems/europe
☎
Gedruckt in der Bundesrepublik Deutschland auf sauerstoffgebleichtem Papier.
Printed in the Federal Republic of Germany on oxygen-bleached paper.
Liefermöglichkeiten und technische Änderungen vorbehalten.
Subject to availability. Right of modification reserved.
Best.-Nr.:
Order No.:
27.03.2007
S45754-A3-P421
Haftungsausschluss
Die Corning Cable Systems GmbH & Co. KG haftet nicht
für Schäden, die durch den nicht bestimmungsgemäßen
Gebrauch des Produktes entstehen.
Im einzelnen ergibt sich der Haftungsumfang aus den
Allgemeinen Verkaufsbedingungen der Corning Cable
Systems GmbH & Co. KG.
Dieses Produkt entspricht dem heutigen Stand
derTechnik!
Entsorgungshinweis
Die örtliche und aktuell gültige Gesetzgebung ist bei der
Entsorgung der Produkte und deren Verpackung
unbedingt zu beachten!
Disclaimer
Corning Cable Systems GmbH & Co. KG accepts no
liability for any damage arising from improper use of
the product.
The extent of any liability in specific instances shall be
limited to the General Terms and Conditions of Sale
from Corning Cable Systems GmbH & Co. KG.
This product is state of the art.
Disposal Note
Disposal of the products and their packaging must be
carried out in strict compliance with the local laws
currently in force.
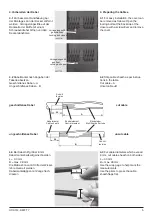
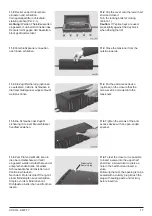
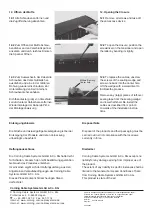
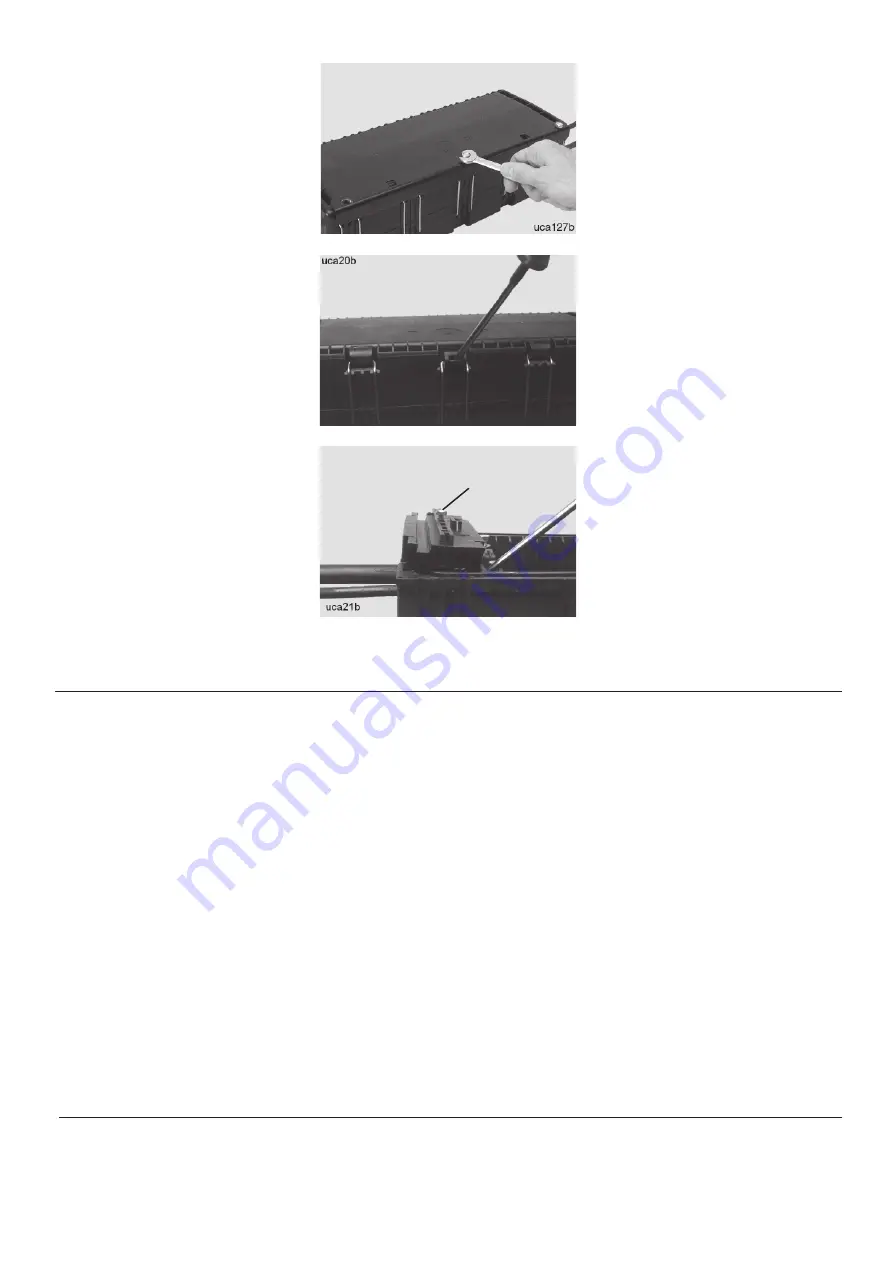
12. Öffnen der Muffe
12.1
Alle Schrauben entfernen und
die Zugriffsicherung abnehmen.
12. Opening the Closure
12.1
Remove all screws and take off
the anti-access device.
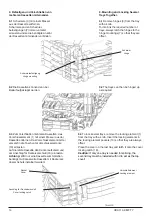
12.3
Zum Auswechseln der Kabel die
Schrauben des Verschlußkeils her-
ausdrehen und eine in der mittleren
Bohrung wieder einschrauben. Zur
Unterstützung den Keil mit einem
Schraubendreher anheben.
Dichtbandreste (grob) von Verschluß-
keil und unterer Halbschale entfernen.
Wiedermontage der Kabel ab Pkt. 4
der Montageanweisung
12.3
To replace the cables, unscrew
the screws of the sealing wedge and
screw one back into the center hole.
Lift the wedge with a screwdriver to
facilitate the process.
Remove any (large) pieces of left-over
sealing tape from the sealing wedge
and lower half shell. Re-install the
cables as described from point 4
onwards of the installation instruc-
tions.
Mittlere Bohrung
Center hole
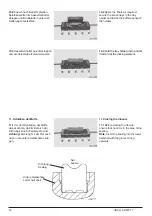
12.2
Zum Öffnen der Muffe Schrau-
bendreher an den Verschlußspanner
ansetzen und durch leichtes Knicken
die Spanner öffnen.
12.2
To open the closure, position the
screwdriver on the tensioner and open
the latter by bending it slightly.


