© Corroventa Ltd.
2017.07
21 (27)
Connecting machines to a Network
Carry out the following to connect machines to a network.
1.
If the machines are connected, switch them off. Then connect the machines to each other
using system cables. The two connectors on the machines have the same function, so it does
not matter which of them is used. If SuperVision is to be used, it can be connected to any
machine.
2.
Start the machines.
3.
Select which machine is to be master.
If the units are used in a network with the single purpose of monitoring and remotely
controlling them via SuperVision, it does not matter which machine is master.
4.
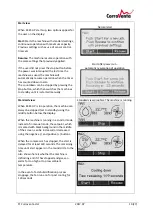
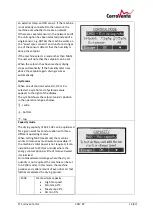
Open the network menu as shown below using the right arrow button on the selected
master machine.
(If the menu is not found, the Basic menu system has been activated on the machine. Change
this by opening the setup and maintenance menus and set the menu system to Advanced.)
5.
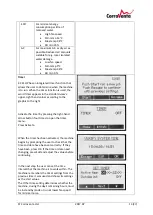
Press <Create> in the network menu and wait whilst the machine establishes the network.
6.
Once the network has been created, the display switches between the different slaves at the
top of the screen. If SuperVision has been connected, the text SuperVision appears at the
bottom of the screen. It can take up to one minute for the text to appear.
When the above steps have been followed, all slave machines are controlled by the master. This
means that all slave machines start and stop together with the master. They work with the same
settings as they had before being connected in the network. If the settings need changing, press
Change and then select the slave to be changed via the master. It is also possible to make the
necessary changes on the machine itself. Whilst the slave machine is being changed, via the
master, the slave machine's background lighting flashes so that the user can see which machine
is selected.

