Corsham Technologies, LLC
www.corshamtech.com
617 Stokes Road, Suite 4-‐299
Medford, NJ 08055
KIM-‐1 I/O Board
Revision C or Later Boards
March 2013
Thank you for purchasing a KIM-1 I/O expansion board, which has been one of our most popular
products. It was developed as a result of what capabilities we wanted to add to our KIM-1
collection to make it easier to use and interface with more common communication standards.
This board has been sold with few changes for many years, but the revision C board has a number
of changes to address needs of our customers:
•
Power connector now has three terminals instead of four.
•
A power LED has been added.
•
The audio connectors are now a more common 1/8
th
inch.
•
The KBD/TTY option is now set via a switch instead of a jumper.
•
Smaller board.
•
Silkscreen labels instead of copper.
For references to direction through this document, the board is assumed to be in “normal”
position, with the edge connector facing to the right, ready to plug into the KIM’s Application
connector. The Application connector is along the lower, left-hand edge of the KIM. The
Expansion connector is the upper connector.
Installation
We’re going to begin the installation in a somewhat unusual way… we’re not going to plug the
board into the KIM-1 at first. Trust me, this will make sense eventually.
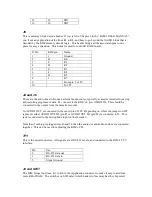
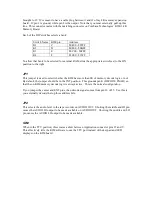
The first step is to connect a 5 volt power supply and ground to the green J1 connector at the
upper left hand corner of the board. There are three terminals on this connector, each of which is
labeled just to the left of the connector. Make sure you connect a well-regulated 5 volt DC supply
that is capable of at least the 1.2 amps required of the KIM. If you wish to use the cassette
interface, you also need to connect a 12 volt supply on the appropriate jack on J1. The KIM-1
does not use 12 volts except for the cassette interface, so if you don’t need this, then there is no
need for the 12 volt supply.


