10
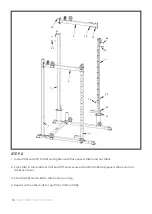
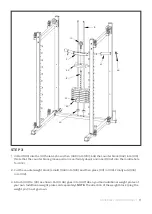
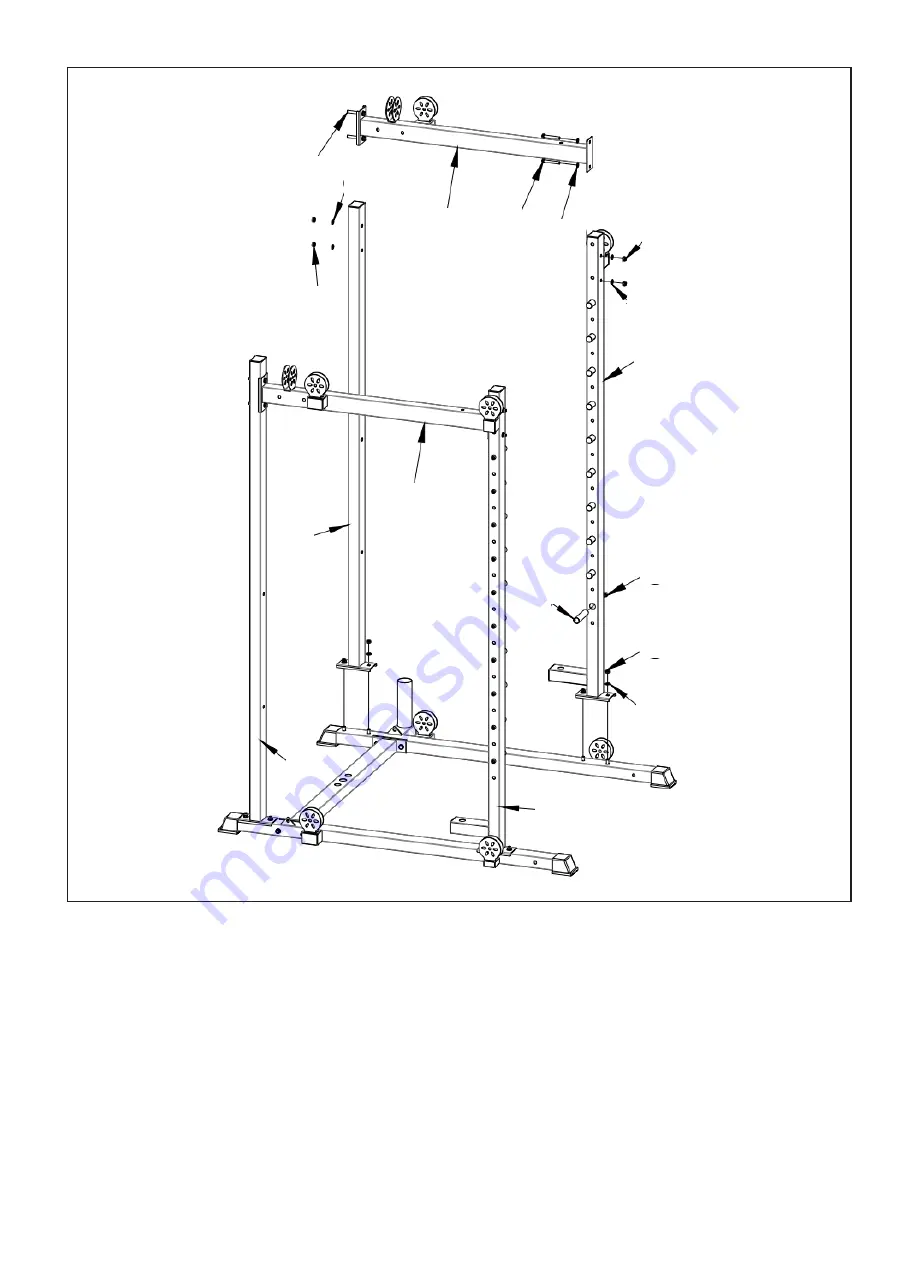
1. Install (#5) and (#7) to (#2) and tighten with flat spacers (#63) and nut (#64).
2. Place (#9) in the middle of (#5) and (#7) and secure with bolts (#59), flat spacers (#63), and nut
(#64) as shown.
3. Attach (#58) and (# 66) to (#5) as shown in Fig.
4. Repeat on the other side for part (#6), (#7) and (#8).
STEP 2
| ASSEMBLY INSTRUCTIONS
59
63
9
59
63
64
63
5
66
64
63
58
6
7
7
8
64
Summary of Contents for SM20
Page 2: ......
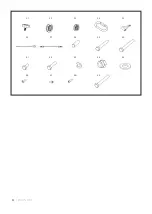
Page 8: ...8 PARTS LIST 51 52 53 54 55 56 57 58 59 60 61 62 63 64 65 66 67 68 69 ...
Page 22: ......
Page 23: ......
Page 24: ...WWW LIFESPANFITNESS COM AU ...


