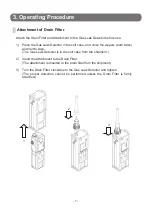
- 9 -
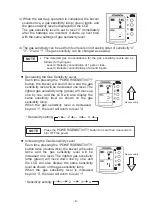
3) When the warm-up operation is completed, the buzzer
sounds once, a gas sensitivity lamp (green) lights, and
the gas sensitivity level is displayed on the LCD.
The gas sensitivity level is set to level “3” immediately
after the batteries are inserted. It starts up next time
with the same settings of gas sensitivity level.
4) The gas sensitivity can be set from four levels in increasing order of sensitivity “4”,
“3”, “2” and “1”. The gas sensitivity can be changed as needed.
Decreasing the Gas Sensitivity Level
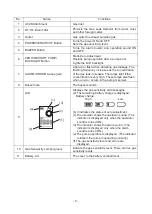
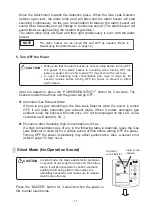
Each time pressing the “POWER/SENSITIVITY”
button, the buzzer will sound once and the gas
sensitivity level will be decreased one level. The
lighted gas sensitivity lamp (green) will move up
one by one, and the LCD will also display the
same sensitivity level as shown on the gas
sensitivity lamp.
When the gas sensitivity level is decreased
beyond “1”, the level will return to level “4”.
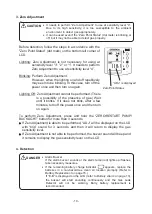
Increasing the Gas Sensitivity Level
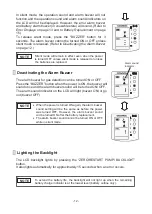
Each time pressing the “POWER/SENSITIVITY”
button twice (double-click), the buzzer will sound
twice and the gas sensitivity level will be
increased one level. The lighted gas sensitivity
lamp (green) will move down one by one, and
the LCD will also display the same sensitivity
level as shown on the gas sensitivity lamp.
When the gas sensitivity level is increased
beyond “4”, the level will return to level “1”.
The detected gas concentrations for the gas sensitivity levels are as
follows (for hydrogen).
Level 4: Detects concentration of 1 ppm or less.
Level 3: Detects concentrations of around 6 ppm.
NOTE
* Sensitivity setting:
1
2
3
4
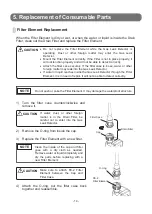
Press the
POWER/SENSITIVITY
button for more than 3 seconds to
turn OFF the power.
NOTE
* Sensitivity setting:
1
2
3
4
5
4
3
2
1
L
H
SENS.
LOW
Gas sensitivity
1
2
3
4
L
H
SENS.
Gas sensitivity
4
3
2
1
L
H
SENS.
HIGH
- 8 -
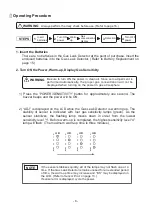
Operating Procedure
1. Insert the Batteries
There are no batteries in the Gas Leak Detector at the point of purchase. Insert the
enclosed batteries into the Gas Leak Detector. (Refer to
Battery Replacement
on
page 15.)
2. Turn ON the Power, Warm-up, Display Gas Sensitivity
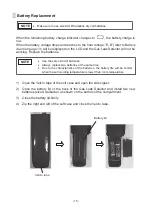
1) Press the “POWER/SENSITIVITY” button for approximately one second. The
buzzer beeps and the power will be ON.
2) “ADJ” is displayed on the LCD while the Gas Leak Detector is warming up. The
stability of sensor is indicated with four gas sensitivity lamps (green). As the
sensor stabilizes, the flashing lamp moves down in order from the lowest
sensitivity level “1”. Before warm-up is completed, the highest sensitivity level “4”
lamp will flash. (The maximum warm-up time is three minutes.)
Always perform the daily check before use. (Refer to page 16.)
WARNING
STEPS
3
Detection
Turn OFF
power
4
Insert
batteries
1
2
Turn ON
power
Warm-
up
Gas
concentration
display
Be sure to turn ON the power in clean air. Since zero adjustment is
performed automatically, the proper gas concentration will not be
displayed when turning on the power in gas atmosphere.
WARNING
If the sensor stabilizes quickly, all of the lamps may not flash one at a
time.
If the Gas Leak Detector remains unused for an extended period
of time, the warm-up time may increase and “E-S” may be displayed on
the LCD. (Refer to
Sensor Error
on page 13.)
If sensor error is displayed, cycle the power.
NOTE
1
2
3
4
H
L SENS.
1
2
3
4
H
L SENS.
1
2
3
4
H
L SENS.
1
2
3
4
H
L SENS.


