8 Daily and Periodic Inspections
Daily Inspections
Checking the Gas Inlet Tube
Is the tube damaged? If so, replace it with a new one.
Checking the Filter
If the filter is dirty and discolored, replace it with a new one.
Periodic Inspections
To maintain accuracy, it is recommended that the Gas Detector be given periodic inspections
and adjustments at least once a year by an authorized representative of New Cosmos.
Replace the sensor unit every six months.
Note
Clean the Gas Detector by gently wiping it with a cloth dampened with water.
9 Troubleshooting
Symptom
Possible cause
Corrective action
Reference
The power does not come
ON even when the power
switch is pressed and
held.
Battery polarity is reversed.
Correct the battery polarity.
Page 6
The batteries are low.
Replace the batteries.
The sensor unit is not installed. Install a sensor unit.
Page 7
Abnormal drop in the flow
rate
The filter is clogged.
Replace the filter with a new one.
Page 10
Sensor error
There is not enough power to
the sensor unit.
Make sure the sensor unit has
sufficient power when installing it.
Page 7
The shelf life of the sensor unit
has expired.
Replace the sensor unit with a
new one.
Page 7
10 Consumable Parts and Options
Part name
Model number
Remarks
Sensor unit
XDS-7
□
Contact an authorized representative of New
Cosmos regarding gases that can be detected.
Filters (10 per set)
FE-112
AC adapter
*
Special adapter for 100-240V AC/6V DC.
Sensor Stocker
*
EC-7
Provides power for up to six sensor units at one
time.
Log data download software
*
XPS7L
Required to write log data to a personal computer.
Communications adapter
*
CA-7
Serial crossover cable
*
KRS-L09-2K
11
*
Not available for the XPS-7 with CE marking.
10
11
Note
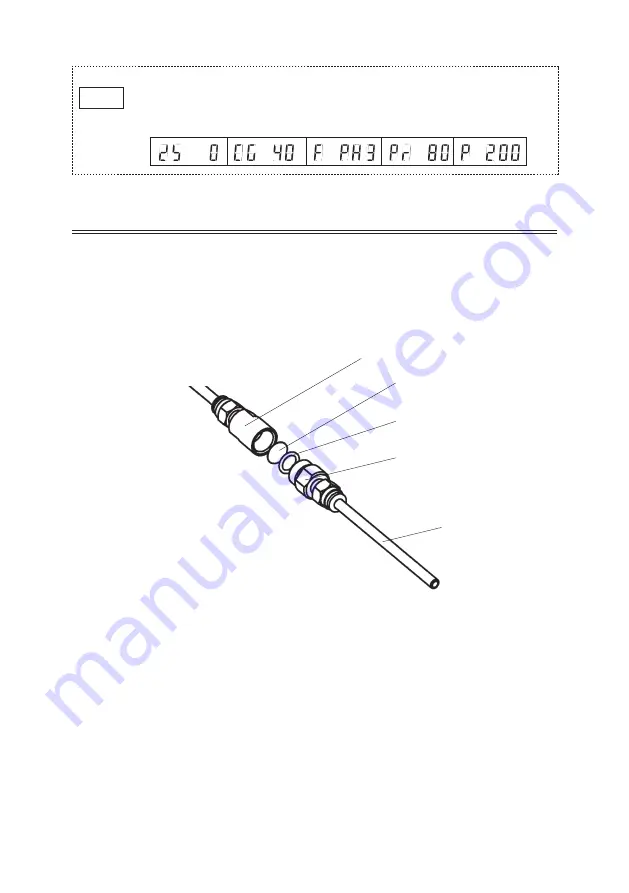
● Pressing the UP (▲) or DOWN (▼) switch repeatedly in RUN mode changes the display on
the bottom right corner of the LCD display as shown below. These are factory adjustments
that are not available for user application
7 Replacing the Filter
①
Twist the filter holder with detection probe to open it.
②
Use a pair of tweezers to remove the O ring and filter.
③
Insert a new filter and the O ring.
④
Reassemble the filter case.
●Filter
●O ring
●Filter holder
Twist the filter holder to
open it.
●Filter case
●Detection probe


