User’s Manual
30
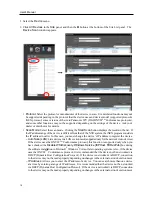
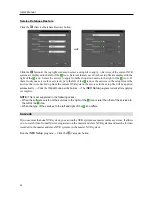
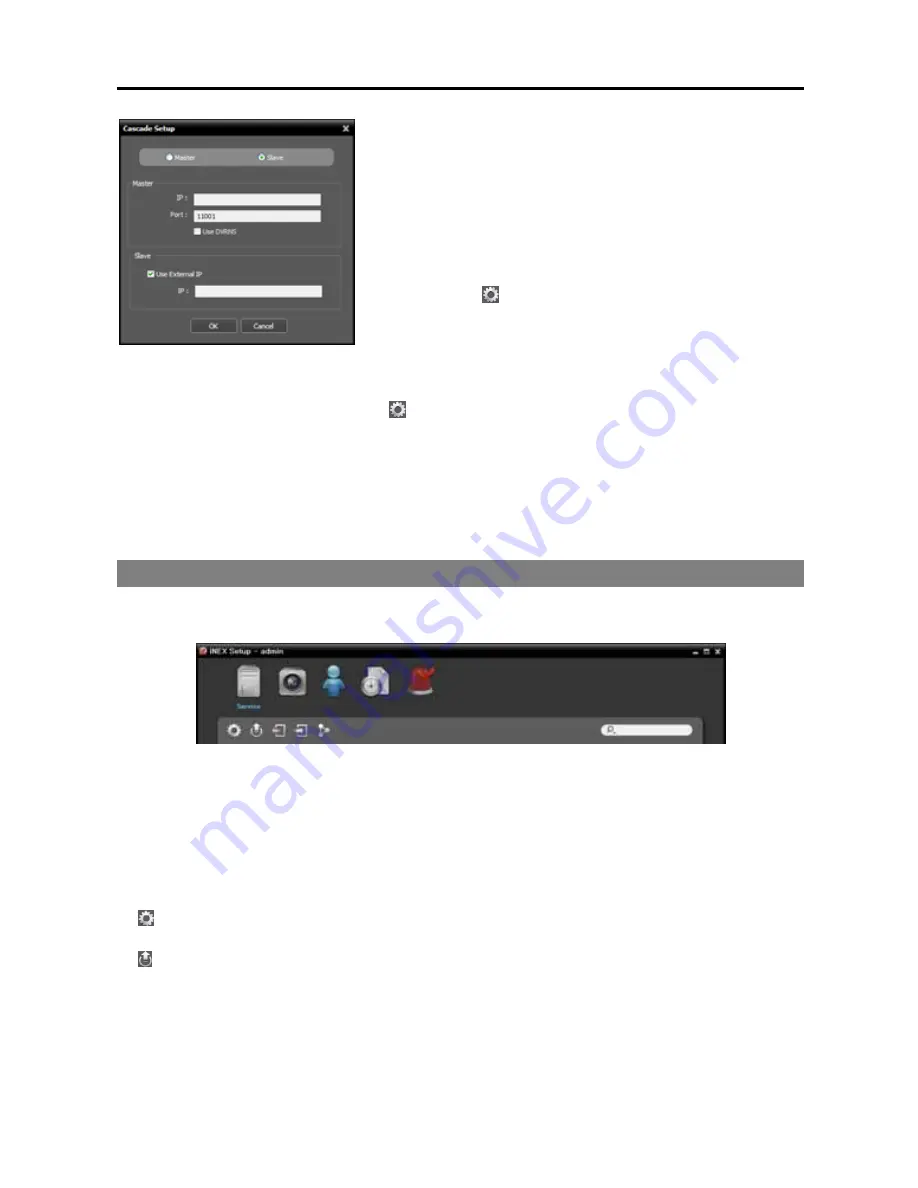
Master, Slave
: Select
Slave
. This NVR system is registered
on the master NVR system and it allows you to watch or search
video of this NVR system in the master NVR system.
−
Master
: Enter the IP address and port number of the master
NVR system. If the master NVR system uses the DVRNS
function, selecting
Use DVRNS
allows you to enter the master
NVR system’s name registered on the DVRNS server instead
of the IP address. You can check the name in the master NVR
system’s DVRNS setting (connect to the master NVR system
→
click the (System Setup) button in the
Service
menu of
the iNEX Setup program
→
click
DVRNS
).
−
Slave
: If this NVR system uses the DVRNS function, no settings are required. If this NVR system
does not use the DVRNS function, enter the external IP address of this NVR system. If the external
IP address is not correct, you may not watch or search video. If you want, you can change the DVRNS
settings of this NVR system (click the (System Setup) button in the
Service
menu
→
click
DVRNS
).
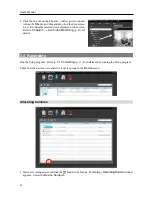
1.
Click the
OK
button in the bottom.
2.
Enter the ID and password of the master NVR system.
3.
The recording and streaming services of this NVR system are registered on the master NVR system.
The devices registered on the recording service are registered together.
4.
This NVR system reboots.
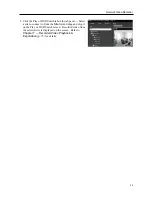
4.2 Setup
Run the Setup program. Refer to
3.1 Connecting
(p. 11) for details about running the Setup program.
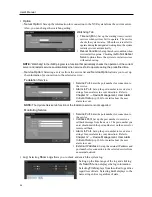
Service
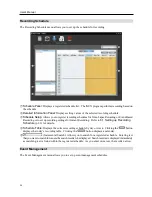
: Allows you to register and manage services and storage. Refer to
Service
(p. 31) for details.
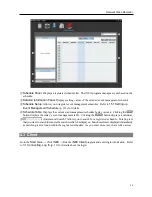
Device
: Allows you to register and manage sites. Refer to
Device
(p. 31) for details.
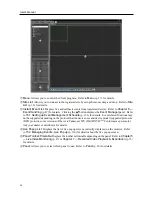
User
: Allows you to register and manage users or user groups. Refer to
User
(p. 33) for details.
Recording Schedule
: Allows you to set up recording schedules. Refer to
Recording Schedule
(p. 34)
for details.
Event Management
: Allows you to set up event management schedules. Refer to
Event Management
(p. 34) for details.
(System Setup): Clicking the button allows you to set up the system. Refer to
3.1 Connecting,
System Setup
(p. 12) for details.
(Upgrade): Clicking the button and selecting a upgrade file upgrades the software of NVR system.
Refer to
3.1 Connecting, System Setup
(p. 12) for details.
NOTE:
An alert message is displayed at the bottom of the iNEX Setup screen in the following cases:
– No storage is allocated to a recording service.
– Storage for recording is full.
Summary of Contents for CRINEXSN04-2TB
Page 1: ......
Page 2: ......
Page 8: ...User s Manual vi Troubleshooting 160 Specification 161 Index 163 ...
Page 18: ...User s Manual 10 ...
Page 32: ...User s Manual 24 ...
Page 54: ...User s Manual 46 ...
Page 70: ...User s Manual 62 ...
Page 82: ...User s Manual 74 ...
Page 94: ...User s Manual 86 ...
Page 102: ...User s Manual 94 ...
Page 142: ...User s Manual 134 ...
Page 164: ...User s Manual 156 ...
Page 170: ...User s Manual 162 ...

