User’s Manual
50
Registering Layouts
1.
Go to the
System
menu, and click
iNEX Setup
, and select the
Device
menu.
2.
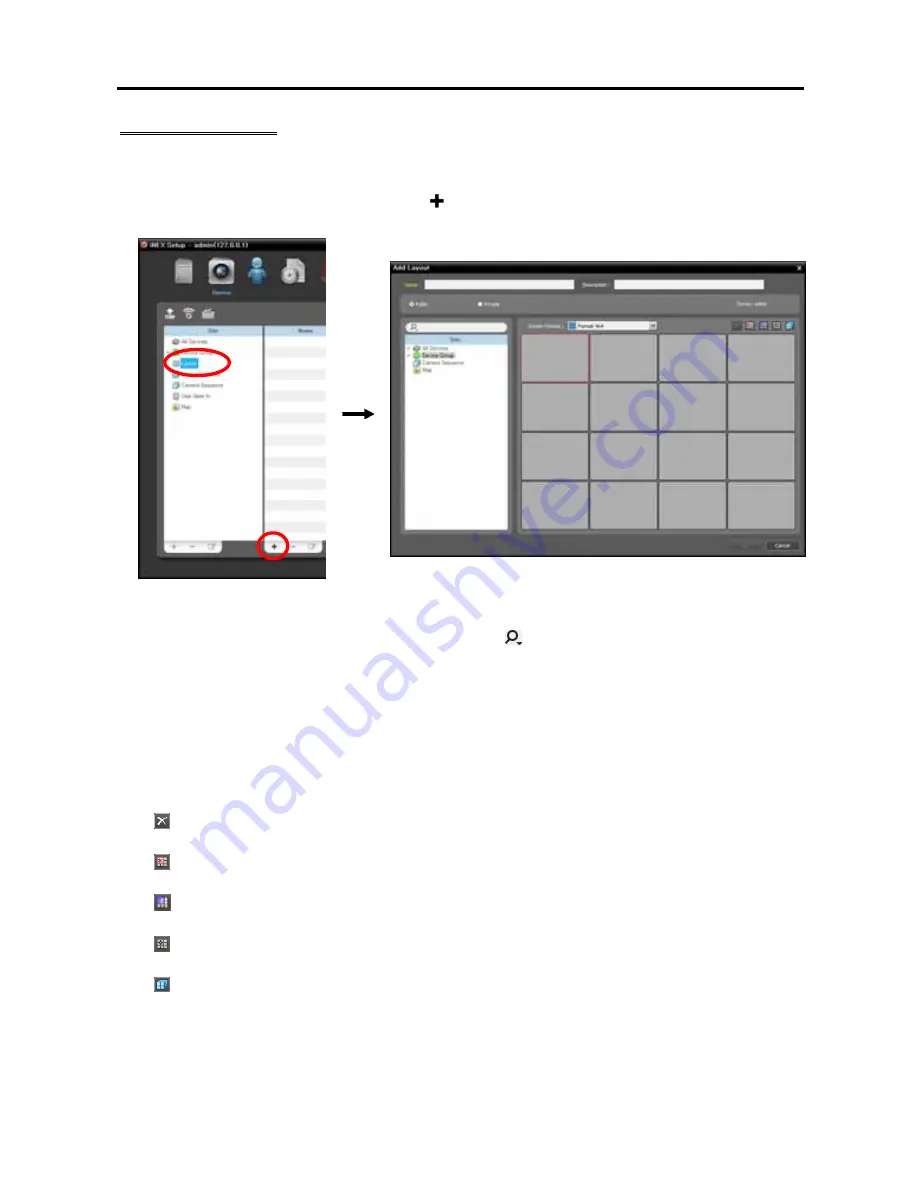
Click
Layout
in the
Site
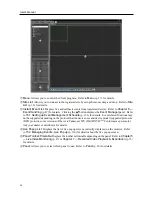
panel, and then the button at the bottom of the Site List panel on the right.
The
Add Layout
window appears.
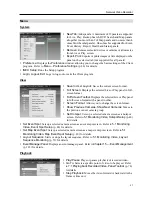
Name
: Enter the layout name.
Site
: Displays a list of registered devices, cameras or camera sequences. You can search for a registered
device or camera sequence by entering text beside the icon. Entering text that you want to search
for causes the search results to be displayed. Search results are displayed immediately as matching
text is found. As you enter more text, the results narrow.
Public
/
Private
: Displays the layout to all users (
Public
) or to a current user only (
Private
). The
admin
user can see all layouts.
Owner
: Displays the user ID of the person who created the layout.
Screen Format
: Select a screen format for the layout to be registered. Select a device, a camera or
camera sequence to assign to the layout in the
Site
panel, and drag and drop it in the desired camera
screen of the layout screen.
(Remove): Selecting a camera screen in the layout screen and clicking this button deletes the camera
assigned to the camera screen from the layout screen.
(Hotspot): Selecting a camera screen in the layout screen and clicking this button sets up the camera
screen as a hotspot screen.
(Event Spot): Selecting a camera screen in the layout screen and clicking the button sets up the camera
screen as an event spot screen.
(Map Event Spot): Selecting a camera screen in the layout screen and clicking the button sets up
the camera screen as a map event spot screen.
(Camera Sequence): Selecting a camera screen in the layout screen and clicking this button allows
you to create a camera sequence and assigns the created camera sequence to the camera screen.
Clicking the
OK
button completes registration of the layout.
Summary of Contents for CRINEXSN04-2TB
Page 1: ......
Page 2: ......
Page 8: ...User s Manual vi Troubleshooting 160 Specification 161 Index 163 ...
Page 18: ...User s Manual 10 ...
Page 32: ...User s Manual 24 ...
Page 54: ...User s Manual 46 ...
Page 70: ...User s Manual 62 ...
Page 82: ...User s Manual 74 ...
Page 94: ...User s Manual 86 ...
Page 102: ...User s Manual 94 ...
Page 142: ...User s Manual 134 ...
Page 164: ...User s Manual 156 ...
Page 170: ...User s Manual 162 ...

