background image


Quick Installation Guide 

3. Operation 

 
The Network Camera can be used with Windows operating system and browsers. The recommended 
browsers are Internet Explorer, Safari, Firefox, Opera and Google Chrome with Windows. 
 

3.1 Access from a browser 

 
1.    Start a browser (Internet Explorer). 
2.    Enter the IP address or host name of the Network Camera in the Location/Address field of your 

browser. 

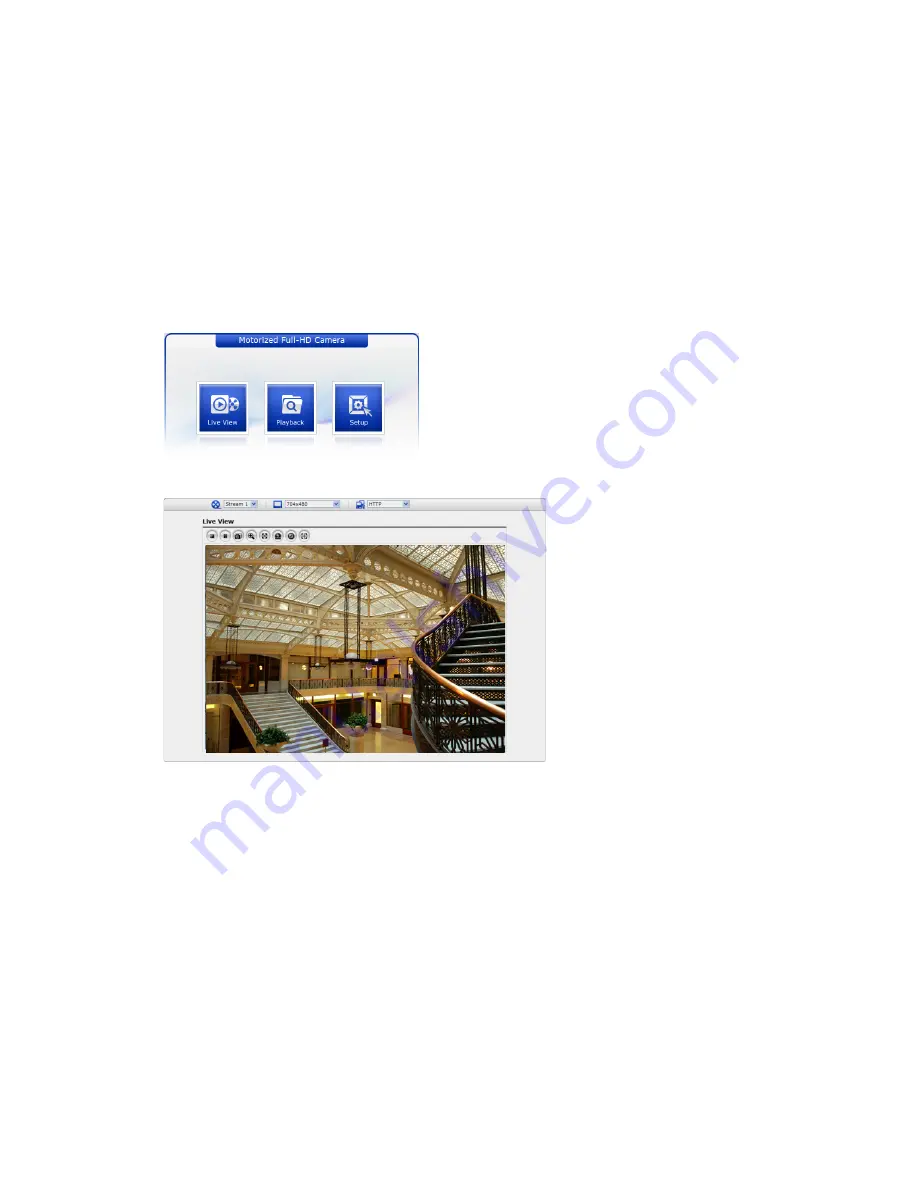
3.    You can see a starting page. Click Live View or Setup to enter web page. 


4.    The network camera’s Live View page appears in your browser. 


3.2. Access from the internet 

 
Access from the internet once connected, the Network Camera is accessible on your local network 
(LAN). To access the network camera from the Internet you must configure your broadband router to 
allow incoming data traffic to the network camera. To do this, enable the NAT-traversal feature, which 
will attempt to automatically configure the router to allow access to the network camera. This is 
enabled from Setup > System > Network > NAT.   
 
For more information, please see “3.5.5 System>Network>NAT” of User’s Manual. 


Summary of Contents for CDIH226VIRF

Page 1: ...deo with 1080p 2 0 mega pixel resolution The Remote Focus capability allows you to optically zoom and fine focus the camera over the network eliminating the need to use two installers to hand focus the camera The IP66 weatherproof rating makes this bullet camera suitable for outdoor applications such as gas stations retail parking lots and many others Costar Video s IP cameras are compatible with ...

Page 2: ...Camera is fully featured for security surveillance and remote monitoring needs It is based on the DSP compression chip and makes it available on the network as real time full frame rate Motion JPEG and H 264 or MPEG 4 video streams The alarm input and alarm output can be used to connect various third party devices such as door sensors and alarm bells Installation Steps Follow these steps to instal...

Page 3: ...operation methods it is possible to connect an alarm cable additionally For its fixation on different locations please consult with an installer 2 1 Connection Connection Description NO Connector Name Description 1 Micro SD Slot Micro SD memory slot 2 Service Monitor Port Service Monitor OSD Controller Communication Port Stereo Jack 3 Audio In Out Port Audio Input and Output Stereo Jack 4 Alarm In...

Page 4: ...ernal devices such as buzzers or lights Connect the device to the AO Alarm Out and G Ground connectors Connecting the Power Connect the power of DC12V or AC24V for the network camera Connect the positive pole to the position and the negative pole to the position for the DC power Be careful not to reverse the polarity when you connect the power cable You can also use a router featuring PoE Power ov...

Page 5: ... enters Zoom and Focus control mode as soon as connecting OSD Controller to the Service Monitor port Zoom Control Zoom In Zoom Out Focus Control Focus Near Focus Far Smart Focus Press and hold the SET button for 2 or more seconds The camera readjusts focus automatically Note You can get the Optional OSD Controller from your installer Heater Kit Installation Optional 1 Place the heater element is s...

Page 6: ...e CD The factory default IP is 192 168 30 220 1 Connect the Network Camera device to the network and power up 2 Start SmartManager utility All Programs SmartManager SmartManager the main window will be displayed after a short while any network devices connected to the network will be displayed in the list 3 Select the camera on the list and click right button of the mouse You can see the pop up me...

Page 7: ...ew or Setup to enter web page 4 The network camera s Live View page appears in your browser 3 2 Access from the internet Access from the internet once connected the Network Camera is accessible on your local network LAN To access the network camera from the Internet you must configure your broadband router to allow incoming data traffic to the network camera To do this enable the NAT traversal fea...

Page 8: ...with your PC specifications and monitoring purposes 1 General controls Live View Page Search Playback Page Setup Page Help Page The video drop down list allows you to select a customized or pre programmed video stream on the live view page Stream profiles are configured under Setup Basic Configuration Video Image For more information please see 3 5 1 Basic Configuration Video Image of User s Manua...

Page 9: ...e Smart Focus button readjusts focus automatically Use this scale to control the volume of the speakers Use this scale to control the volume of the microphone Use this scale to control the volume of the speakers and microphones 3 Video and Audio Streams The network camera provides several images and video stream formats Your requirements and the properties of your network will determine the type y...

Page 10: ... Image Audio Event and System Configuration You can configure the network camera by clicking Setup in the top right hand corner of the Live View page Click on this page to access the online help that explains the setup tools When accessing the Network Camera for the first time the Admin Password dialog appears Enter your admin name and password set by the administrator Note If the password is lost...

Page 11: ... while reconnecting the power 4 Keep the Reset button SW1 pressed during about 2 seconds 5 Release the Reset button SW1 6 The network camera resets to factory defaults and restarts after completing the factory reset The unit now has the default IP address 192 168 30 220 7 Close the top cover of camera Caution When performing a Factory Reset you will lose any settings you have saved 3 7 More Inform...

Page 12: ...Quick Installation Guide 12 ...

Page 13: ...Quick Installation Guide Full HD VP DOME NETWORK CAMERA Printed in Korea 13 ...

Reviews: