background image

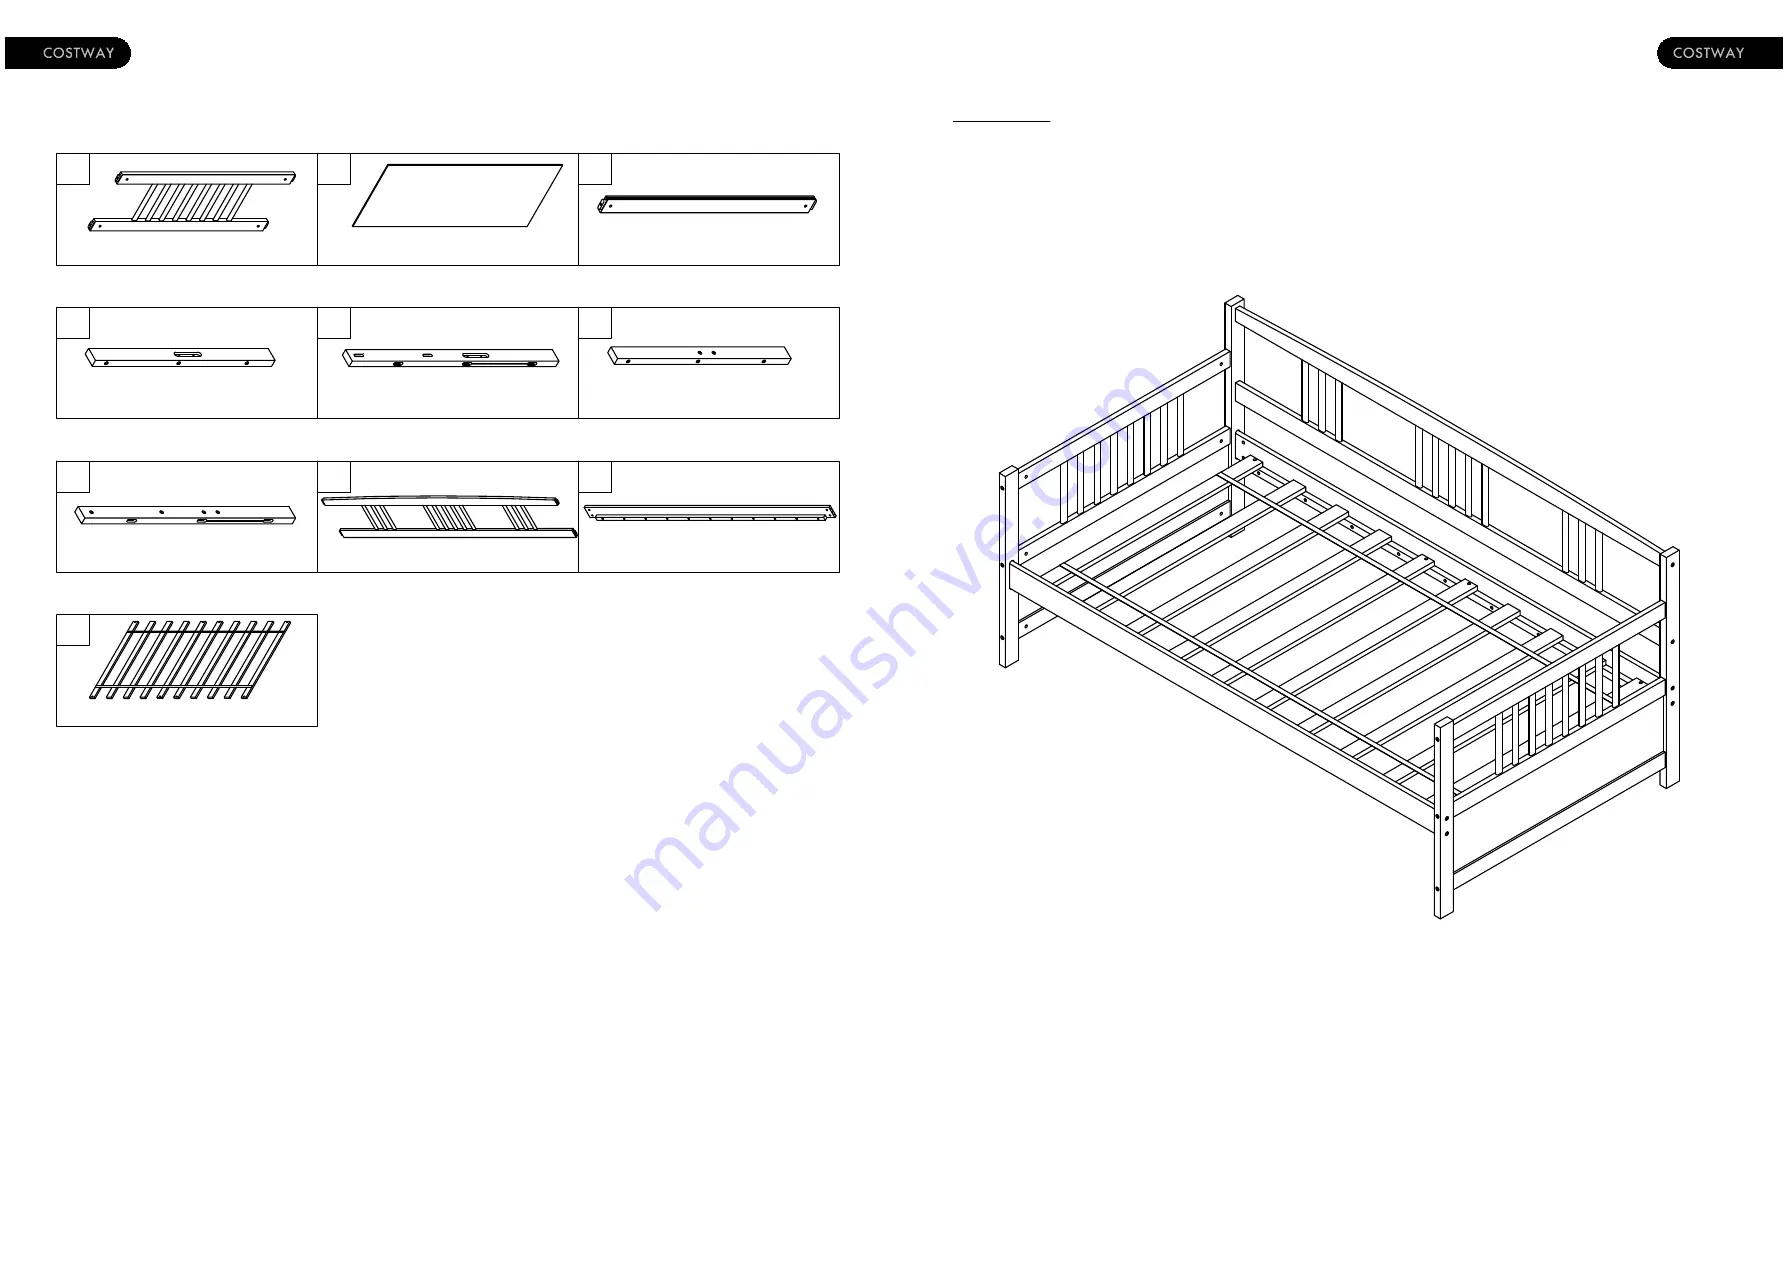
Part List

04

09

STEP 4:

A

B

C

D

E

F

G

H

I

J

Side panel - 2pcs

Side rail(Back & Front)-2pcs

Horizontal bar - 2pcs

HB & FB  - 2pcs

Slats - 1set (10pcs)

Leg left (Front) - 1pc

Leg left (Back) - 1pc

Leg right (Front) - 1pc

Leg right (Back) - 1pc

Guard rail(Back)-1pc

Summary of Contents for HW63521

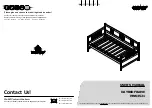
Page 1: ...nce to make it right and do better Contact our friendly customer service department for help first Replacements for missing or damaged parts will be shipped ASAP US office Fontana UK office Ipswich AU office Truganina THIS INSTRUCTION BOOKLET CONTAINS INPORTANT SAFETY INFORMATION PLEASE READ AND KEEP FOR FUTURE REFERENCE USER S MANUAL DAYBED FRAME HW63521 R R ...

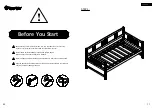
Page 2: ...y difficulties may occur Most of board parts are labeled or stamped on the raw edges Have a check to make sure all parts are included Work in a spacious area preferably on a carpet close to where the unit will be used Keep the handtools close at hand Do not use power tools to assemble your furniture They may scratch or damage the parts STEP 5 11 ...

Page 3: ...mediately Using a soft cleancloth blot the spill gently Avoid rubbing Check bolts screws periodically and tighten them if necessary Further advice about wood furniture care It is best to keep your furniture in a climate controlled environment Extreme temperature and humidity changes can cause fading warping shrinking and splitting of wood It is advised to keep furniture away from direct sunlight a...

Page 4: ...09 STEP 4 A B C D E F G H I J Side panel 2pcs Side rail Back Front 2pcs Horizontal bar 2pcs HB FB 2pcs Slats 1set 10pcs Leg left Front 1pc Leg left Back 1pc Leg right Front 1pc Leg right Back 1pc Guard rail Back 1pc ...

Page 5: ...ood screws 8pcs Hex Head bolts 12pcs Allen key 1pc 1 4 4 5 58mm 4 8PCS Note Do not lock the screws of the bed slats to the outermost edge of the bed slats you need to leave a certain space at the edges otherwise it will cause the board to break Do not lock the bed slats on the edge of the wood please hold firmly before screwing 69mm 2 7 ...

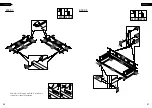
Page 6: ...06 07 3 3 Note Part 3 will face up with the x mark on it otherwise it cannot be tightened STEP 1 12PCS 1 3 12PCS 1 3 2 3 3 2 3 12PCS 12PCS F B B F I I 5 STEP 2 5 ...

Reviews: