LIGHTING INSTRUCTIONS
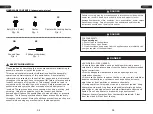
1. Make 2~3 oz. of leak solution by mixing one part liquid dishwasher
detergent and three parts water. Noted: make sure control knob is “OFF”.
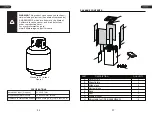
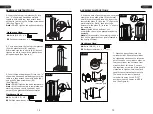
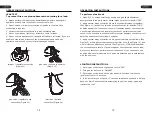
2. Apply several drops of solution where the cylinder attaches to regulator,
(See Figure 11), inspect the solution at the connection for bubbles. If NO
bubbles appear, the connection is secure. If bubbles appear, the connection
has the leak, disconnect the regulator, reconnect, perform another leak
check. If you continue to see bubbles after several attempts, cylinder valve is
defective and contact the cylinder’s supplier.
3. Apply several drops of solution where gas valve attaches to bellows, (See
Figure 12), where gas valve attaches to regulator hose, (See Figure 13), and
where inlet tube attaches to bellows, (See Figure 14). If NO bubbles appear,
the connections are secure. If bubbles appear, the connection has the leak,
disconnect, reconnect, perform another leak check. If you continue to see
bubbles after several attempts, both parts are defective and should replace
with the new ones.
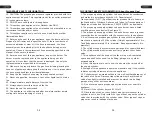
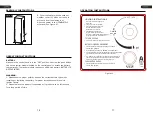
1. Push in gas control knob slightly and turn to “OFF”.
2. Turn gas control knob to “ON/MIN”.
3. Push in gas control knob all the way and hold. Continue to press the
ignition button for 15 seconds.
4. If the burner does not light in 15 seconds, release the knob and it will pop
back out. Wait 5 minutes before attempting to light the burner again and
repeat step 1 to 3.
To perform a leak test:
gas valve / regulator hose
connection (Figure 13)
inlet tube / bellows
connection (Figure 14)
cylinder / regulator connection
(Figure 11)
gas valve / bellows connection
(Figure 12)
LEAK TEST
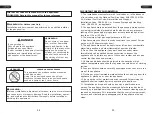
To prevent fire or explosion hazard when testing for a leak:
OPERATION INSTRUCTIONS
1. Always perform the leak test as described below before lighting this
appliance or each time the cylinder is connected for use.
2. Do not smoke or allow other sources of ignition in the area while
conducting a leak test.
3. Conduct the leak test outdoors in a well-ventilated area.
4. Do not use matches, lighters or a flame to check for leaks.
5. Do not use this appliance until any and all leaks are corrected. If you are
unable to stop a leak, disconnect the propane supply and call a gas
appliance service shop or your local propane gas supplier.
OPERATION INSTRUCTIONS
18
19


