Version 1.0c
Page 30
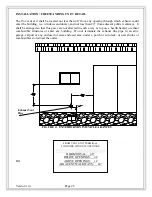
INSTALLATION / INSERT UNIT / DETAILS
1.
Leveling the Insert:
A.
If the firebox hearth floor is level, install the LR-01 and prepare to install the shroud.
B.
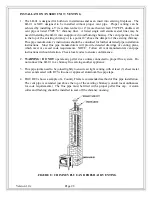
If the firebox hearth floor is uneven, install the LR-01 and grout or shim as necessary to
ensure the unit is level or slightly declining from front to back. If the LR-01 leans
forward in an uneven position, the pellets may bridge during stove operation.
2.
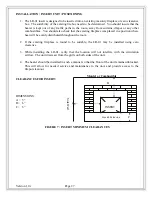
The LR-01 is designed to be inserted into a minimum 16” deep firebox. If the depth is greater
than 16” this will only provide additional room but if the depth is less than 16” then a hearth
extension may be required. Contact a certified professional installer or a Country Flame
Dealer for assistance.
3.
Installing the Shroud:
A.
After leveling and locating the unit and installing venting and power, pull the unit out
from the fireplace to allow the shroud and its insulation to be installed.
B.
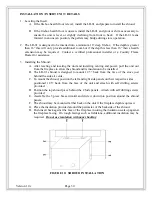
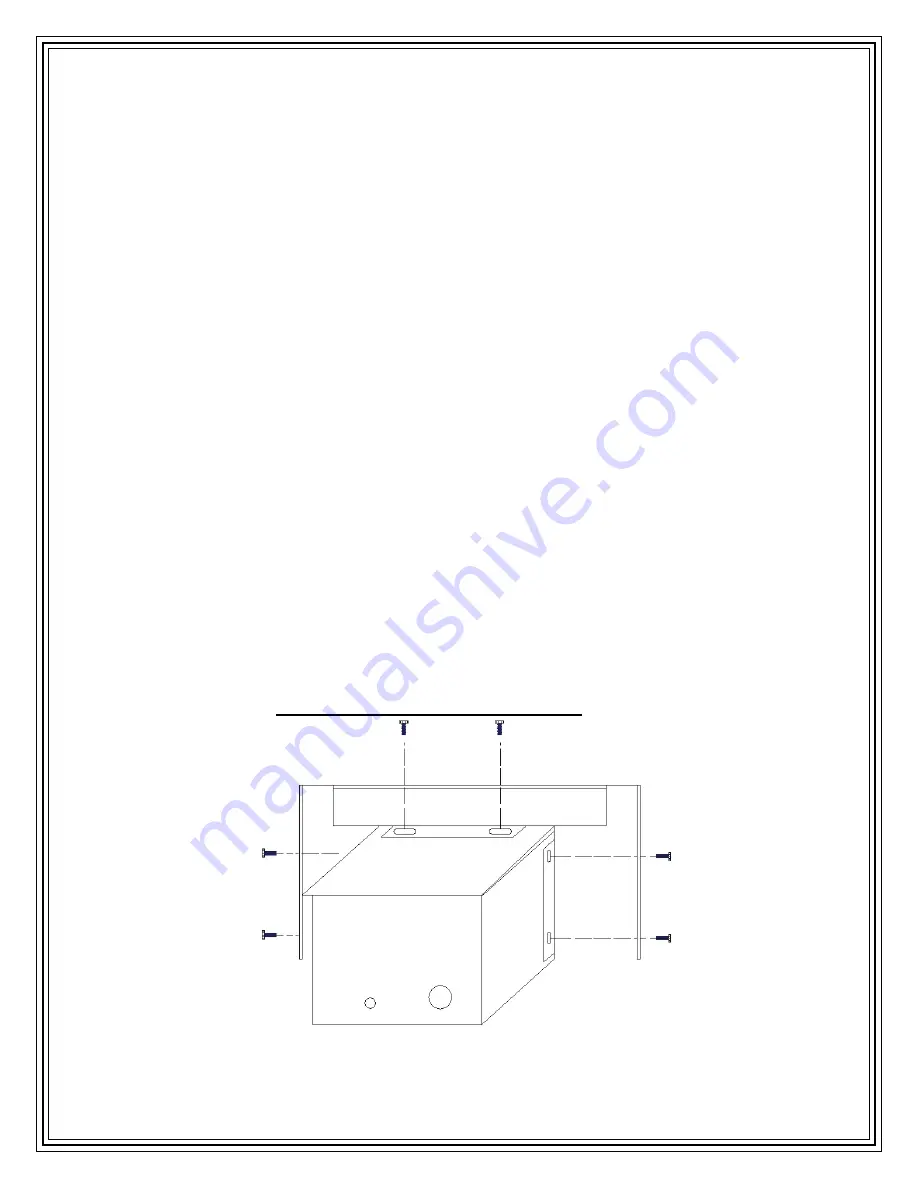
The LR-01 shroud is designed to mount 12.5” back from the face of the stove just
behind the side air vents.
C.
To mount the shroud, position the left and right side panels on their respective sides
positioned 12.5” back from the face of the unit and attach with self drilling screws
provided.
D.
Position the top shroud piece behind the 2 Side panels. Attach with self drilling screws
provided
E.
Assemble the 3 piece brass trim kit and slide it down into position around the shroud
panels.
F.
The shroud may be mounted farther back on the unit if the fireplace depth requires it.
G.
Place the insulation provided around the perimeter of the backside of the shroud.
H.
Push insert back against the face of the fireplace insuring the insulation seals up against
the fireplace facing. On rough facings such as fieldstone, additional insulation may be
required.
Do not use insulation with paper backing
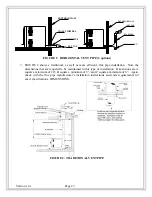
FIGURE 10: SHROUD INSTALLATION


