LEGENDX COVER page-
37
NOTE
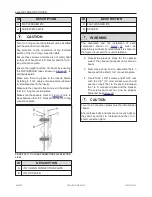
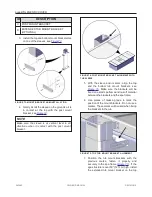
For some spas, optional dual side brackets (item
B,
) are needed to mount the cover to the
posts. The installation of these brackets is made
the same way as for the post mount brackets
described in the previous step.
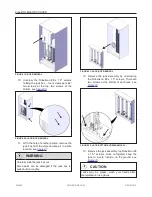
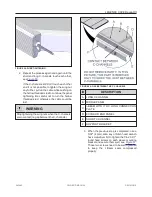
FIGURE 43: POST MOUNT BRACKET INSTALLATION
ID
DESCRIPTION
A
SUPPORT BRACKET
B
DUAL SIDE BRACKET (OPTIONAL)
C
1/4-20 X 1" SOCKET HEAD SCREW
D
POST MOUNT BRACKET
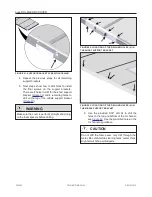
FIGURE 44: OTHER POST BRACKET INSTALLATION
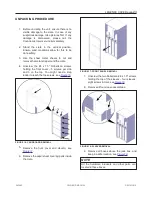
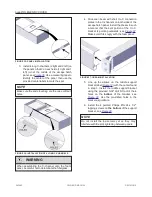
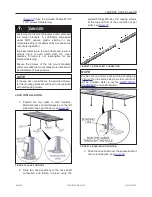
12. If it is not done yet, carefully position the
assembled center section of the cover onto
the middle of the spa. Try to align the cover as
best as possible, see
FIGURE 45: INSTALLATION OF THE COVER ON THE SPA
CAUTION
Failure to gently position the cover onto the spa
could result in scratching the acrylic of the spa or
damaging the cover.
Ensure foam spacers are correctly positioned
under the I-beams to simulate seal height.
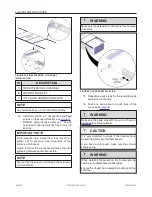
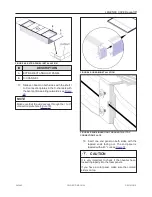
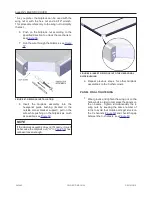
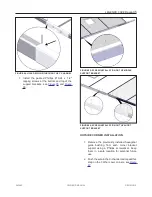
13. Insert the side extension C-channel inside the
support bracket, see
.
NOTE
There are two slots at one end of the C-channels.
The slots must go toward the cover, see
Ensure that the long I to C connection plate is well
inserted into the side extension C-channel.
Make sure that the cable runs through the gutter of
the side extension C-channel.
243462
OWNER'S MANUAL
REVISION 2
Summary of Contents for LEGEND COVER
Page 1: ......
Page 2: ......
Page 16: ...page 14 LEGENDX COVER FIGURE 14 BATTERY SPECIFICATION LABEL 243462 OWNER S MANUAL REVISION 2...
Page 29: ...LEGENDX COVER page 27 HARDWARE IDENTIFICATION TABLE BAGS 243462 OWNER S MANUAL REVISION 2...
Page 70: ......
Page 74: ...page 72 LEGENDX COVER 243462 OWNER S MANUAL REVISION 2...
Page 82: ...page 80 LEGENDX COVER 243462 OWNER S MANUAL REVISION 2...

