page-
38
LEGENDX COVER
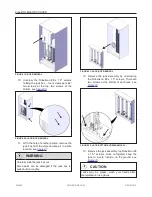
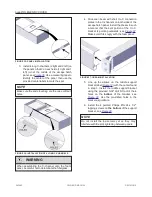
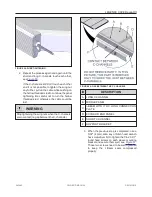
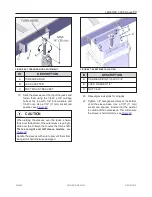
FIGURE 46: SIDE EXTENSION C-CHANNEL
INSTALLATION
ID
DESCRIPTION
A
SIDE EXTENSION C-CHANNEL
B
SUPPORT BRACKET
C
I TO C LONG CONNECTION PLATE
NOTE
Use hardware bag no. 30 for the following step.
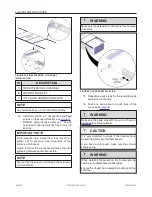
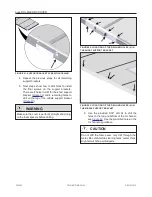
14. Install two 1/4-20 x 1" hexagonal round head
screws on the support bracket, see
.
DO NOT tighten those screws yet. The side
extension C-channel must be free to move in
its slots.
IMPORTANT NOTE
In the previous step, install the screws but do not
tighten yet to ensure a free movement of the
extension C-channel.
Failure to follow this procedure will make the joint
tightening between panels impossible.
NOTE
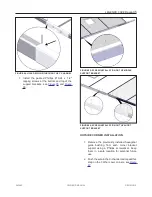
Ensure that the screws run through the extension
C-channel slots.
WARNING
Make sure the extension C-channel is free to move
in its slots.
FIGURE 47: SCREW INSTALLATION
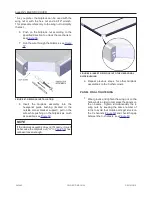
15. Repeat previous steps for the remaining side
extension C-channels.
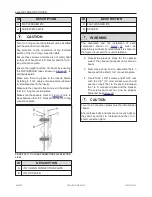
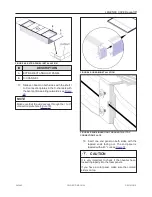
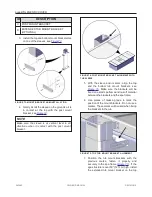
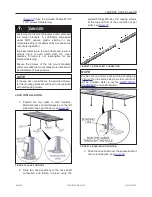
16. Slide one extra panel on each side of the
cover, see
.
WARNING
Make sure the panel side with the cut out shown in
is pointing outward.
CAUTION
It is very important to check if the I-beams have
locked in properly into the foam panels.
If you have a color panel, make sure the colored
side is on top.
WARNING
When installing the panels on the C-channels, be
careful not to delaminate the fiberglass.
Ensure the I-beam has cleared the bottom and top
sections.
243462
OWNER'S MANUAL
REVISION 2
Summary of Contents for LEGEND COVER
Page 1: ......
Page 2: ......
Page 16: ...page 14 LEGENDX COVER FIGURE 14 BATTERY SPECIFICATION LABEL 243462 OWNER S MANUAL REVISION 2...
Page 29: ...LEGENDX COVER page 27 HARDWARE IDENTIFICATION TABLE BAGS 243462 OWNER S MANUAL REVISION 2...
Page 70: ......
Page 74: ...page 72 LEGENDX COVER 243462 OWNER S MANUAL REVISION 2...
Page 82: ...page 80 LEGENDX COVER 243462 OWNER S MANUAL REVISION 2...

