page-
48
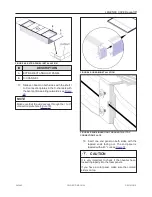
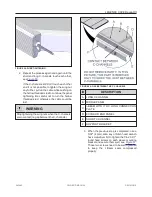
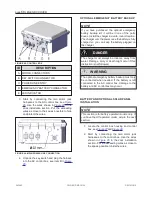
LEGENDX COVER
ID
DESCRIPTION
C
POST MOUNT BRACKET
D
EXTENDED TUB MOUNT BRACKET
(OPTIONAL)
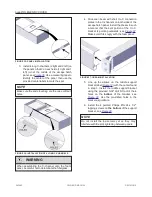
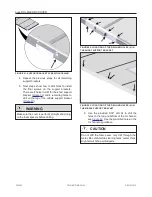
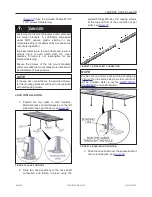
3. Install the top and bottom mount bracket arms
on one of the sleeves, see
.
FIGURE 73: MOUNT BRACKET ARM INSTALLATION
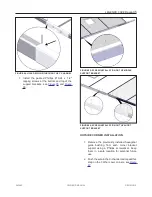
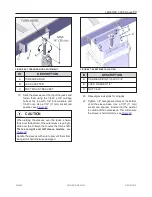
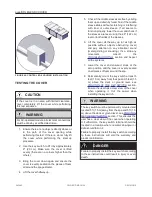
4. Gently install the sleeve on the ground so it is
in contact at the top with the post mount
bracket, see
.
NOTE
Make sure the sleeve is at vertical level in all
directions when in contact with the post mount
bracket.
FIGURE 74: POST MOUNT BRACKET ALIGNMENT WITH
THE SLEEVE
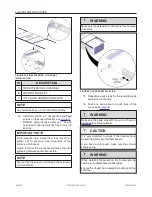
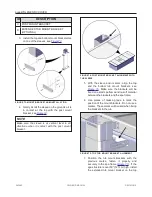
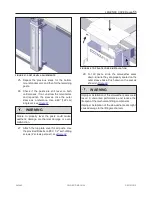
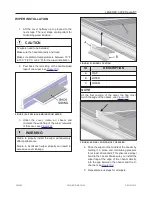
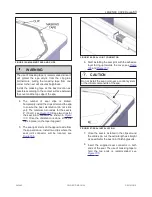
5. With the sleeve and its arms, align the top
and the bottom tub mount brackets, see
. Make sure the brackets will be
fixed on a solid spa frame and no soft material
between the brackets and the spa frame.
6. Use pieces of masking tape to mark the
position of the mount brackets. Do not use a
marker. These marks will be used when fixing
the brackets to the tub.
FIGURE 75: TOP TUB MOUNT BRACKET ALIGNMENT
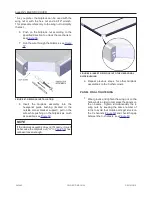
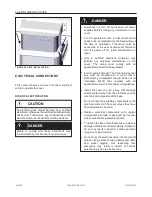
7. Position the tub mount brackets with the
previous
marks,
fasten it
properly
and
securely to the spa frame (
). If the
spa structure is over 50" (127 cm) high, install
the extended tub mount bracket on the top
243462
OWNER'S MANUAL
REVISION 2
Summary of Contents for LEGEND COVER
Page 1: ......
Page 2: ......
Page 16: ...page 14 LEGENDX COVER FIGURE 14 BATTERY SPECIFICATION LABEL 243462 OWNER S MANUAL REVISION 2...
Page 29: ...LEGENDX COVER page 27 HARDWARE IDENTIFICATION TABLE BAGS 243462 OWNER S MANUAL REVISION 2...
Page 70: ......
Page 74: ...page 72 LEGENDX COVER 243462 OWNER S MANUAL REVISION 2...
Page 82: ...page 80 LEGENDX COVER 243462 OWNER S MANUAL REVISION 2...

