LEGENDX COVER page-
25
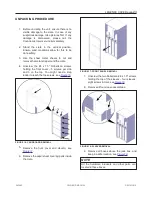
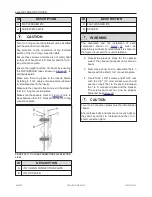
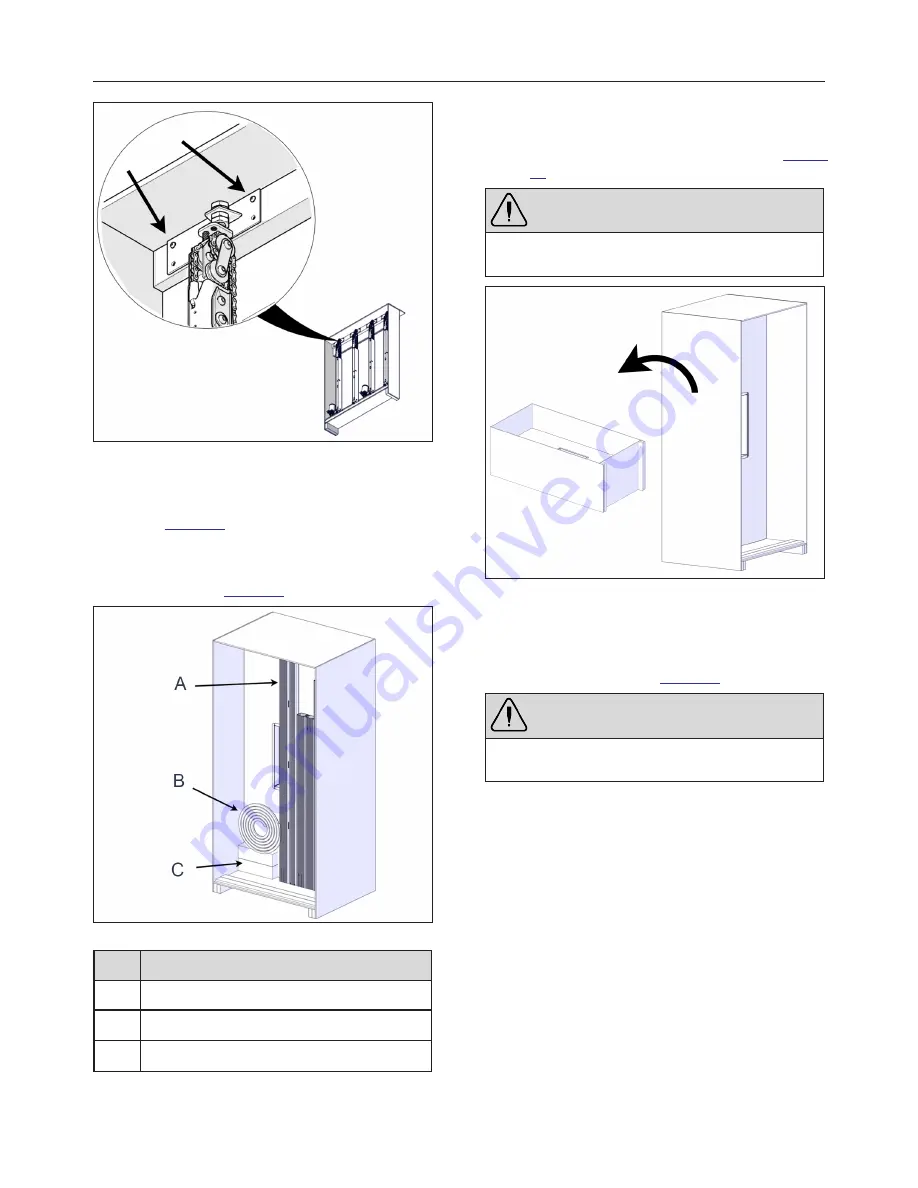
FIGURE 23: JACK TOP SCREW REMOVAL
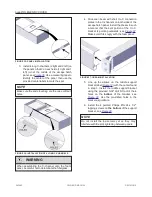
14. Remove the seal and the foam spacers from
the crate and keep them in a safe location,
see
.
15. Remove the C- channels and the I- beams
from the crate and keep them in a safe
location, see
FIGURE 24: OTHER PART REMOVAL
ID
DESCRIPTION
A
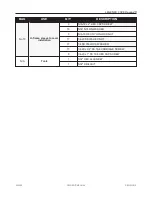
I-BEAMS AND C-CHANNELS
B
SEAL
C
FOAMS
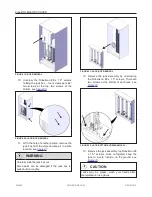
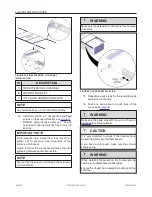
16. With the help of another person, lay the crate
horizontally on its back. There should be one
person on each side of the crate, see
WARNING
The crate is heavy; you may require a third person
to rotate the crate.
FIGURE 25: LAY THE CRATE ON ITS BACK
17. Unscrew the Robertson #8 x 1.5" screws
(four on each side and three at the bottom)
holding the top of the crate. Then, remove the
top of the crate, see
.
WARNING
Do not further dismantle the crate; it will be used
for future installation steps.
243462
OWNER'S MANUAL
REVISION 2
Summary of Contents for LEGEND COVER
Page 1: ......
Page 2: ......
Page 16: ...page 14 LEGENDX COVER FIGURE 14 BATTERY SPECIFICATION LABEL 243462 OWNER S MANUAL REVISION 2...
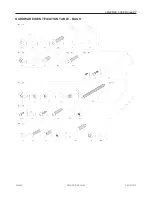
Page 29: ...LEGENDX COVER page 27 HARDWARE IDENTIFICATION TABLE BAGS 243462 OWNER S MANUAL REVISION 2...
Page 70: ......
Page 74: ...page 72 LEGENDX COVER 243462 OWNER S MANUAL REVISION 2...
Page 82: ...page 80 LEGENDX COVER 243462 OWNER S MANUAL REVISION 2...

