page-
46
LEGENDX COVER
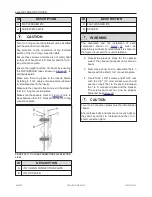
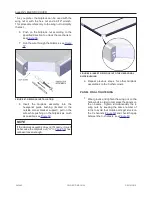
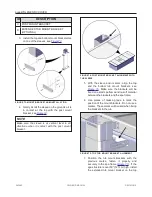
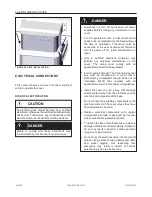
FIGURE 67: PUSH ROPE INSIDE THE C-CHANNEL
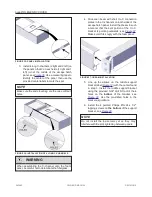
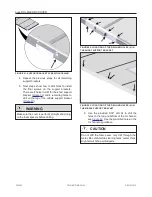
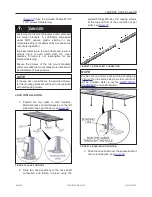
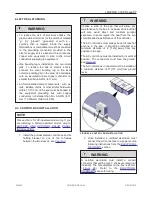
3. Use a #2 6" long Robertson screwdriver to
attach the outside corner bracket (left and
right) on the corner bracket support by using
the #8 X 1/2" self-tapping screws, see
.
FIGURE 68: OUTSIDE CORNER INSTALLATION
WARNING
Do not over tighten the screws as they might
break.
NOTE
Make sure that the side of the outside corner
having a circular flange covers the holes on the
inside corner supports.
4. Repeat previous steps for the 3 other cover
corners.
ESCAPE HATCH INSTALLATION
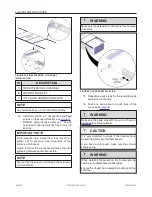
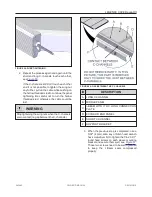
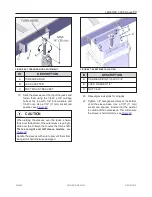
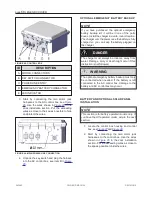
1. On the escape hatch, check if the release
mechanism is working well. Make sure that
the hatch arms are retracted when open and
non-retracted when closed, see
.
FIGURE 69: ESCAPE HATCH RELEASE MECHANISM
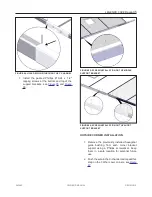
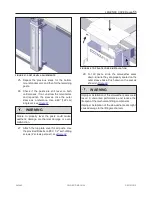
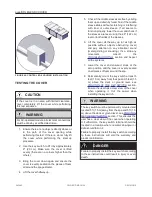
2. Turn the escape hatch handle to retract the
arms and install it into the escape hatch
opening of the center panel, see
WARNING
Failure to install the escape hatch properly may
impede the performance of the cover, such as
vapor steam
leakage,
water infiltration
and
unwanted access to the spa.
All security risks such as drowning, injury or
undesired entry due to an open cover without an
escape hatch installed are not approved by Covana
and product certification will be void.
243462
OWNER'S MANUAL
REVISION 2
Summary of Contents for LEGEND COVER
Page 1: ......
Page 2: ......
Page 16: ...page 14 LEGENDX COVER FIGURE 14 BATTERY SPECIFICATION LABEL 243462 OWNER S MANUAL REVISION 2...
Page 29: ...LEGENDX COVER page 27 HARDWARE IDENTIFICATION TABLE BAGS 243462 OWNER S MANUAL REVISION 2...
Page 70: ......
Page 74: ...page 72 LEGENDX COVER 243462 OWNER S MANUAL REVISION 2...
Page 82: ...page 80 LEGENDX COVER 243462 OWNER S MANUAL REVISION 2...

