LEGENDX COVER page-
49
(
). Use the provided Phillips #10-12
x 3/4" screws for fastening.
DANGER
Fastening the tub mount brackets and/or extended
tub mount brackets to soft/fragile engineered
wood, MDF panels, plastic skirting or any
composite siding is not approved by Covana and is
not safe for operation.
Improper fastening to the spa frame can result in
serious injury or even death when the cover
operates. Covana is not responsible for any
improper fastening.
Ensure the screws of the tub mount brackets
and/or extended tub mount bracket are installed on
a solid feature of the spa frame.
NOTE
If the spa has a metal frame, the provided screws
for the mounting brackets will need to be replaced
with self-tapping screws.
JACK INSTALLATION
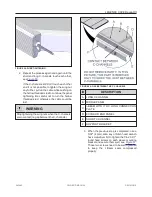
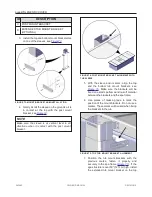
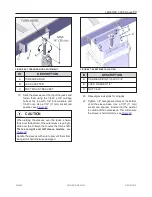
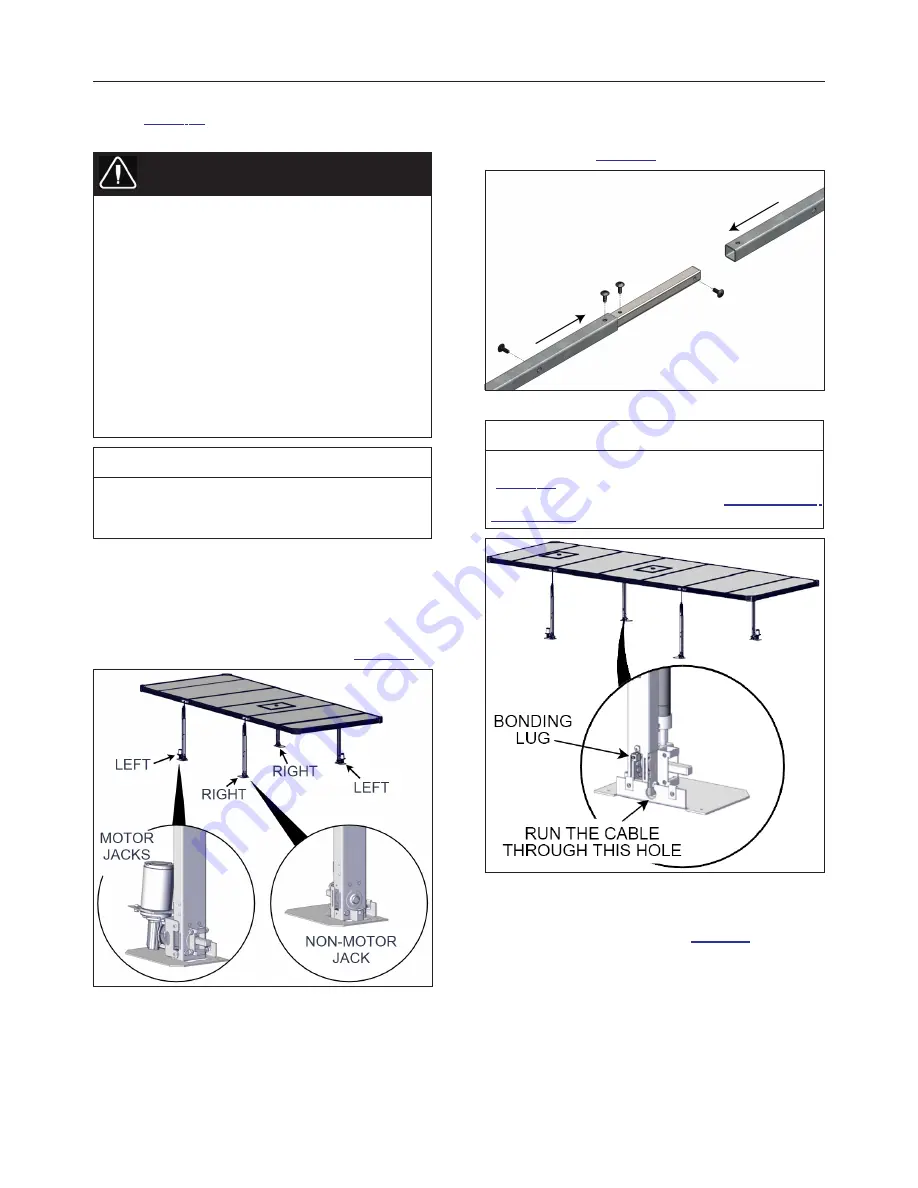
1. Position the four jacks in their locations.
Motorized jacks should always be on the left
side when looking at the spa, see
.
FIGURE 76: JACK POSITIONS
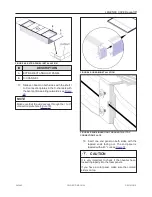
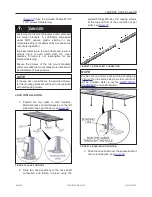
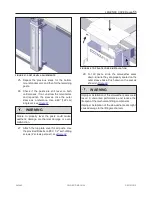
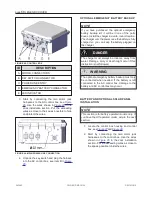
2. Slide two drive shafts over the drive shaft
connection and fasten in place using the
painted Phillips #10-24 x 1/2" tapping screws
at the top and front of the connection (4 per
side), see
FIGURE 77: DRIVE SHAFT CONNECTION
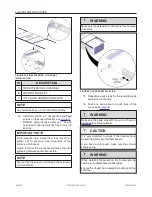
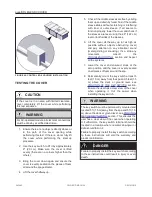
NOTE
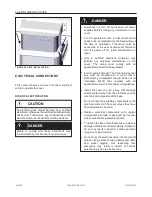
Position the non-motor jacks with the bonding lug
(
) on the same side where the control box
will be installed. Refer to section
for more information.
FIGURE 78: BONDING LUG POSITION
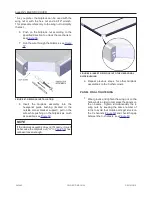
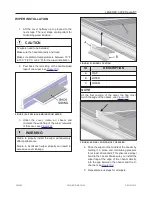
3. Slide the drive shaft over the square shaft of
one motor-side jack, see
.
243462
OWNER'S MANUAL
REVISION 2
Summary of Contents for LEGEND COVER
Page 1: ......
Page 2: ......
Page 16: ...page 14 LEGENDX COVER FIGURE 14 BATTERY SPECIFICATION LABEL 243462 OWNER S MANUAL REVISION 2...
Page 29: ...LEGENDX COVER page 27 HARDWARE IDENTIFICATION TABLE BAGS 243462 OWNER S MANUAL REVISION 2...
Page 70: ......
Page 74: ...page 72 LEGENDX COVER 243462 OWNER S MANUAL REVISION 2...
Page 82: ...page 80 LEGENDX COVER 243462 OWNER S MANUAL REVISION 2...


