iAUDIO G3
14
iAUDIO G3
15
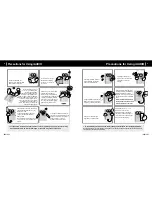
Replacing Batteries / Connecting the USB Cable
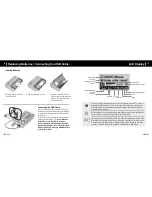
Connecting the USB Cable
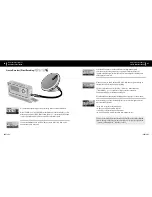
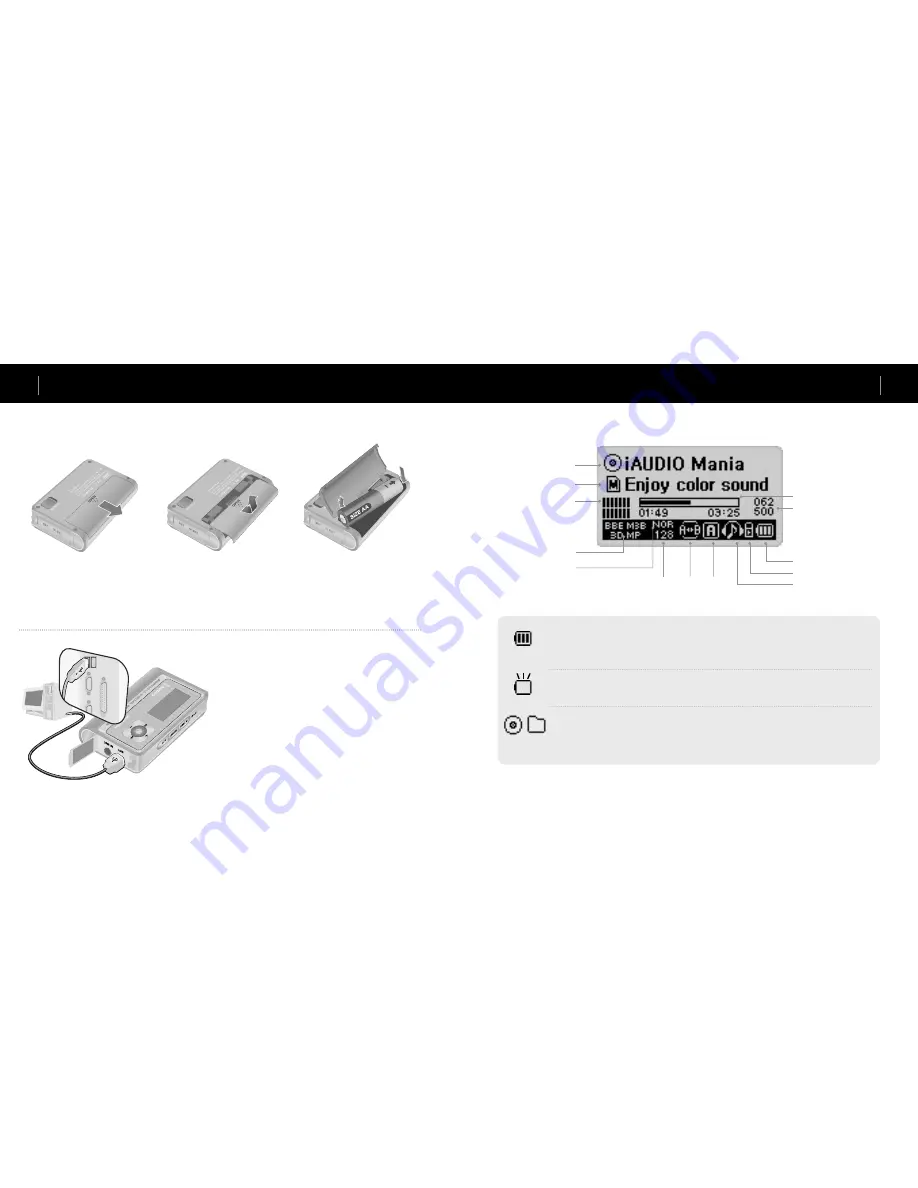
When you open the USB cover on the left of iAU-
DIO, there is a built-in USB port. Connect iAUDIO
to the PC while paying attention to the direction of
the USB port.
For Windows XP, you may pull out the USB cable
after the transfer window is closed.
For Windows
2000, however, you should first run “Safely
Remove Hardware” before pulling out the cable.
After downloading files, be sure to check that the
iAUDIO LCD display is changed to READY before
pulling out the cable.
LCD Display
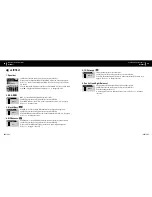
The Battery Charge Indicator icon indicates the remaining time for use. Fewer bars are
displayed as the battery charge decreases. For some dry or rechargeable batteries, the
bars of the battery charger indicator may become unstable while the charge is being
measured, but this is normal.
When the battery is exhausted, the battery charge indicator starts to blink, and then after
about 30 minutes of operation, the power goes off automatically.
The disc shape is used when ID3V2 and ID3V1, and Album information is dis-
played. However, when the display setting is Filename, or the ID3 tag does not contain
artist information, the folder shape is used and the folder name is displayed. When the
music file is stored in the root folder, iAUDIO is displayed as the folder name.
Progress Bar
Current Track / All Tracks
Album Name
Song Title
Left and Right Output
Graphics
JetEffect (BBE, M3B,
3D, MP)
5 Band EQ
BIT RATE Loop Play
Sequence
Battery Charge Indicator
Hold
Mode
Inserting Batteries
1. Push down the cover on the
back of iAUDIO.
2. Flip over and open the cover.
3. Insert the – terminal of the AA
size battery to the right where the
spring is, and then push in the +
terminal to the left.
Summary of Contents for iAUDIO G3
Page 1: ...USER GUIDE ver 1 2 E ...
Page 38: ......


