CHPA SERIES
D
OC
.01023245
R
EV
.L
THIS
DOCUMENT
IS
THE
PROPERTY
OF
COMMUNICATIONS
&
POWER
INDUSTRIES.
REPRODUCTION
OR
RELEASE
WITHOUT
EXPRESS
PERMISSION
IS
STRICTLY
PROHIBITED
B-31
3.
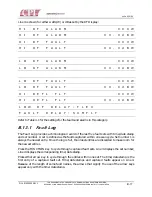
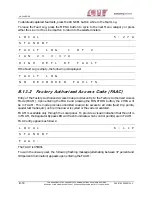
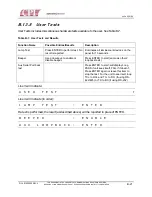
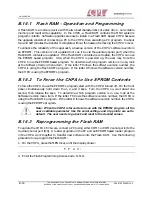
The CHPA’s display will show:
C
H
P
A
P
R
O
G
R
A
M
L
O
A
D
E
R
E S T A B L I S H I N G
C O M M U N I C A T I O N
W
I T
H
H
O
S T
S Y
S T
E
M
4.
Connect the PC’s serial port (either COM1 or COM2) to the CHPA’s auxiliary serial port
(J10). The CHPA’s auxiliary serial port is factory configured for RS-232, pin 2 is TX (data
leaves unit) and pin 3 is RX (data enters unit).
5.
Be sure that the new Flash RAM program and the PC’s loader program are in the same
directory.
6.
On the PC, start the loader program, which is called FLASHCOM.EXE. On the PC from the
DOS prompt, type FLASHCOM then press the Enter key.
7.
Enter 2 digit Rev number of Flash RAM program as displayed on PC disk label; then select
COM1 or COM2 depending upon which PC serial port you are using.
8.
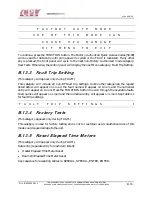
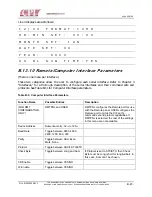
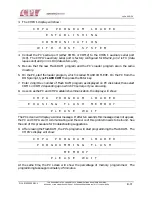
As soon as the PC and CHPA establish communication, the display will show:
C
H
P
A
P
R
O
G
R
A
M
L
O
A
D
E
R
E
R
A
S I N
G
F L
A
S H
M
E
M
O
R
Y
P L E A S E
W A I T
The PC screen will display a similar message. If after ten seconds this message does not appear,
the PC and CHPA aren’t communicating and the source of this problem needs to be found. See
the end of this procedure for troubleshooting suggestions.
9.
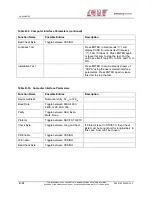
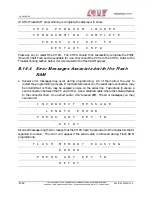
After erasing the Flash RAM, the PC’s program will start programming the Flash RAM. The
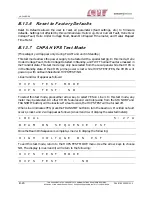
CHPA’s display will show:
C
H
P
A
P
R
O
G
R
A
M
L
O
A
D
E
R
P R O G R A M M I N G
F L A S H
M E M O R Y
P L E A S E
W A I T
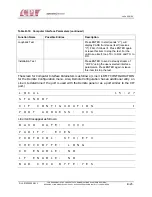
At the same time, the PC screen will show the percentage of memory programmed. The
programming takes approximately 2.5 minutes.

