5.2 Adjusting the Handle
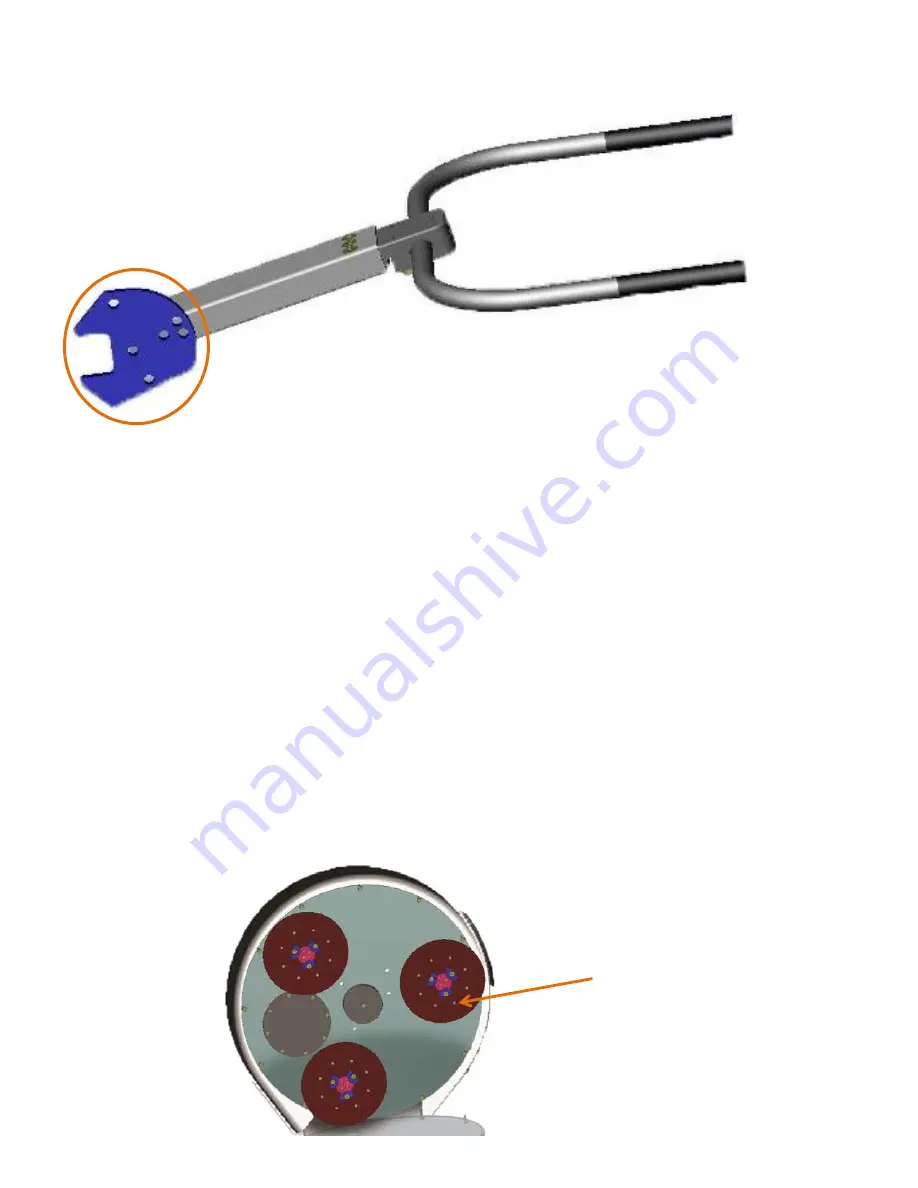
When adjusting the handle, first, locate the pin (circled on the drawing above). While holding the handle bars with one hand, press
the lock in and pull the pin out fully. Raise or lower the handlebars as needed, being sure to secure the handle with the pin when the
handlebars are in the desired position.
5.3 Attaching Tooling
The Rover Machine is fitted with three cross-completes inside the grinding head assembly for attaching plates and tooling.
To attach the appropriate grinding tools to the Rover:
1 .Disconnect Rover Platform by disconnecting pins located at the front base of platform. This will allow you to lift up and remove
the platform. If using Rover VacPac Platform, first disconnect VacPac Power Source, then disconnect the platform. Remove platform
to a safe location out of the way to attach tooling.
2 .Make sure the handle is in the upright “locked” position. Place hands in the center of the handlebars when lowering and raising
the machine. This method increases the control you have when maneuvering the machine.
3. Lay the machine on its back with the handle lying on the floor. This exposes the driving plates on the underside of the machine.
4. From a standing position at the side of the upended machine, put metal bond plate or resin plates on the cross-complete (1). Turn
the cross-complete in either direction to lock the plate onto the machine
5. Place the tooling of choice securely onto the plates.
6 .Return the machine to the upright position.
7 .Reconnect Rover Platform/ VacPac Platform by inserting pins securely. If using Rover VacPac Platform, be sure to reconnect
VacPac power source before attempting work.
1
Summary of Contents for Rover VacPac
Page 1: ...Operator s Manual Rover VacPac ...
Page 2: ......
Page 9: ...4 2 Rover Electric Machine Diagram ...
Page 15: ...Fig 2 Joystick Control on CPS Rover The circled portion is the On Off button ...
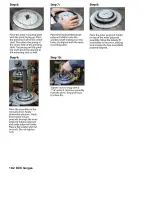
Page 21: ...10 1 Rebuilding Flex Heads ...
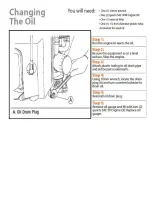
Page 22: ...10 2 Oil Changes ...
Page 23: ......
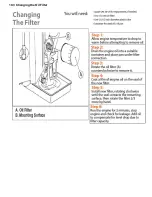
Page 24: ...10 3 Changing the Oil Filter ...
Page 25: ...10 4 Air Filter Service ...
Page 26: ...10 5 Greasing the Ring Gear ...
Page 27: ...10 6 Adjusting the Regulator ...
Page 28: ...10 7 Changing the Spark Plugs ...
Page 29: ......


