Act1 Electrofusion Welder
06/06/2011
www.ProcessPipes.co.uk
Pg 25
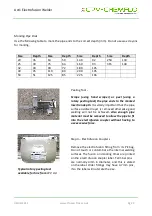
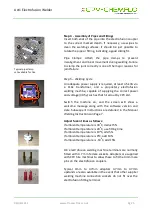
Typical pipe clamp
set available for hire
Step 4 - Assembly of Pipes and Fittings
Insert both ends of the pipe into the electrofusion coupler
to the correct marked depth. If necessary, use wipes to
clean the welding surfaces. It should be just possible to
rotate the pipe or fitting, indicating a good sliding fit.
Pipe Clamps:
Attach the pipe clamps to prevent
misalignment and linear movement during welding. Failure
to clamp the joint correctly is one of the major reasons for
joint failure
Step 5 – Welding Cycle
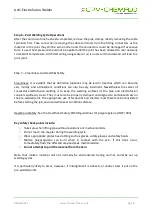
An adequate power supply is required, at least 3.5 kVA via
a 110v transformer, and a proprietary electrofusion
welding machine, capable of supplying the correct power
and voltage (39.5v) such as that hired out by CPV Ltd.
Switch the machine on, and the screen will show a
welcome message along with the software version and
date. Subsequent instructions are detailed in the Manual
Welding Instructions on Page 7.
Adjust fusion times as follows:
If ambient temperature is 30
o
C, deduct 5%
If ambient temperature is 20
o
C, use fitting time
If ambient temperature is 10
o
C, add 5%
If ambient temperature is 0
o
C, add 10%
If ambient temperature is -10
o
C, add 15%
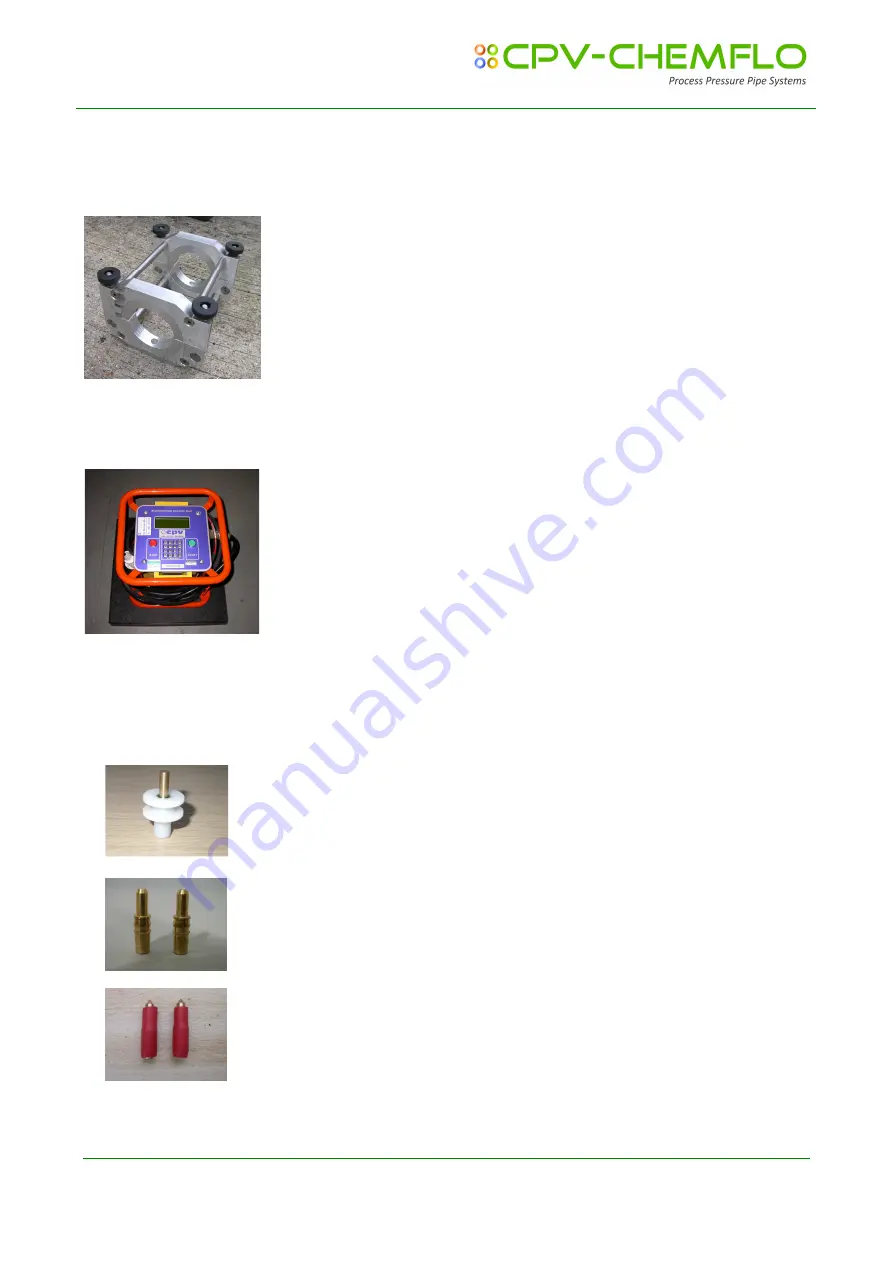
UK electrofusion welding machine terminals are normally
fitted with 4.7 mm female sockets. Adapters are supplied
with CPV hire machines to allow these to fit the 4mm male
pins on the electrofusion couplers.
Typical 4mm to 4.7mm adaptors 4.7mm to 4.7mm
upstands are also available in the event that other supplier
welding machine connection sockets do not fit over the
electrofusion fitting terminal.
Summary of Contents for Act1
Page 1: ...Act1 Electrofusion Welder ...
Page 27: ......

