12
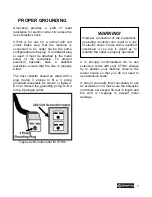
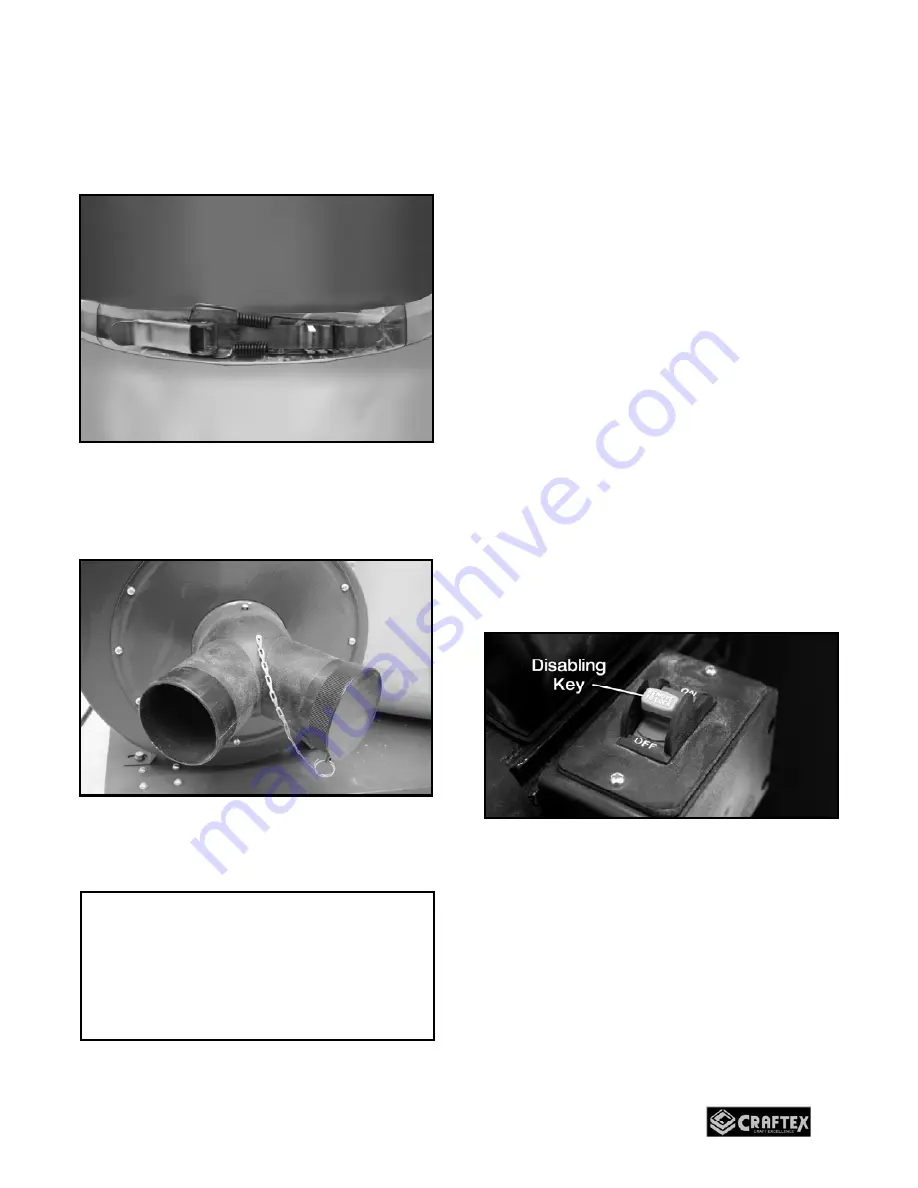
Install the collection bag to the bottom of
the collector ring and secure it by tightening
the collection bag clamp around it as shown
in figure-11.
Figure-11 Installing the bottom bag
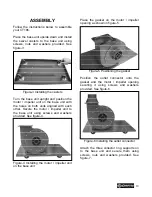
Attach the dual intake onto the
motor/impeller opening as shown in figure-
12 and secure it using screw provided.
Figure-12 Installing the dual intake
The dual intake has a 4” cover cap, in case
only one intake is used.
TEST RUN
Once you have assembled your dust
collector, it is then time for a test run to
make sure that the machine works properly
and is ready to use.
Remove all the tools used for assembling
the machine components. Walk around the
machine, ensure all nuts, bolts, and screws
are tightened and the machine is properly
assembled. Connect the cord to the power
source and turn the machine ON.
During the test run if there is any unusual
noise coming from the machine or the
machine vibrates excessively, turn OFF the
power switch immediately and disconnect
the cord from the power source. Investigate
if you can find out the problem with your
machine.
Turn the lathe OFF and remove the
disabling key from the ON/OFF switch and
start the machine.
Figure-13 Disabling key
If the machine starts, immediately stop the
machine. The switch disabling feature is not
working on your machine and it should be
fixed.
If the machine does not start, the switch
disabling key is working.
WARNING!
Before starting the machine, make sure
that you have read and understood the
user manual and you are familiar with the
safety features of the machine. Failure to
do so may cause serious personal injury.


