13
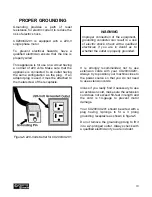
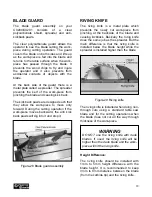
Attach the front fence rail to the table and
the extension wing using nuts, bolts and
washers provided. See figure-14.
Figure-14 Installing front fence rail
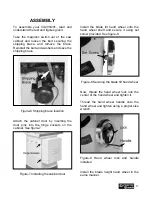
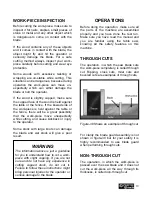
Now, install the fence rail tube onto the
front rail using cap screws, washers and flat
washers provided. See figure-15.
Figure-15 Installing the fence rail tube
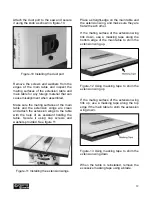
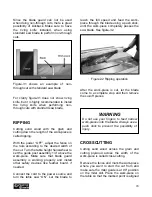
Attach the rear fence rail to the extension
wings and the main table and secure it
using hex bolts and washers provided. See
figure-16. Make sure the top edge of the
rear rail is flush with the bottom part of the
T-slots on the table.
Figure-16 Installing rear fence rail
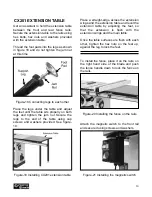
CX200 EXTENSION TABLE
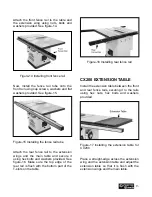
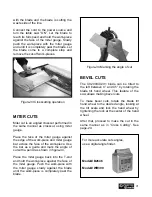
Install the extension table between the front
and rear fence rails, securing it to the rails
using hex nuts, hex bolts and washers
provided.
Figure-17 Installing the extension table for
CX200
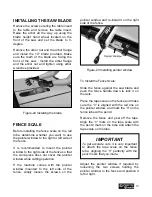
Place a straight-edge across the extension
wing and the extension table and adjust the
extension table so that it is flush with the
extension wings and the main table.
Summary of Contents for CX series
Page 1: ...CX200 10 CX201 10 HEAVY DUTY TABLE SAW WITH RIVING KNIFE User Manual ...
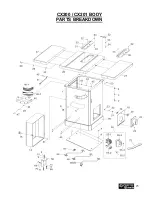
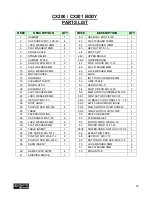
Page 25: ...25 CX200 CX201 BODY PARTS BREAKDOWN ...
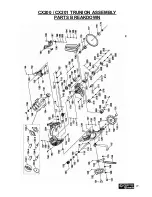
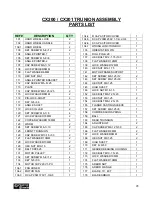
Page 27: ...27 CX200 CX201 TRUNION ASSEMBLY PARTS BREAKDOWN ...
Page 30: ...30 CX200 CX201 BLADE GAURD PARTS BREAKDOWN ...
Page 34: ...34 CX200 30 RAILS EXTENSION TABLE PARTS BREAKDOWN ...
Page 36: ...36 CX201 50 RAILS EXTENSION TABLE PARTS BREAKDOWN ...


