16
INSTALLING BLADE GUARD
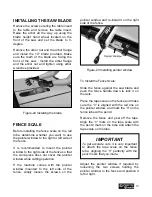
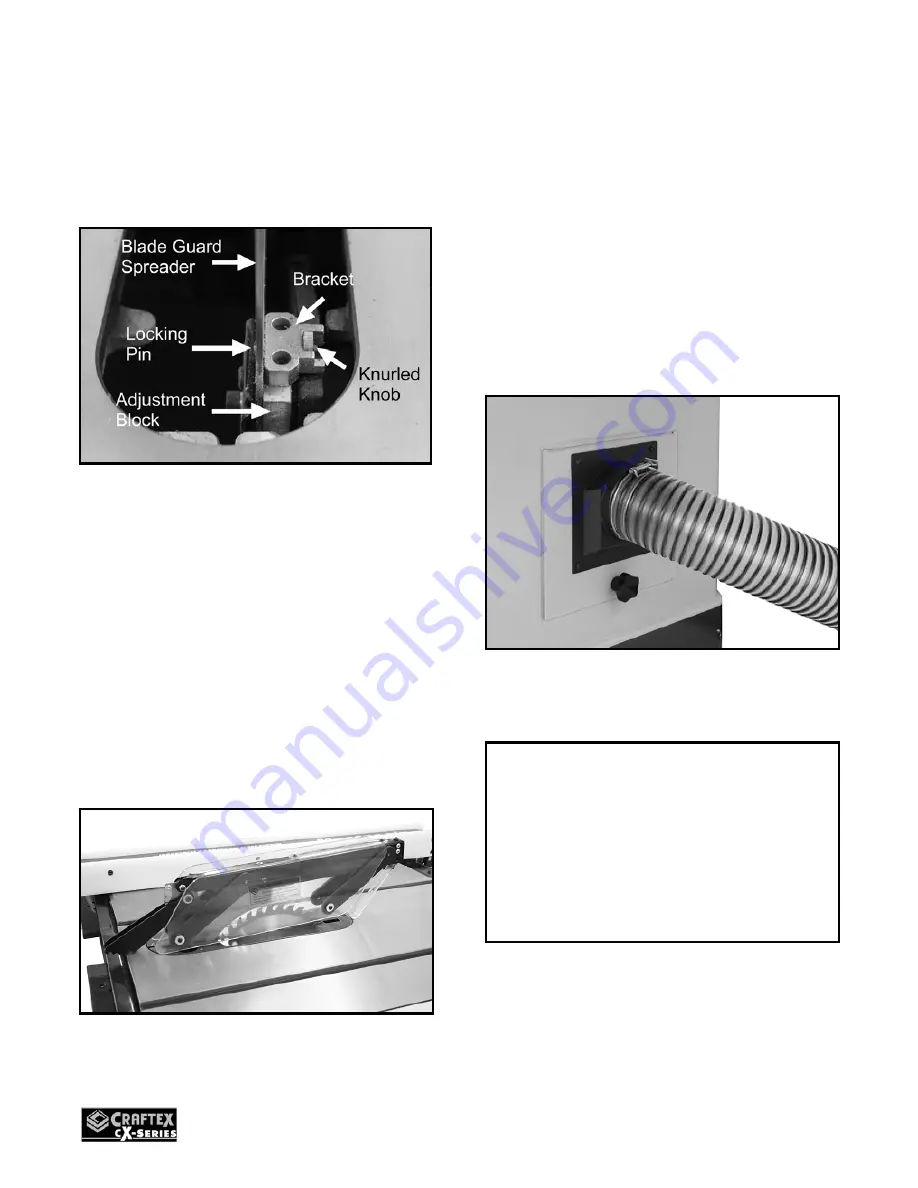
Install the table insert and slide the knurled
knob out, rotating it forward so that it
engages the upper bracket.
Figure-24 Using knurled knob to secure the
spreader
Now, slide the blade guard spreader, down
into the adjustment block and rotate the
knurled knob to disengage the bracket. The
locking pin engages the hole in the center
of the spreader. Make sure the spreader is
locked properly.
The blade guard should move freely and
touch the table surface and should swing
high enough to allow the work-piece fed
easily while cutting operation.
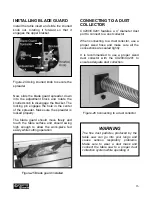
Figure-25 Blade guard installed
CONNECTING TO A DUST
COLLECTOR
CX200/CX201 features a 4” diameter dust
port to connect to a dust collector.
When connecting to a dust collector, use a
proper sized hose and make sure all the
connections are sealed tightly.
It is recommended to use a proper sized
dust collector with the CX200/CX201 to
ensure adequate dust collection.
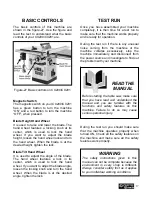
Figure-26 Connecting to a dust collector
WARNING
The fine dust particles produced by the
table saw can go into your lungs and
cause serious respiratory problems.
Make sure to wear a dust mask and
connect the table saw to a proper dust
collection system while operating it.
Summary of Contents for CX series
Page 1: ...CX200 10 CX201 10 HEAVY DUTY TABLE SAW WITH RIVING KNIFE User Manual ...
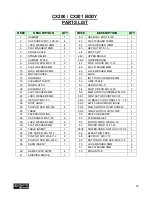
Page 25: ...25 CX200 CX201 BODY PARTS BREAKDOWN ...
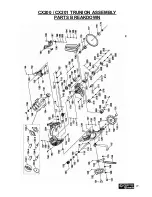
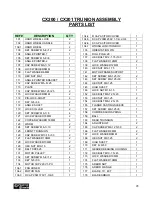
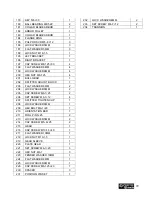
Page 27: ...27 CX200 CX201 TRUNION ASSEMBLY PARTS BREAKDOWN ...
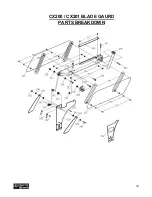
Page 30: ...30 CX200 CX201 BLADE GAURD PARTS BREAKDOWN ...
Page 34: ...34 CX200 30 RAILS EXTENSION TABLE PARTS BREAKDOWN ...
Page 36: ...36 CX201 50 RAILS EXTENSION TABLE PARTS BREAKDOWN ...

