background image


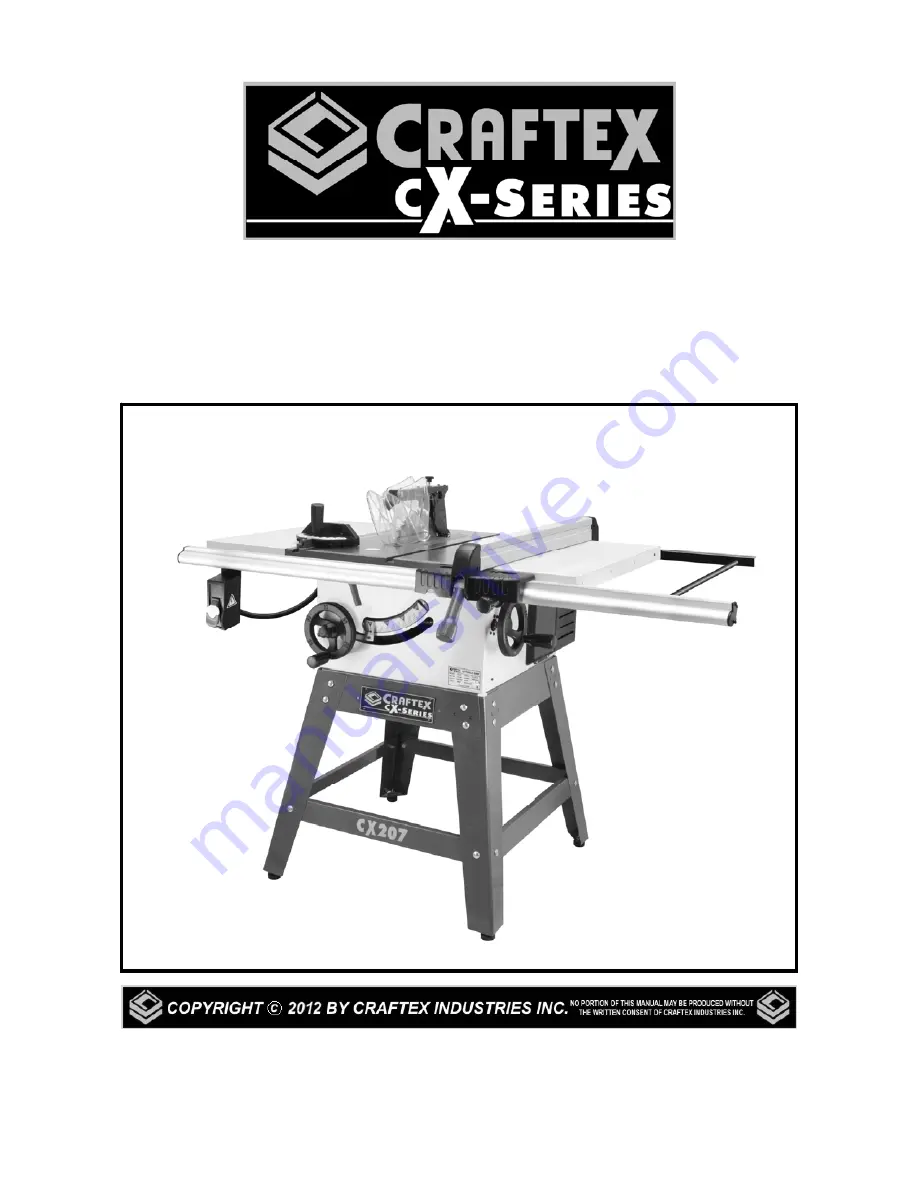
CX207 

1-1/2 HP TABLE SAW 

User Manual 

Summary of Contents for CX207

Page 1: ...CX207 1 1 2 HP TABLE SAW User Manual ...

Page 2: ...3 Test Run 14 Spreader 15 Anti Kickback Pawls 15 Blade Guard 15 Riving Knife 15 Work Piece Inspection 16 Operations 17 Through Cuts 17 Non Through Cuts 17 Ripping 17 Crosscutting 18 Miter Cuts 18 Bevel Cuts 19 Adjustments 19 Main Table to Blade Parallelism 19 Blade Guard Spreader Riving Knife Alignment 20 Belt Tension and Replacement 20 Maintenance 21 Lubrication 21 Parts Breakdown List 23 28 Warr...

Page 3: ...LERT DO NOT use prescription or other drugs that may affect your ability or judgment to safely use your machine DISCONNECT the power source when changing drill bits hollow chisels router bits shaper heads blades knives or making other adjustments or repairs NEVER leave a tool unattended while it is in operation NEVER reach over the table when the tool is in operation ALWAYS keep blades knives and ...

Page 4: ...plete stop and the power switch has been turned to the OFF position and cord is unplugged NEVER attempt to cut stock freehand always use the rip fence or miter gauge ALWAYS make sure that the rip fence is properly squared to the saw blade to prevent kickback ALWAYS make sure that your saw is in a stable position Cutting heavy or long stock may alter the stability of the saw In the event that this ...

Page 5: ... Speed 3600 RPM Drive System 1 Belt Drive Miter Gauge T Slot Miter Gauge Fence Size Length 28 x Width 1 5 8 x Height 2 1 4 Fence Rail Type Extruded Aluminum Fence Rail Size Length 54 3 4 x Width 2 3 4 x Height 1 3 4 Table Size Width 40 x Depth 25 1 4 x Thickness 1 1 2 Floor to Table Height 37 Maximum Blade Diameter 10 Arbor Size 5 8 Arbor Speed 4000 RPM Maximum Width of Dado 13 16 Maximum Depth of...

Page 6: ...nce Miter Gauge ON OFF Switch Blade Tilt Hand Wheel Extension Wing Rail Support Right Front Rail Tube Fence Lock Handle Table Fence Scale Indicator Blade Height Hand Wheel Lock Knob Blade Tilt Scale Blade Tilt Lock Stand Left Front Rail Tube Rubber Feet Rear Fence Rail ...

Page 7: ... Back 2 G Upper Stand Braces Sides 2 H Hardware Bag 1 Figure 2 Inventory LIST OF CONTENTS QTY I Blade Tilt Height Hand Wheels 2 J Blade Guard Assembly 1 K Miter Gauge 1 L Riving Knife 1 M Fence Handle 1 N Fence 1 O Push Stick 1 P Spindle Arbor Wrenches 2 Q Wrench 1 R Hex Wrenches 3 S Push Stick Holder 1 T Height Hand Wheel Bushing 1 U Blade Height Lock Knob 1 V Left Front Rail 1 W Right Front Rail...

Page 8: ...ing the same configuration as the plug If an adaptor plug is used it must be attached to the metal screw of the receptacle Figure 3 110 Volts Outlet for CX207 It is strongly recommended not to use extension cords with your CX207 Always try to position your machine close to the power source so that you do not need to use extension cords If it necessary to use an extension cord make sure the extensi...

Page 9: ...shers and nuts provided See figure 5 Figure 5 Installing the lower short brace to the leg assembly Assemble the other two legs with the short braces in the same manner Attach the leg assemblies with the two lower and two upper braces using carriage bolts washers and nuts provided See figure 6 Hand tighten the nuts for now Figure 6 Stand assembly Now put the stand upside down and attach a rubber fo...

Page 10: ...re 9 Figure 9 Attaching stand to the table saw Secure the stand to the saw body using hex bolts washers and hex nuts provided Now get the help of an assistant and turn the saw upright with the stand and place a level on the table Adjust the hex nuts on the rubber feet shown in figure 10 and make sure the saw is level from all four sides and tighten all the nuts and bolts on the stand Figure 10 Adj...

Page 11: ...rovided along the bottom edge of the main table to shim the extension wing up Figure 13 Using masking tape to shim the extension wing up If the mating surface of the extension wing tilts up use a masking tape not provided along the top edge if the main table to shim the extension wing down Figure 14 Using masking tape to shim the extension wing down When the table is reinstalled remove the excessi...

Page 12: ...ts See figure 17 Figure 17 Installing the front fence rail Connect the left and right fence rails to each other by sliding the two pins located on the end of the right rail into the holes on the left rail and tighten all the fasteners Attach the fence handle to the fence by threading it into the fence and place the fence on the front and rear rails Make sure the bracket at the back of the fence is...

Page 13: ...her See figure 21 Figure 21 Installing the push stick holder Install the table insert onto the table opening as shown in figure 22 Figure 22 Installing table insert CONNECTING TO A DUST COLLECTOR The CX207 features a 2 5 diameter dust port to connect to a dust collector When connecting to a dust collector use a proper sized hose and make sure all the connections are sealed tightly It is recommende...

Page 14: ...rates properly when turned ON Check all the safety features on the machine and make sure all the safety features work properly 5 Turn OFF the machine 6 Remove the safety key on the switch to disable the ON button 7 Try to turn the machine ON The machine should not start without the safety key During the test run if there is any unusual noise coming from the machine or the machine vibrates excessiv...

Page 15: ...rd covers the blade on both sides and lifts up as the work piece is fed into the blade and returns to the table surface when the work piece has passed through the blade It prevents the wood chips to fly and injure the operator and it also prevents from accidental contacts of objects with the blade Figure 26 Blade guard RIVING KNIFE The riving knife is a metal plate which prevents the newly cut wor...

Page 16: ...gerous because during operation the work piece can move un expectedly which can either damage the blade or hurt the operator If the wood is slightly cupped make sure the cupped face of the wood is held against the table or the fence If the bowed side of the work piece is held against the table or the fence there will be a great possibility that the work piece move unexpectedly while cutting and ca...

Page 17: ...s not cut the work piece all the way through its thickness is called non through cut Since the blade guard can not be used when doing non through cuts there is great possibility of kickback Make sure to have the riving knife installed when using standard saw blade to perform non through cuts Figure 29 shows an example of non through cut with standard saw blade For clarity figure 29 does not show r...

Page 18: ...power source and turn the table saw ON Let the blade to reach its full speed and hold the work piece against the face of the miter gauge Slowly push the work piece with the miter gauge and until it is completely past the blade Let the blade come to a complete stop and remove the cut off work pieces Figure 31 Crosscutting operation MITER CUTS Miter cut is an angled crosscut performed in the same ma...

Page 19: ...ble is parallel to the blade If it is not parallel the result you will get will be poor and low quality To check if the table is parallel to the blade use an adjustable square and measure the distance between the miter slot on the table and the edge of the blade front or back as shown in figure 33 Figure 33 Measuring the distance using an adjustable square Now lock the square in place and mark the...

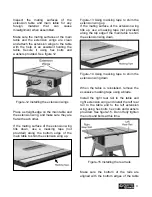
Page 20: ...top and bottom alignment If the spreader or riving knife is not parallel with the blade remove it and place it on a flat surface Check if it lays evenly on the flat surface along its length If the spreader or riving knife does not lie evenly bend it with your hands until it is straight The spreader or riving knife mounting position can be adjusted by adjusting the set screws located on the spreade...

Page 21: ... table saw in peak performance condition Check your machine daily for the following before use Damaged or worn sanding belt Damaged or worn power cord Loose mounting nuts bolts and parts Any other unsafe condition CLEANING The moisture from the wood dust remaining on the conveyor belt and other parts of the machine The table and other unpainted surfaces of the machine should be cleaned and wiped a...

Page 22: ...Use grease to lubricate the components and rotate the hand wheel to spread the grease Trunnion Slides Tilt Lead Screw Bevel Gear Elevation Lead Screw Figure 37 Lubricating trunnion slides and tilt lead screw Figure 38 Lubricating bevel gear and elevation lead screw ...

Page 23: ...23 ...

Page 24: ...24 ...

Page 25: ...25 ...

Page 26: ...26 ...

Page 27: ...27 ...

Page 28: ...28 ...

Page 29: ...er handy All returned merchandise will be subject to a minimum charge of 15 for re stocking and handling with the following qualifications Returns must be pre authorized by us in writing We do not accept collect shipments Items returned for warranty purposes must be insured and shipped pre paid to the nearest warehouse Returns must be accompanied with a copy of your original invoice as proof of pu...

Reviews: