11
off the machine and investigate to find out
the problem.
If the lathe is running smoothly, let it run for
a few minutes and gradually increase the
RPM using the variable speed control knob
until it reaches the maximum RPM of 2500.
Allow the lathe to run for a few minutes and
stop it by pressing the Emergency Stop
Button.
CHUCK JAWS
REPLACMENT
Replacing the chuck jaws is very simple on
CX704. You just have to pay attention to
the sequence in which the jaws are loaded
into the chuck.
TO REPLACE THE JAWS:
Make sure the cord is disconnected from
the power source.
Remove all the jaws on the chuck by
turning the chuck key counter clockwise.
Clean the jaws and the slot in the chuck
with a piece of cloth and make sure there is
no debris.
The jaws are numbered as A, B, C or 1,2,3
and the numbers are in the slot on the
chuck.
Insert the jaw in to the slot#1 and turn the
chuck key clockwise untill the jaw is
engaged with the thread.
Repeat the same step with jaw#2 and then
jaw#3. Make sure the jaws are installed in
sequence.
INSTALLING / REMOVING
CHUCK OR FACEPLATE
The chuck is mounted directly to the spindle
nose plate using studs and hex nuts.
TO REMOVE THE CHUCK / FACEPLATE:
Make sure the cord is disconnected from
the power source.
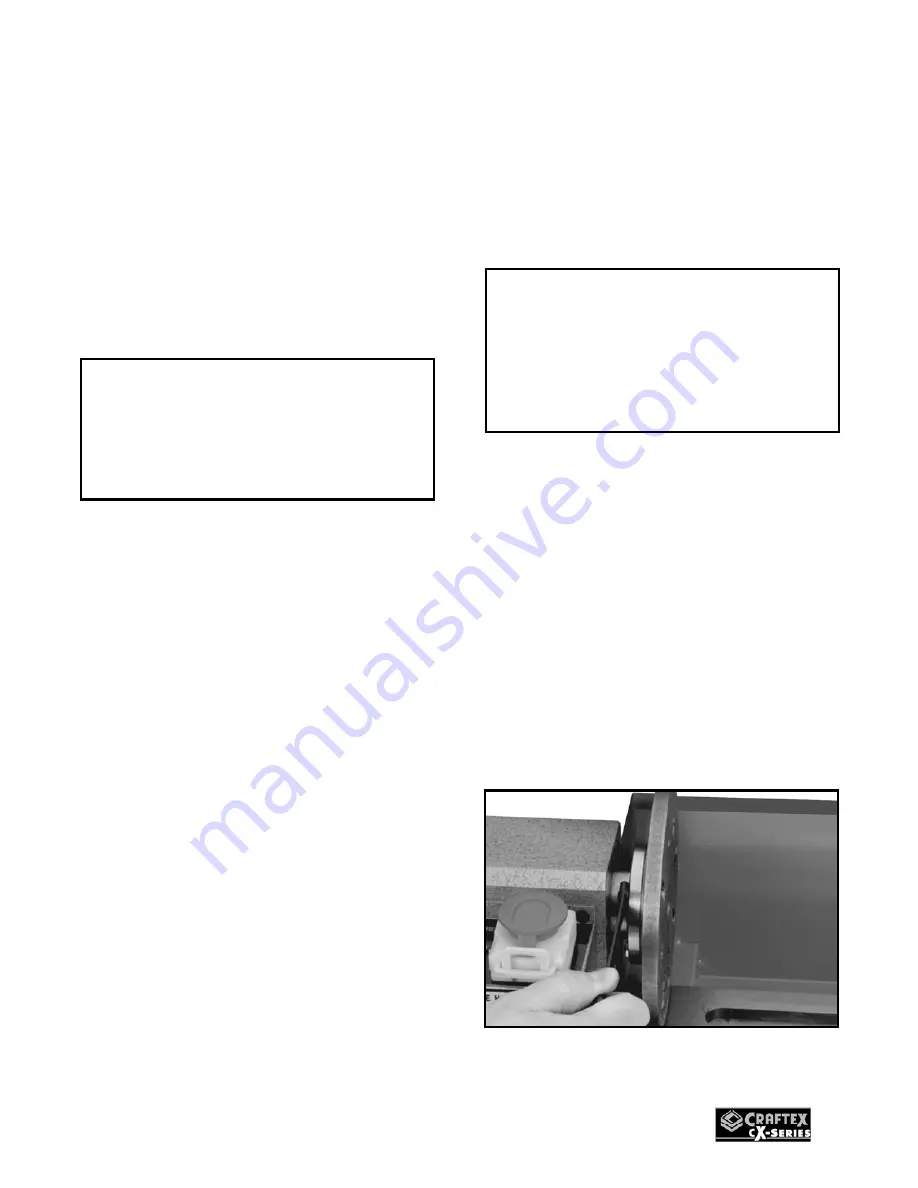
Hold the chuck with one hand and remove
the three hex nuts securing the chuck to the
to the spindle nose plate using a wrench.
Figure-7 Removing the faceplate
WARNING!
DO NOT change the direction of rotation
of leadscrew while the lathe is running.
Failure to do so could result damage to
the lathe.
WARNING!
Make sure not to over-tighten the jaws.
This will damage the jaws. For doing
accentric work, do not install the jaws
into the chuck incorrectly. Always use a 4
jaw chuck for this job.
Summary of Contents for CX704
Page 1: ...CX704 7 x 12 MINI METAL LATHE User Manual ...
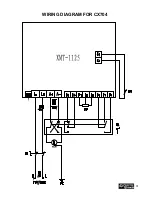
Page 21: ...21 WIRING DIAGRAM FOR CX704 ...
Page 22: ...22 ...


