12
Tap the chuck / faceplate with a rubber
mallet (if needed) and pull it out.
TO INSTALL THE
CHUCK / FACEPLATE:
Remove the studs from the old faceplate /
chuck you just removed and thread them
into the faceplate / chuck you want to
install.
When threading the studs into the new
faceplate/chuck, make sure the studs are
protruding 1/2" from the check surface.
Align the studs witht holes on the spindle
nose and secure the faceplate / chuck
using the hex nuts removed.
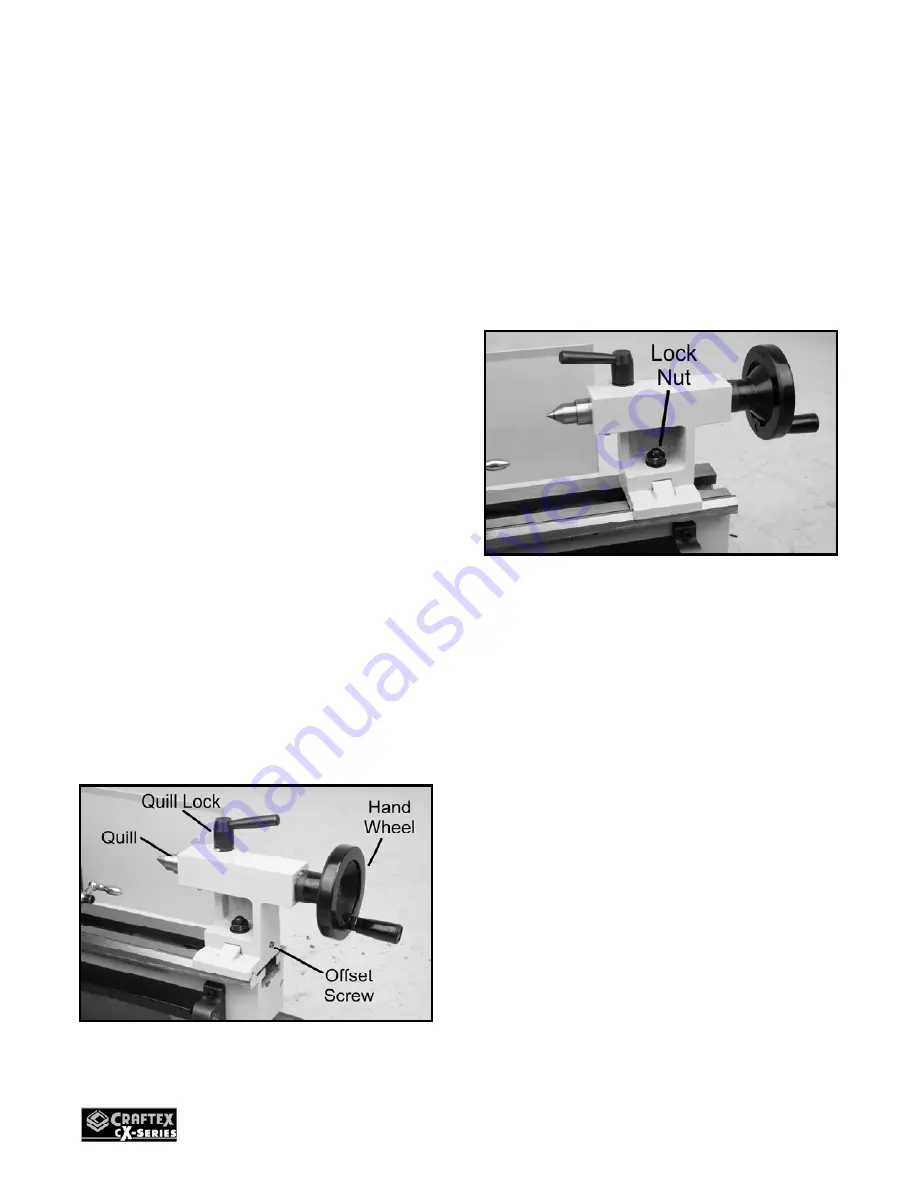
TAILSTOCK
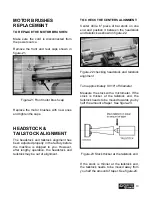
The tailstock slides along the bed way and
can be locked in position by tightening the
hex nut on its base. The tailstock features a
hand wheel which moves the MT2 tailstock
quill in or out and a lock lever to secure the
quill in position. The offset screw on the
tailstock helps maintain tailstock position
during tailstock offset adjustment. See
figure-8.
Figure-8 Tailstock controls
TAILSTOCK POSITIONING
TO ADJUST THE LONGITUDINALLY
:
Make sure the cord is disconnected from
the power source.
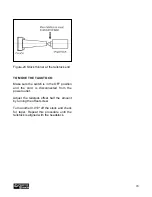
Loosen the tailstock lock nut securing the
tailstock on the lathe bed with a proper size
wrench. See figure-9.
Figure-9 Loosening the tailstock lock nut
TO OFFSET THE TAILSTOCK:
Loosen the tailstock lock nut shown in
figure-9 and remove the tailstock.
Loosen the tailstock offset cap screw
shown in figure-8 a few turns and slide the
tailstock back onto the bed.
Adjust the tailstock to the desired offset and
tighten the setscrew to secure the tailstock
in position.
Remove the tailstock from the lathe bed
and tighten the offset cap screw.
Slide the tailstock back onto the lathe bed
and tighten the tailstock lock nut to secure
the tailstock in position.
Summary of Contents for CX704
Page 1: ...CX704 7 x 12 MINI METAL LATHE User Manual ...
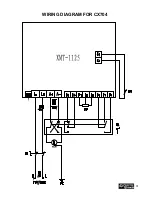
Page 21: ...21 WIRING DIAGRAM FOR CX704 ...
Page 22: ...22 ...


