background image

Summary of Contents for 137.224320

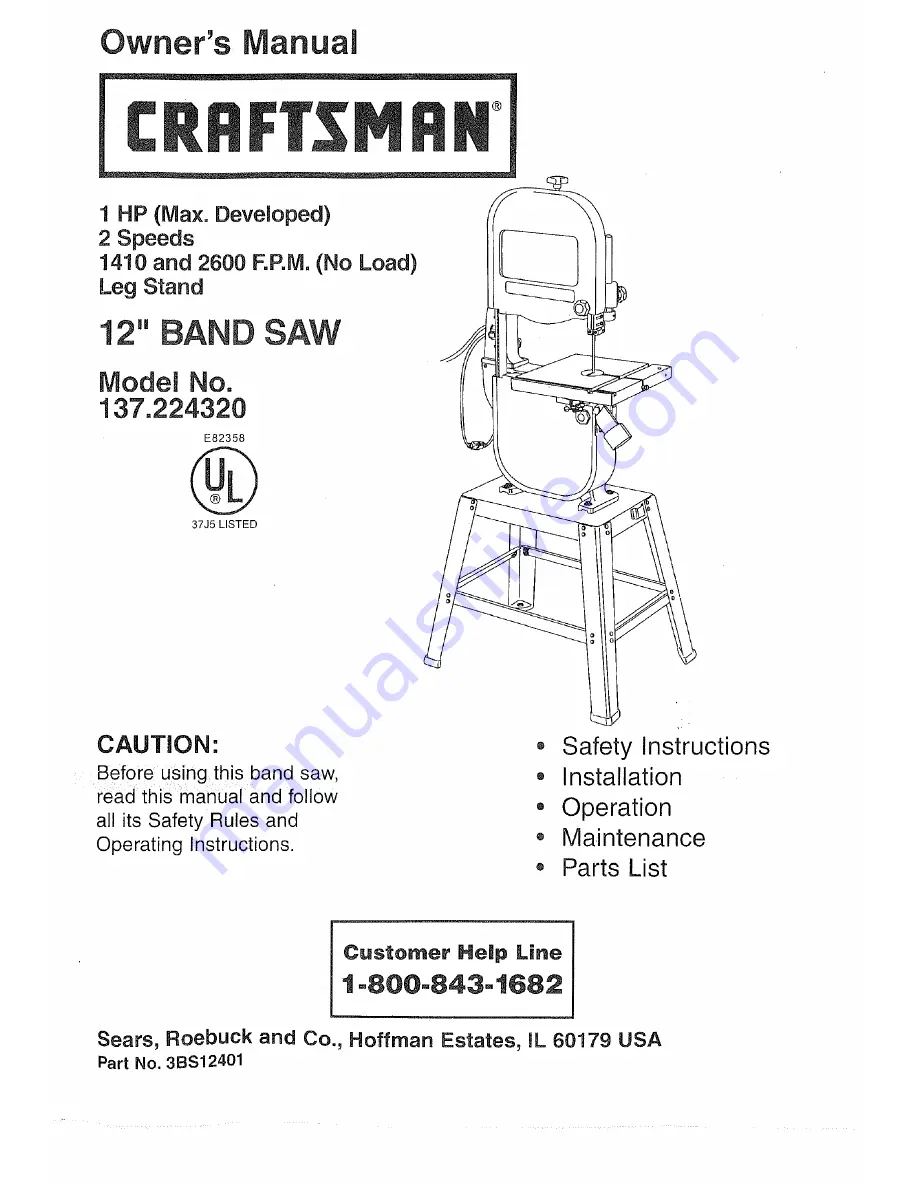
Page 1: ...4320 E82358 37J5 LISTED CAUTION Before using th s band saw read this manual and follow all its Safety Rules and Operating Instructions Safety Instructions Installation Operation Maintenance o Parts List Customer Help Line 1 800 843 1682 Sears Roebuck and Co Hoffman Estates mL60179 USA Part No 3BS12401 ...

Page 2: ...d safer at the rate for which it was designed USE THE RIGHTTOOL Don t force the tool or the attachment to do a job for which it was not designed USE PROPER EXTENSION CORD Make sure your extension cord is in good condition When using an extension cord be sure to use one heavy enough to carry the current your product will draw An undersized cord will result in a drop in line voltage and loss of powe...

Page 3: ...ctrical circuit for your tools Your saw is wired at the factory for 120V operation Connect to a 120V 15 Amp circuit and use a 15 Amp time delay fuse or circuit breaker To avoid shock or fire if power cord is worn or cut or damaged in any way have it replaced immediately GROUNDING INSTRUCTIONS This tool must be grounded while in use to protect the operator from electrical shock IN THE EVENT OF A MA...

Page 4: ...nd saw and all its parts and compare against the list below and the illustration on page 7 Place the saw on a secure surface and examine it carefully o To avoid injury from unexpected starting do not plug the power cord into a power source receptacle during unpacking and assembly This cord must remain unplugged whenever you are assembling or adjusting the saw o Although compact this saw is heavy T...

Page 5: ...es an excellent hookup for a wet dry vacuum RESAW A cutting operation to reduce the thickness of the workpiece to make thinner workpieces RESIN A sticky sap that has hardened RIPPING CUT A cutting operation along the length of the workpiece R P M Revolutions per minute The number of turns completed by a spinning object in one minute TABLE LOCK KNOB Locks the table in place TILT BEVEL SCALE Shows t...

Page 6: ... area free of sawdust _ Remove the bolts 1 and washers 2 from the sawdust i port 3 i 2 Open the lower wheel cover 4 3 Attach the sawdust port to the edge of the wheel cover _ using the same hex head bolts and washers J _ 4 Tighten the bolts and close the cover 8 10 FIG C 3 ASSEMBLE THE BAND SAW TABLE FIG D E F G Mounting the trunnion support bracket FIG D 1 Remove the two hex head bolts 1 and wash...

Page 7: ... GAUGE FIG I A miter gauge 1 is supplied with your band saw to be used in the table slot 2 on the right side of the blade The miter gauge can be tilted 0 to 45 right or left to maintain an accurate angle for your workpiece A bracket is provided on the leg stand for convenient miter gauge storage FIG I 3 I 8 I0 Before operation always make sure the blade is in center of table insert slot i _i _ _ 1...

Page 8: ...iiii _iliiii i iiii i ii ii i i i iiii i i ii ii iiiiiiiii i il ii iI UPPER BLADE GUIDES AND BLADE SUPPORT BEARING FIG P Q o The blade guard has been removed for clarity of illustration To avoid injury never operate the band saw without all guards in place and in working order To avoid injury turn the switch OFF and disconnect the saw from the power source before making any adjustments NEVER make ...

Page 9: ...line operations such as crosscutting ripping mitering beveling compound cutting and resawing To avoid blade breakage fire or other damage or injury NEVER use this band saw to cut ferrous metals CUTTING CURVES When cutting curves carefully turn the workpiece so the blade follows without twisting If the curve is so sharp that you repeatedly back up and cut new kerr use a narrower blade or a blade wi...

Page 10: ...ble the guides or the support bearings Clean them with Craftsman Gum and Pitch Remover NOTE Do not immerse the support bearings in the gum and pitch remover Put a thin coat of paste wax on the table so that the wood slides easily while cutting TO INSTALL A NEW BELT FIG Z 1 Open the lower wheel door 2 Loosen the blade tension by turning the blade tension lock knob 3 Remove the blade from the lower ...

Page 11: ...2 Loose motor pulley 3 Loose pulley cover 4 5 6 2 3 4 5 1 2 2 3 1 2 3 4 1 2 3 Not plugged into power outlet Switch and key not in ON 2 position Motor cord cut or abraded 3 Plug on cord is faulty 4 Fuse on circuit breaks open 5 Faulty motor 6 Too many electrical 1 machines Incorrect fuse 2 Wheels do not rotate 3 Undersized extension cord 4 Short circuit 5 Low line voltage Faulty motor or capacitor ...

Page 12: ...amage Any attempt to repair or replace electrical parts on this band saw may create a HAZARD unless repair is done by a qualified service technician Repair service is available at your nearest Sears Service Center Order by PART NUMBER not by key number PARTS LIST FOR FIGURE A i ci o i 2 N i i i i o CRAFTSMAN 12 BAND SAW FIGURE A I1 2 76 137o224320 ...

Page 13: ...I I I I I I I I I I i t d i 1 w _ O T z G F bg 9 z _zZ_Z_ a__omz i 0 _ I04 M I I I o lo _lCq 1 1 1 1 1 1 1 1 _ u_ 0 o rl_ Z 7_ _ _Ix cc r_ rr _ LU I o S N o0 _ o N NI_ I I O3 1 137 224320 CRAFTSMAN 12 BAND SAW FIGURE B 121 86 1124 04 117 20 j l 9 137 224320 ...

Page 14: ...t No Description Qty 1 3BS40101 Stand top plate 1 2 3BS40201 Lower bracket long 2 3 3BS40301 Lower bracket short 2 4 3BS40401 Leg 4 5 3BS40501 Miter gauge storage 1 6 3BS40601 Screw 2 7 3BS40701 Nut 32 8 3BS40801 Flat washer 32 9 3BS40901 Screw 32 10 3BS41001 Pad 4 1 o J_ 4 q ...

Reviews: