background image

Summary of Contents for 786.15160

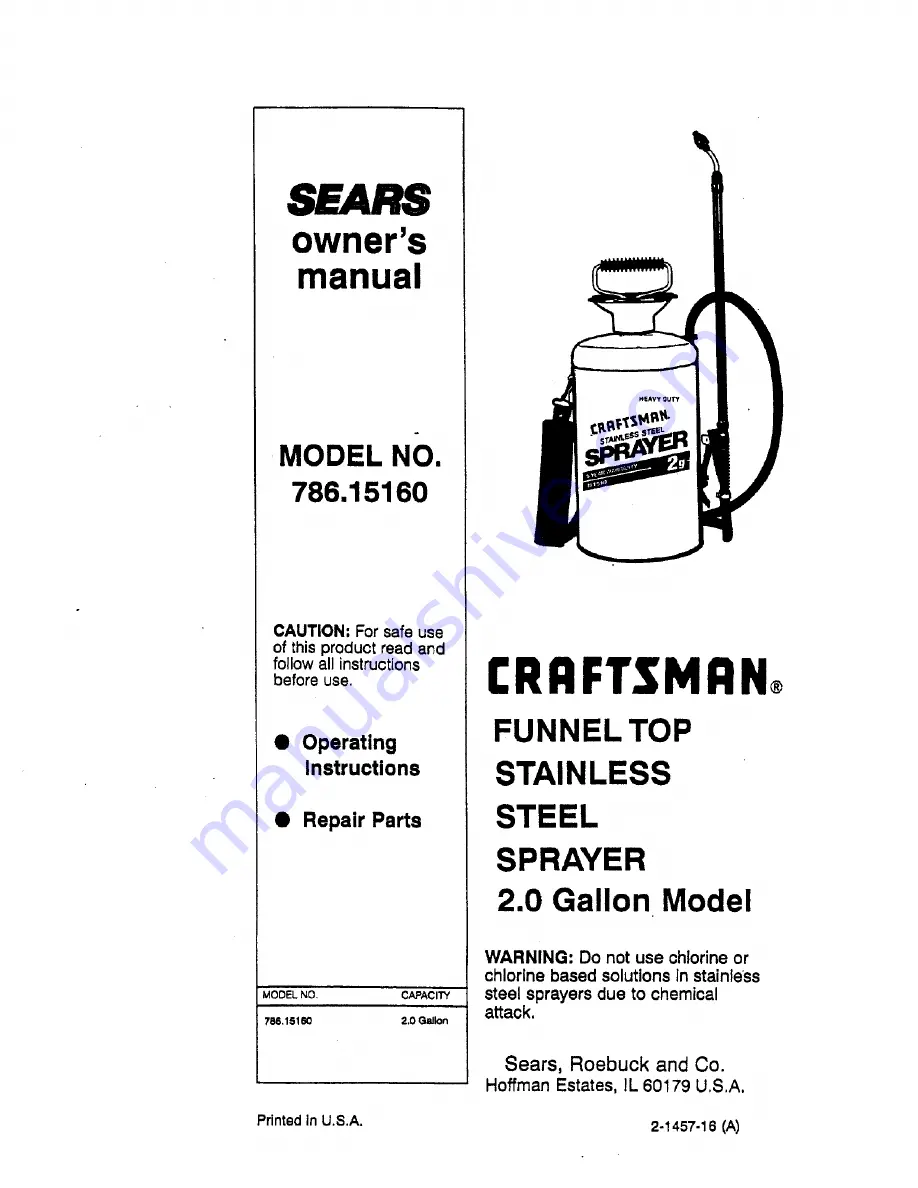
Page 1: ...erating Instructions Repair Parts MODEL NO CAPACITY _86 15160 2 0 Gallon I RI IFTSMRN FUNNEL TOP STAINLESS STEEL SPRAYER 2 0 Gallon Model WARNING Do not use chlorine or chlorine based solutions in stainless steel sprayers due to chemical attack Sears Roebuck and Co Hoffman Estates IL 60179 U S A Pdnted in U S A 2 1457 16 A ...

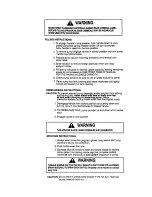
Page 2: ...e using Replace with original manufacturer s parts only 3 Remove pump SEE PRESSURE RELEASE INSTRUCTIONS 4 nspect interiorand exterior of tank for signs of deterioration i e rust cracks bubbling and or pitting of body and bottom Any sign of deterioration indicates possible tank weakening and could result inexplosive bursting under pressure If any of these signs are found DISCARD TANK IMMEDIATELY AN...

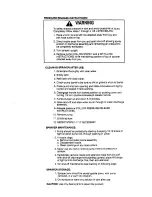
Page 3: ... PRESSURIZING INSTRUCTIONS CAUTION Toprevent ejected pump assembly and or solutionfrom striking ang injurin gyou never eta no wl_ face or body over top of tank when pumping or lOOSening pump Never pressurize sprayer oy any means other nan the origir_l pump 1 Disengage handle from locked position by pushing down and turning 1 4 turn counterclockwise to re ease handle 2 TO PRESSURIZE TANK pump plung...

Page 4: ... by pushing clownand turning 1 4 turn counterclockwiseto release handle 7 Pump plunger up and down 8 10 strokes 8 Open shut oft and allow water to run through to clean discharge assembly 9 Release pressure FOLLOW PRESSURE RELEASE INSTRUCTIONS 10 Remove pump 11 Empty sprayer 12 REPEAT STEPS 1 11 IF NECESSARY SPRAYER MAINTENANCE 1 Pump should be periodically oiled by dropping 10 12 drops of light oi...

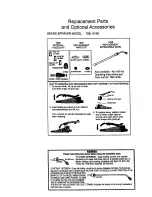
Page 5: ...r and pushdownunUl leversnapsontopivotpin WARNING PleasereadInstructions below imfore using the extendable wand TOEXTEND EXTENSION Grasp locking nutandturncounter L __ _r c clockwise until loose Pullbrass tubeupto desired Isnglt_ andre tighten locking nutbyturning clockwise untiltight DONOT USE TOOLS ASTHISWILLDAMAGE EXTENSION TORETRACT EXTENSION Gap thelocking nut and turn Itcounter clock dse unt...

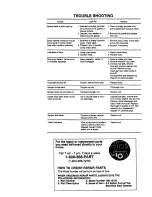
Page 6: ...See assembly and disassembly diagram on previous page Hose leaks at shut off Swollen split or faulty hose Replace hose Sprayer pumps hard Plunger cup dry Oil plunger cup Sprayer does not compressair Damaged plunger cup Replace unit Nozzle drips when spray control valve is shut off Sprayertankleaks Dirt In shut off valve or worn out diaphragm i Evidence of spray material escaping from _ank Depressu...

Reviews: