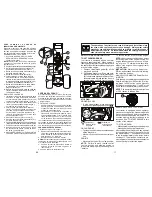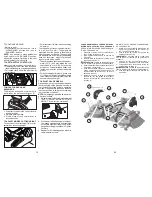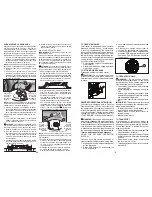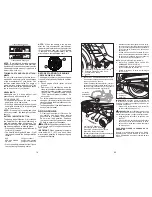
14
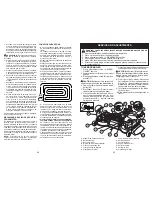
TOWING CARTS AND OTHER AT TACH-
MENTS
Tow only the attachments that are rec om-
mend ed by and comply with spec i fi ca tions
of the manufacturer of your tractor. Use
common sense when tow ing. Too heavy of
a load, while on a slope, is dangerous. Tires
can lose traction with the ground and cause
you to lose control of your tractor.
NOTE
: To protect hood from damage when
transporting your tractor on a truck or a trailer,
be sure hood is closed and secured to tractor.
Use an appropriate means of tying hood to
tractor (rope, cord, etc.).
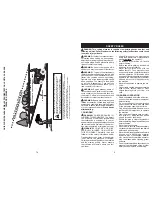
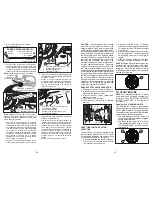
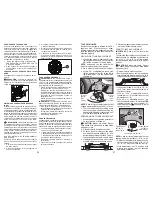
Trans
m
ission Engaged
Transmission Disengaged
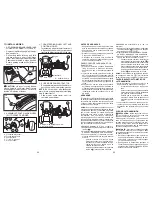
BEFORE STARTING THE ENGINE
CHECK ENGINE OIL LEVEL
The engine in your tractor has been shipped
from the factory already filled with sum mer
weight oil.
1. Check engine oil with tractor on level
ground.
2. Remove oil fill cap/dipstick and wipe
clean, reinsert the dipstick and screw cap
tight, wait for a few seconds, remove and
read oil level. If nec es sary, add oil until
“FULL” mark on dipstick is reached. Do
not overfill.
• For cold weather operation you should
change oil for easier starting (See the oil
viscosity chart in the Main te nance sec tion
of this man u al).
• To change engine oil, see the Main te nance
section in this manual.
ADD GASOLINE
• Fill fuel tank to bottom of filler neck. Do
not overfill. Use fresh, clean, regular
gasoline with a minimum of 87 octane.
Do not mix oil with gasoline. Purchase
fuel in quantities that can be used within
30 days to ensure fuel freshness.
CAUTION:
Wipe off any spilled oil or fuel.
Do not store, spill or use gasoline near an
open flame.
IMPORTANT:
When operating in tempera-
tures below 32°F (0°C), use fresh, clean
winter grade gasoline to help ensure good
cold weather starting.
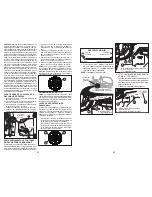
HEADLIGHTS
Headlights can be used without your
passcode and with the engine off.
WITH ENGINE OFF:
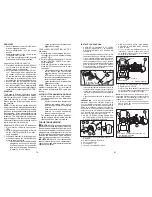
• Press headlight button (H) once to turn
headlights on for one minute.
• Press and hold headlight button (H) until
headlights blink twice to turn headlights
on for five minutes.
NOTE:
If the engine is running and shuts
off for any reason, the headlights will also
shut off.
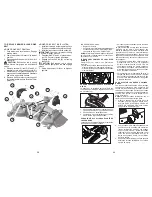
BATTERY INDICATOR BUTTON
The battery indicator button (I) is located on
the S
MART
S
WITCH
Ignition module and is
used to display the status of the battery. The
indicator will only work after the passcode
has been entered and is blinking green.
• Press and hold battery indicator button (I)
for three (3) seconds.
• The SmartSwitch Ignition Button (F) will
light up and indicate the battery status as
follows:
RED Charge
necessary
RED AND GREEN
Charge recommended
GREEN
Charge not necessary
• Press the battery indicator button (I) once
to stop viewing the battery status.
F
I
NOTE:
When the battery is too low and
after the first unsuccessful start attempt,
the battery indicator button will blink for two
(2) seconds and then stay lit until battery
is charged or until approximately five (5)
minutes since last attempted start.
63
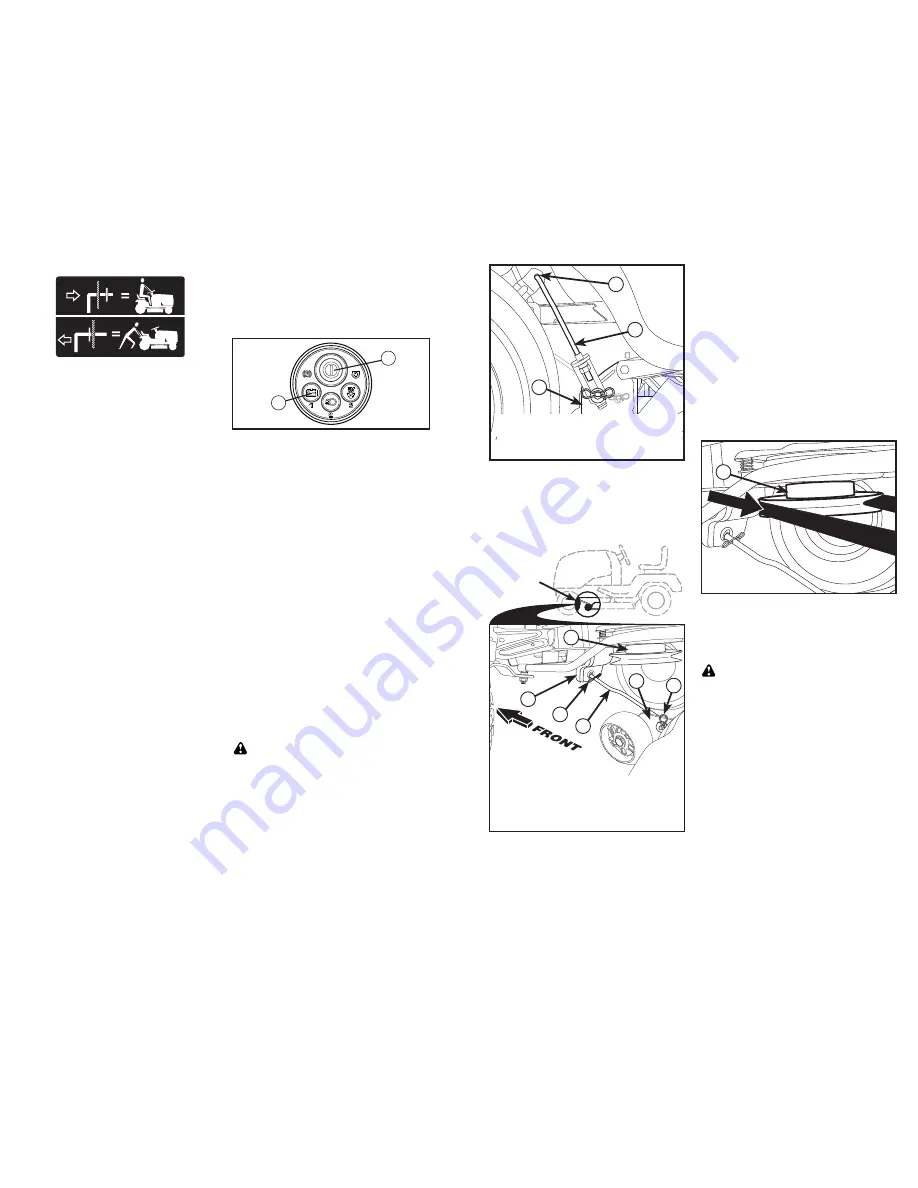
• Muévase hasta el lado izquierdo de la corta-
dora e inserte un resorte de retención grande
(G) a través del agujero del eslabón delantero
(E) detrás de la escuadra de suspensión
delantera (F).
• Inserte el otro extremo del eslabón (E) en el
agujero de la escuadra derecha de la cortadora
de césped (H) y asegure con una arandela y
un resorte de retención pequeño (J).
NOTA
: Requiere levantar la plataforma.
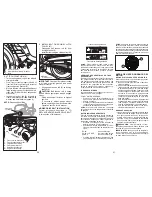
9. INSTALE LA CORREA EN LA POLEA DEL
EMBRAGUE DEL MOTOR (M)
• Desenganche la varilla tensora de la correa
(K) de la escuadra de bloqueo (L).
• Instale la correa en la polea del embrague
del motor (M)
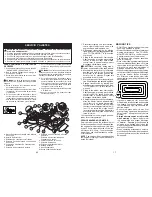
M. Polea Del
Embrague
Del Motor
M
Ubicación
Del Eslabón
Delantero
E
G
F
M
E. Conjunto De Eslabones
De Levantamiento Delanteros
F. Escuadra De Suspensión Delantera
G. Resorte De Retención Grande
H. Escuadra De La Cortadora De Césped Delantera
J. Resorte De Retención Pequeño
M. Polea Del Embrague Del Motor
J
H
8. INSTALE EL ESLABÓN DELANTERO (E)
• Gire el volante hasta ubicar las ruedas dere-
chas en posición de avance.
• Desde la parte delantera del tractor, inserte el
extremo de varilla del eslabón delantero (E) a
través del agujero delantero de la escuadra
de suspensión delantera del tractor (F).
D
C
U
C. Eslabones De Levantamiento Traseros
D. Escuadra Trasera Derecha De La
Cortadora De Césped
U. Agujero
IMPORTANTE
: Verifique que la trayectoria de
la correa sea correcta en todos los surcos de la
polea de la cortadora de césped y debajo de las
cubiertas de mandril.
• Enganche la varilla tensora de la correa (K)
en la escuadra de bloqueo (L).
PRECAUCIÓN
: la varilla tensora de la correa
está accionada por resorte. Sostenga la varilla
firmemente apretada y engánchela lentamente.
• Haga segadora ascender a su posición más
superior.
• Si es necesario, ajuste las rueditas del calibre
antes de poner en funcionamiento la corta-
dora, como se ilustra en el capítulo de Manejo
de este manual.
PARA REEMPLAZAR LA CORREA DE LA
SEGADORA
Realice el procedimiento descrito en “PARA
REEMPLAZAR LA CORREA DE LA CUCHILLA
DE LA SEGADORA” en este del capítulo de este
manual.


