16
BEFORE STOPPING THE ENGINE
Run the engine for a few minutes to help dry off any moisture on
the engine.
TO STOP ENGINE
WARNING: Do not choke the engine to stop operation.
Choking causes backfire or explosion. Follow
instructions for operation.
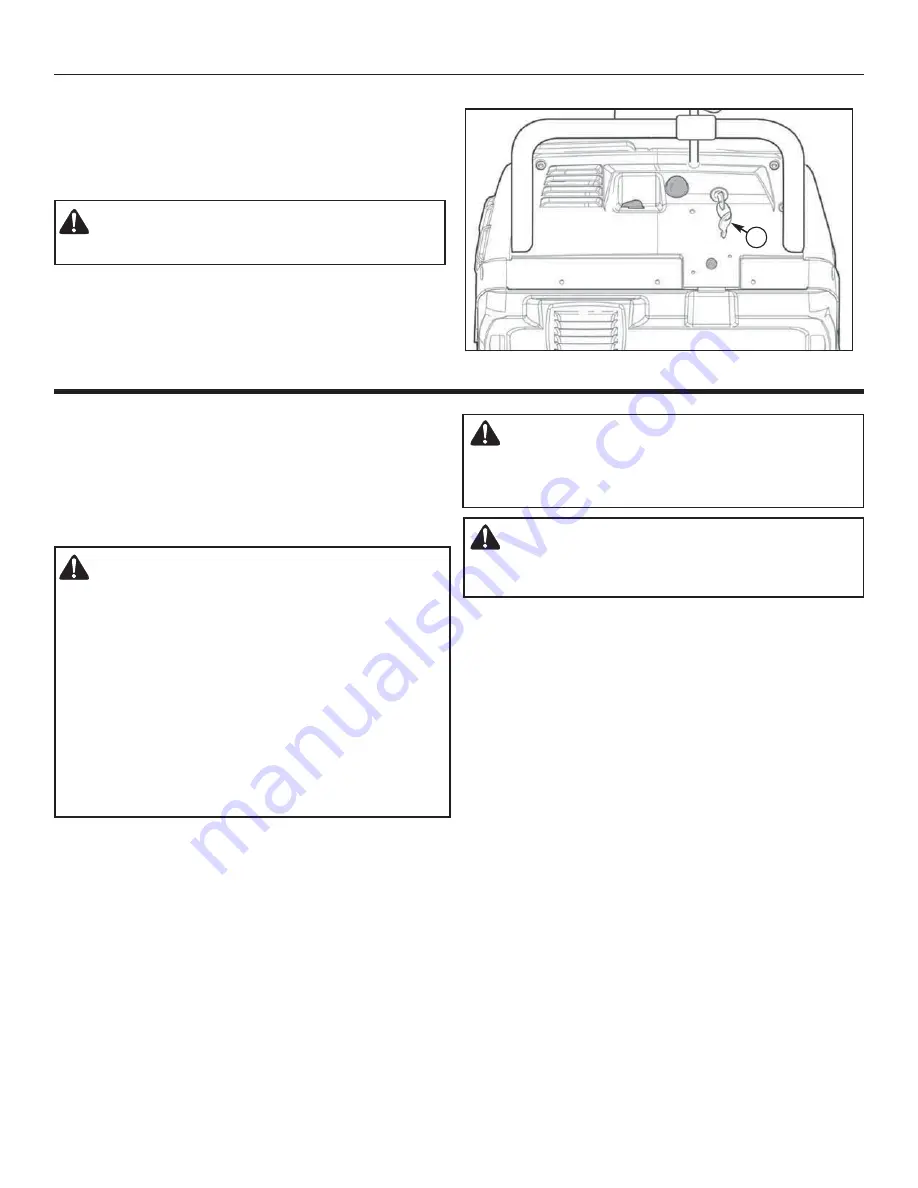
1. Turn the key (
A
, Figure 11) to the OFF position to stop the
engine.
TO START ENGINE
Be sure that engine oil is at FULL mark on the oil fill cap/dipstick
(
A
, Figure 10). The snowthrower engine is equipped with an A.C.
electric starter and recoil starter. Before starting the engine, be
certain that you have read the following information.
If engine floods, set the choke to the OPEN/RUN position and
crank until the engine starts.
WARNING: The electric starter is equipped with a three-wire
power cord and plug designed to operate on AC house hold
current. The power cord must be properly grounded at all
times to avoid the possibility of electric shock which can
cause injury to the operator. Follow all instructions carefully
as set forth:
• Make sure your house has a three-wire grounded system.
• If you are not sure, ask a licensed electrician. If your house
does not have a three-wire grounded system, do not use this
electric starter under any condition.
• If your house has a three-wire grounded system but a three-
hole receptacle is not available to connect the electric starter,
have a three-hole receptacle installed by a licensed electrician.
WARNING: To connect power cord, always connect the
power cord first to the switch box located on the engine
and then plug the other end into a three-hole grounded
receptacle to avoid the possibility of electric shock which
can cause injury to the operator.
WARNING: To disconnect the power cord, always
unplug the end connected to the three-hole grounded
receptacle first to avoid the possibility of electric shock
which can cause injury to the operator.
Stop Engine
Figure 11
A
OPERATION
Not
for
Reproduction
Summary of Contents for C950-52844-1
Page 32: ...manage manage my my home home N o t f o r R e p r o d u c t i o n ...
Page 33: ...Repair Parts PTS 1 N o t f o r R e p r o d u c t i o n ...
Page 59: ...PTS 27 N o t f o r R e p r o d u c t i o n ...
Page 60: ...PTS 28 N o t f o r R e p r o d u c t i o n ...
Page 92: ...manage manage my my home home N o t f o r R e p r o d u c t i o n ...


