7
English
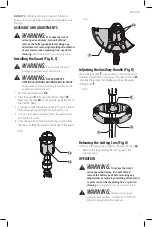
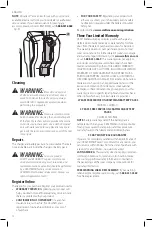
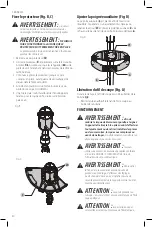
Installing the Guard (Fig. B, C)
WARNING:
Never remove the guard.
Damage or personal injury could result.
WARNING:
NEVER OPERATE
APPLIANCE WITHOUT GUARD FIRMLY IN PLACE.
The guard must always be properly attached on the
appliance to protect the user.
1. Remove the guard screw
19
.
2. Slide the guard
9
fully onto the trimmer head
18
.
Make sure the tabs
20
on the guard engage the ribs on
the trimmer head.
3. Continue to slide the guard on until it “snaps”into place.
The locking tab should snap into the housing slot.
4. Using a crosshead screwdriver, insert the guard screw
and tighten securely.
5. Once the guard is installed, remove the covering from
the line cut-off blade, located on the edge of the guard.
Fig. B
19
18
Fig. C
20
9
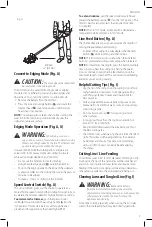
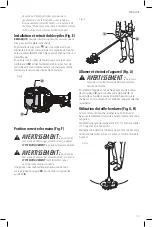
Adjusting the Auxiliary Handle (Fig. D)
The auxiliary handle
4
is positioned to maximize balance.
However, if adjustment is necessary, flip open the latch
21
and slide the auxiliary handle
4
up or down the upper
trimmer pole
6
.
Fig. D
21
4
6
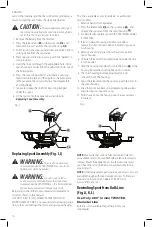
Releasing the Cutting Line (Fig. A)
In transit, the cutting line is taped to the spool housing
10
.
• Remove the tape holding the cutting line to the
spool housing.
OPERATION
WARNING:
To reduce the risk of
serious personal injury, turn unit off and
remove the battery pack before making any
adjustments or removing/installing attachments
or accessories, when replacing line, or prior to
cleaning.
An accidental start-up can cause injury.
WARNING:
Always use proper eye
protection that conforms to ANSI Z87.1 (CAN/CSA
Z94.3) while operating this appliance.
ASSEMBLY AND ADJUSTMENTS
WARNING:
To reduce the risk of
serious personal injury, turn unit off and
remove the battery pack before making any
adjustments or removing/installing attachments
or accessories, when replacing line, or prior to
cleaning.
An accidental start-up can cause injury.
DO nOT
let children come into contact with the tool.
Supervision is required when inexperienced operators use
this tool.


