

r
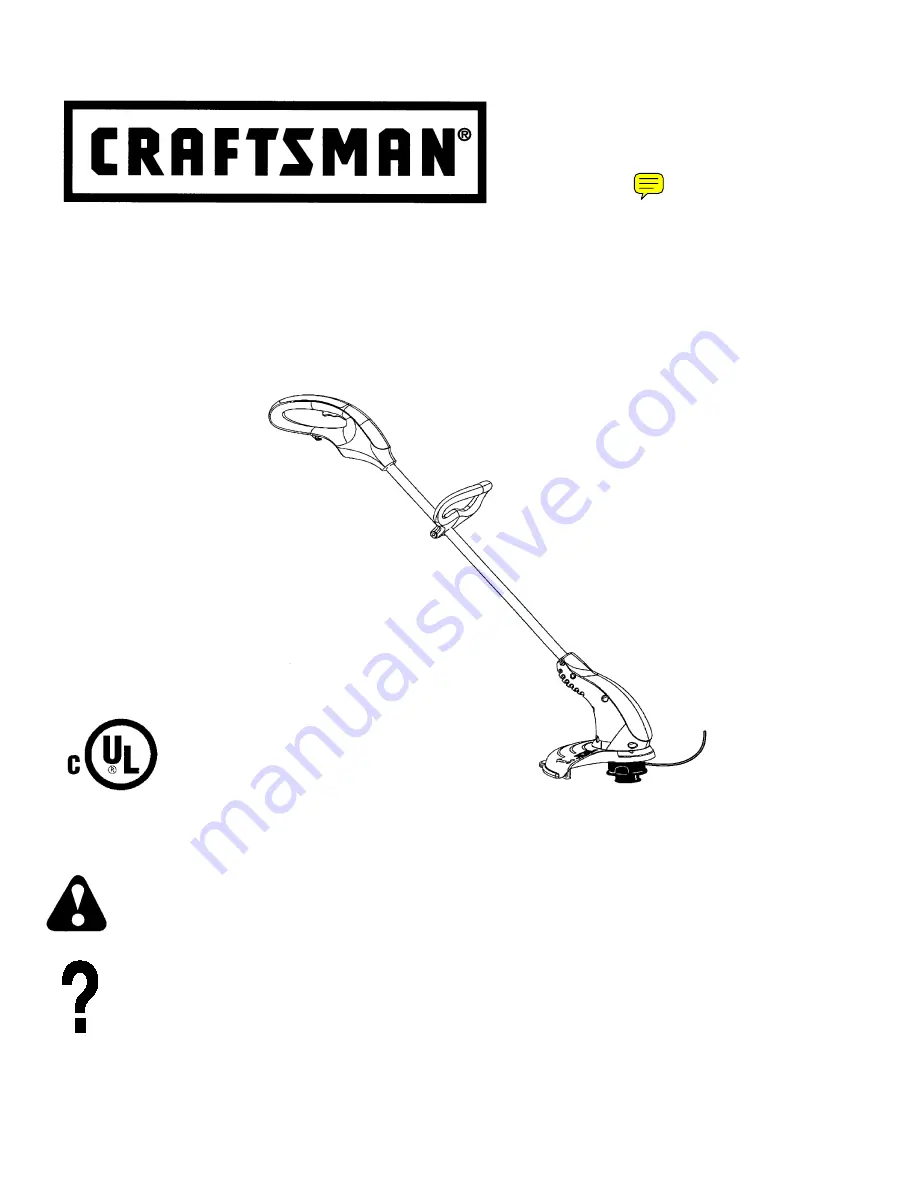
ELECTRIC WEEDWACKER
Model No.
C944.512200
Sears Canada, Inc., Toronto, Ontario M5B 2B8
530088064
1/14/02
3.5 Amp Motor
10 Inch Cutting Path / 0.065 In. Line
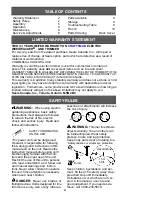
WARNING:
Read and follow all Safety Rules and Operating
Instructions before first use of this product.
For answers to your questions about this product:
Call 7 am--7 pm, Mon--Sat; Sun, 10 am--7 pm
1-800-235-5878
Instruction Manual
(Hours listed are Central Time)
SSSS
Safety
SSSS
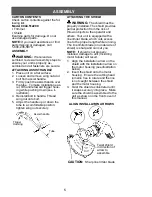
Assembly
SSSS
Operation
SSSS
Maintenance
SSSS
Français


