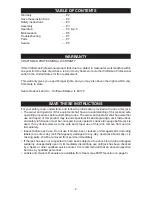
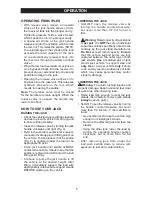
SAFETY INSTRUCTIONS
ASSEMBLY
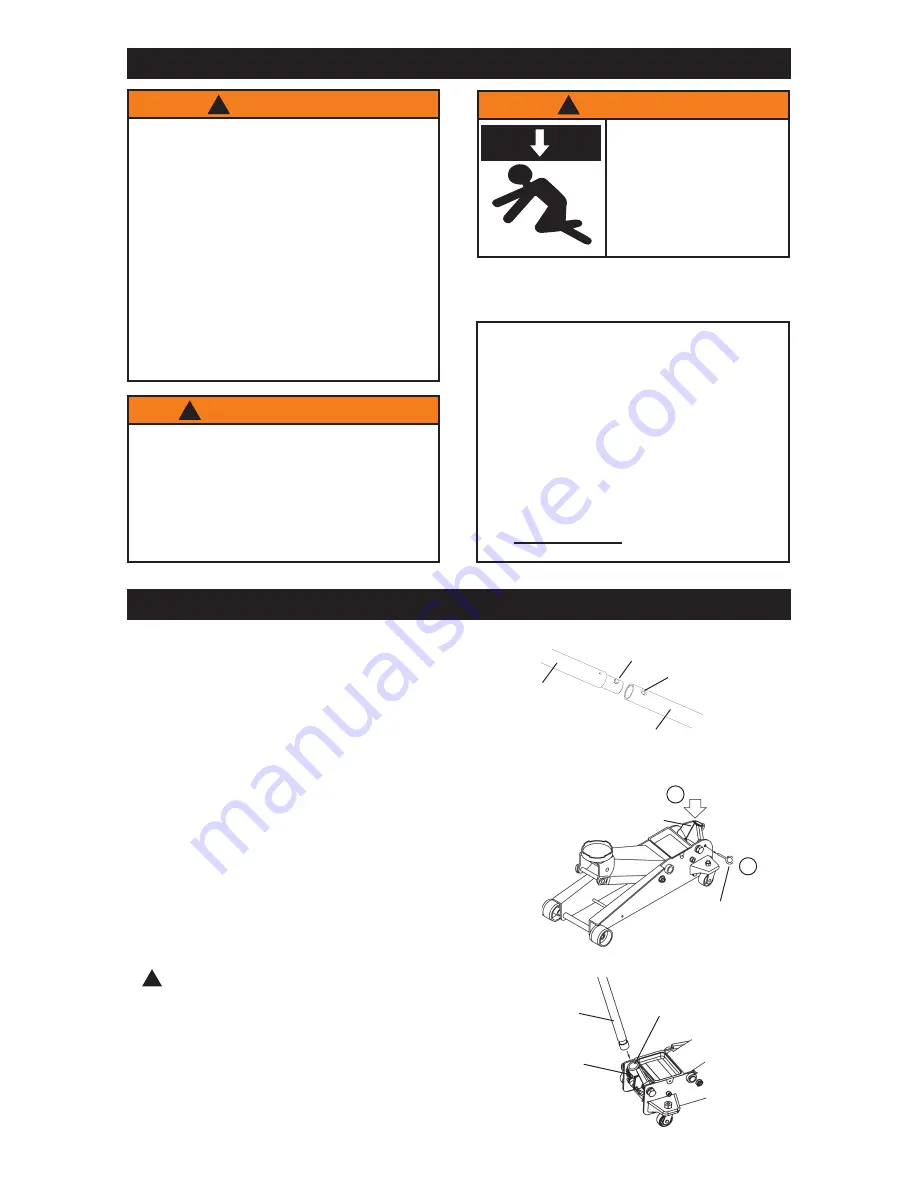
FIG. 1
FIG. 3
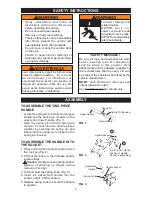
TO ASSEMBLE THE TWO PIECE
HANDLE
• Locate the spring pin on bottom end of upper
handle and the spring pin receiver on the
upper end of lower handle. (Fig. 1).
• Align the spring pin with the spring pin
receiver. Connect the two handle pieces
together by pressing the spring pin and
insert until the spring pin is locked in the
spring pin receiver.
TO ASSEMBLE THE HANDLE INTO
THE SOCKET
1. Press and hold the handle socket to loosen
the lock pin (Fig. 2).
2. Pull out the lock pin, then release handle
socket slowly.
Caution:
Handle socket is spring loaded.
Beware of pinching on fingers during
removal of lock pin.
3. Pull and hold the spring knob (Fig. 3).
4. Insert the assembled handle into the
socket, until it is firmly seated.
5. Release spring knob to secure the handle
in position.
Upper Handle
Handle Socket
Assembled
Handle
Lower Handle
!
3
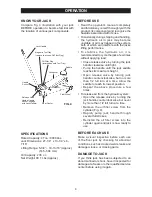
WARNING
• Study, understand, and follow all
instructions with and on this device
before operating this device.
• Do not exceed rated capacity.
• Use only on hard, level surface.
• This is a lifting device only. Immediately
after lifting, support the vehicle with
appropriately rated vehicle stands.
• Do not move or dolly the vehicle while
on the jack.
• Failure to heed product markings or
warnings may result in personal injury
or property damage.
Spring Pin
Spring Knob
Spring Pin Receiver
To avoid crushing and
related injuries:
N E V E R w o r k o n ,
under or around a load
supported only by jack.
ALWAYS use adequately
rated jack stands.
!
WARNING
! SAFETY MESSAGE !
Be sure all tools and personnel are clear
before lowering load. No alterations
shall be made to this product. Only
attachments and/or adapters supplied by
the manufacturer shall be used. Lift only
on areas of the vehicle as specified by the
vehicle manufacturer.
NOTE:
Jack stands are rated per pair
unless otherwise noted.
Use 1 matched pair per vehicle only.
!
ADVERTENCIA
Leer, comprender, y seguir las instrucciones
antes de utilizar el aparato. El manual
de instrucciones y la informacion de
seguridad deben estar comunicado en
lengua del operador antes del uso. No
seguir estas indicaciones puede causar
danos personales o materiales.
!
FIG. 2
Handle Socket
Lock Pin (to hold the
position of Handle
Socket in packaging)
1
2


