background image

Summary of Contents for WEEDWACKER 358.745460

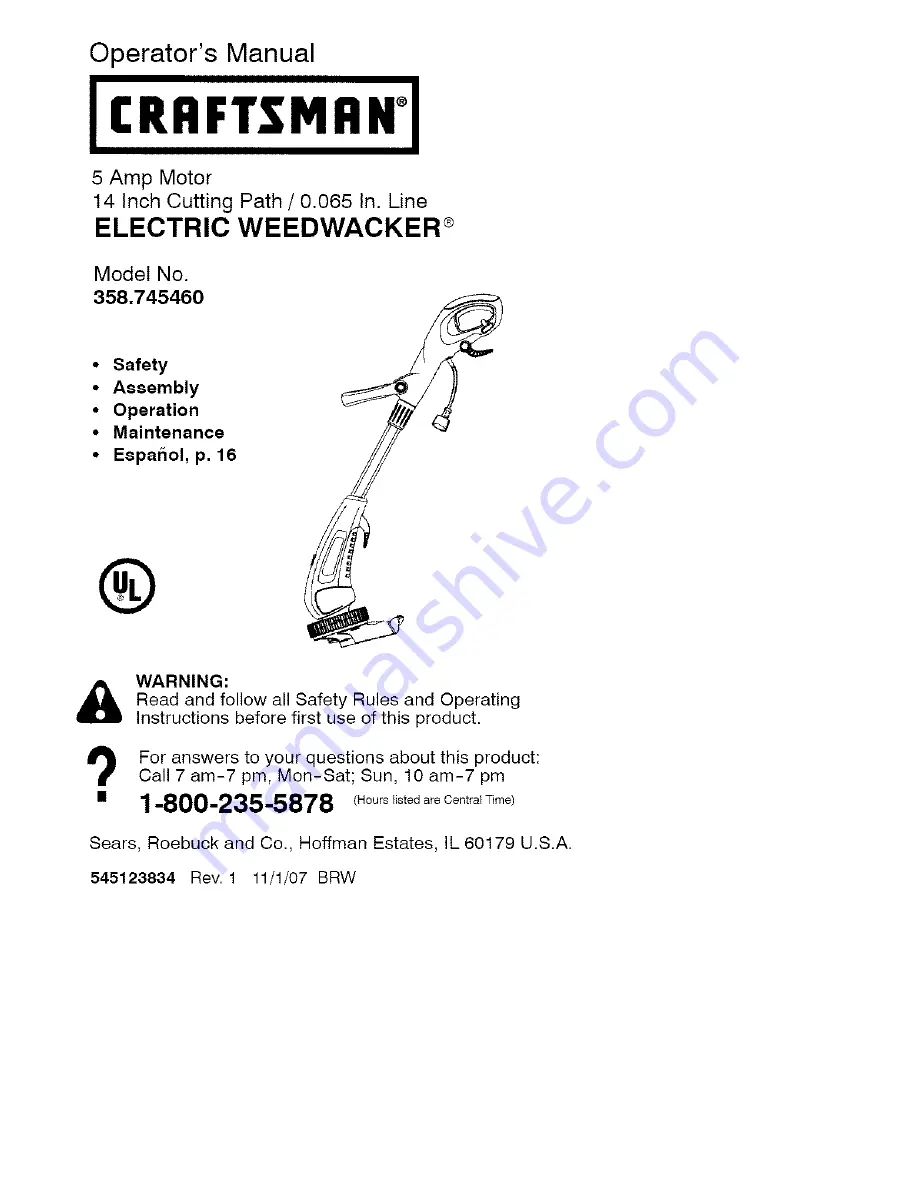
Page 1: ... Maintenance Espar_ol p 16 J WARNING Read and follow all Safety Rules and Operating Instructions before first use of this product For answers to your questions about this product Call 7 am 7 pm Mon Sat Sun 10 am 7 pm 1 800 235 5878 Hours isted are Central Time Sears Roebuck and Co Hoffman Estates IL 60179 U S A 545123834 Rev 1 11 1 07 BRW ...

Page 2: ...s product is used for commercial or rental purposes This warranty gives you specific legal rights and you may also have other rights which vary from state to state Sears Roebuck and Co Roffrnan E_tates IL 60179 _DANGER Use only specified trimmer head spool and 0 065 inch 1 65 mm rec ommended trimmer line Never use blades flailing devices wire rope string etc Unit is designed for line trimmer use o...

Page 3: ... Keep chitdren bystanders and animals 50 feet 15 meters away Do not wear jewelry loose clothing or clothing with loosing hanging straps ties tassels etc They can be caught in moving parts _ _11_ This unit is double insulated All internal service must be completed by an authorized service deal er Disconnect unit from power source before c ean ng or servicing O_1 Do not use with damaged cord Repair ...

Page 4: ...of rotating line Keep children bystanders and ani mals 50 feet 15 meters away If ap proached stop unit immediately If situations occur which are not cov ered in this manual use care and good judgement If you need assis tance call 1 800 235 5878 OPERATOR SAFETY Dress properly Always wear safety glasses or similar eye protection when operating or performing maintenance on your unit Safety glasses ar...

Page 5: ... unit Use cord retainer toprevent discon nection ofextension cord from unit and possible damage tothe unit due toptug movement see ATTACH THE EXTENSION CORD TO YOUR TRIM MER inthe OPERATION section Do not use the unit ifthe switch does not turn the unit onand offproperly Repairs tothe switch must bemade byyour authorized service dealer Keep the extension cord clear ofop erator and obstacles atallt...

Page 6: ... any standard t20 volt electrical outlet Safety precautions must be observed when operating any electrical tool The double insulation system only provides added protec tion against injury resulting from an internal electrical insulation failure _ _WARNING Atl electrical repairs to this unit including housing switch motor wires etc must be diagnosed and repaired by qualified service per sonnel Repl...

Page 7: ...rly installed damage to unit including mo tor failure will result 1 Place the shield onto the motor housing Ensure the cutting head re mains free to rotate and the line is not caught between the shield and the motor housing see illustration Motor Housing Line Limiter _ _hield 2 Align the installation arrow on the shield with the installation arrow on the motor housing as shown I_stallatiOnrrows 3 ...

Page 8: ..._ _ L 1 Press the two buttons on the sides of the switch handle Button adjuster BU_OR Assist Handle 2 Push the assist handle over the buttons and release the buttons 3 Adjust the handle to the most com fortable operating position by pressing the buttons and moving the handle 2 Adjust the length of the tube to the most comfortable operating posi tion 3 Turn height adjuster in the oppo site directio...

Page 9: ...tach your extension cord to the unit TRIGGER SWITCH The TRIGGER SWITCH is used to turn on the unit Squeeze the trigger switch to operate the unit Release to stop Debris Shie d Line Limiter Pin LINE LIMtTER PIN The LINE UMITER PIN cuts the cutting line to the proper cutting length TRIMMER HEAD The TRIMMER HEAD holds cutting line and rotates during operation OPERATING INSTRUCTIONS Use only a voltage...

Page 10: ...d and not crowded into materi al being cut AUTOMATIC LINE FEED SYSTEM When the trimmer is initially started a smalt length of cutting line is fed out Line Limiter Pin CORRECT OPERATING POSITION Trimming Edging After approximately 5 seconds the tine witl be cut to the correct length by the line limiter pin as the motor reach es full speed Make sure the motor i8 up to full speed before trimming If t...

Page 11: ...f line will not advance properly and wilt result in improper cutting head function or can cause serious injury Do not use other materials such as wire string rope etc Wire can break off during cut ting and become a dangerous missile that can cause sedous injury See page 4 for warning concerning other cutting devices TRIMMING Hold the bottom of the trimmer head about 3 inches 8 cm above the ground ...

Page 12: ...asy clean up Keep the line parallel to and above the surfaces being swept and move the toot from side to side WARNING Disconnect power source before performing maintenance CARE MAINTENANCE TASK WHEN TO PERFORM Check for loose fasteners and parts Before each use Check for damaged or worn pa_ts Before each use Inspect and clean unit and labels After each use GEN ERAL RECOM MENDATIONS The warranty on...

Page 13: ...amp cloth with a mild detergent Wipe off unit with a clean dry cloth Use a soft brush to clean around the inside of the debris shield the cut ting head and the motor housing air vents _ Air Vents fu Remove the wheel by pressing one of the buttons Clean the wheel and groove on the motor housing with a soft brush Reinstall wheel see AS SEMBLY section REPLACING THE LINE _WARNING Disconnect unit from ...

Page 14: ...ind in the direc tion of the arrow found on the spool 8 Push the line into the notch leav ing 3 to 5 inches 7 12 cm un wound 11 Remove one line from notch and feed line through eyelet Repeat for second line 12 Reinstall the spool cap USER REPLACEABLE SERVICE PARTS REPLACEMENT PART Spool with 0 065 Trimmer Line Spool Cap Assist Handle Wheel PART NUMBER 71 85935 545124417 545124404 545124405 _WARNIN...

Page 15: ...y and evenly 5 Manual line feed not working 6 Dirt buildup on unit Excessive noise 1 Motor has not reached when unit is run full speed before use ning 2 Too much line has been released from the spool 3 Line limker pin missing from shield Line releases 1 Line improperly 1 Check line routing continuously routed in head 2 Spool damaged 2 Replace spool Line usage is 1 Une improperly routed 1 Check lin...

Reviews: